
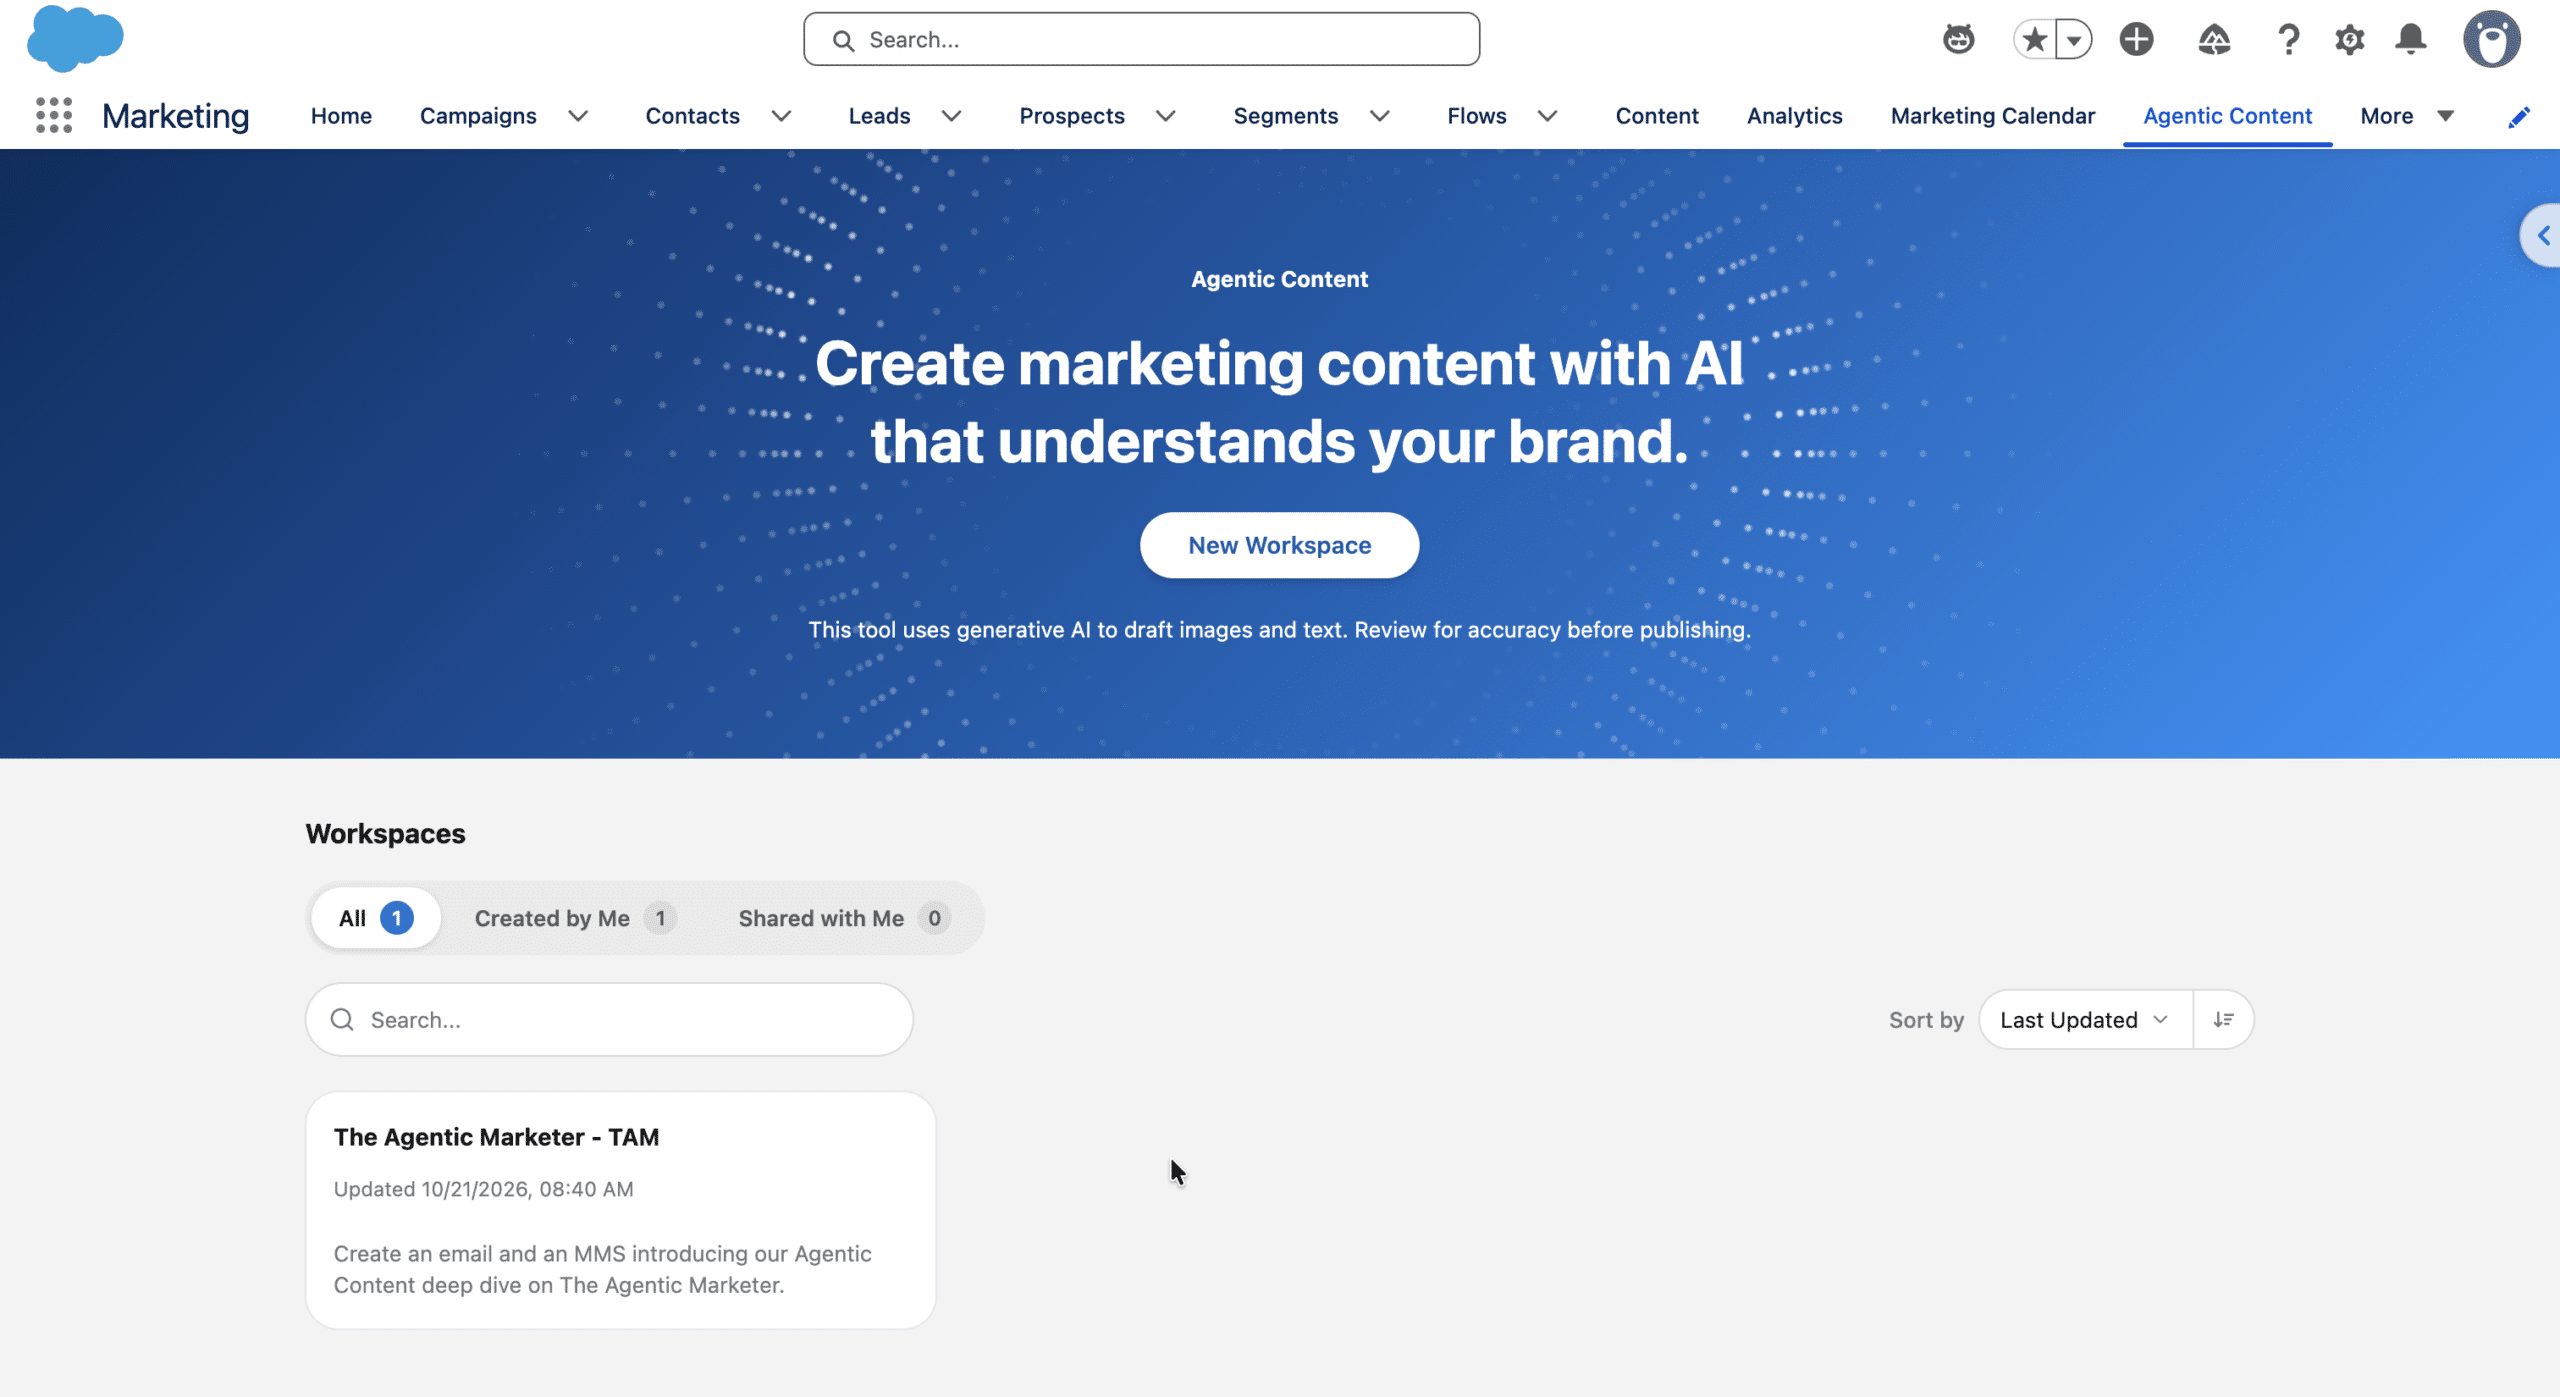
There’s a new way to create marketing content in Marketing Cloud Next: Agentic Content. It brings prompts, brand guidance, and assets into a workspace where we can generate and refine content across channels. Before we walk through the setup and create our first messages, let’s see how it fits alongside the other content creation options.
| Creation method | How we work |
|---|---|
| Directly in the builder | Start from a template, assemble content blocks, or edit HTML. We control the content and layout directly. |
| Campaign Creation agent | Create content through conversation as part of the existing assisted campaign creation process. |
| An LLM connected through an MCP server (see How to go headless) | Use an external AI assistant to create or update content through the operations exposed by the connected server. |
| New: Agentic Content | Bring together a brief, brand guidance, and assets, then use prompts and direct editing to generate and refine multichannel (email, SMS, MMS, RCS) content before publishing it to CMS. This is a dedicated content creation workspace, rather than a conventional Agentforce agent configured with topics and actions. |
We’ll focus on the fourth approach. We’ll explore the new goal-led Campaign Agent, distinct from the existing Campaign Creation agent, in a separate deep dive.
To create and edit Agentic Content, we need the Marketing Cloud Manager permission set and a CMS workspace contributor role. Publishing or unpublishing requires the Content Admin or Content Manager role in the CMS workspace. Your org must also have generative AI configured and the channels you plan to use enabled. In this walkthrough, we’ll create an email and an MMS.
Set Up the Agentic Content Workspace
Before writing our first prompt, we’ll prepare the context that will guide generation: a brief, brand guidance, assets, and workspace instructions. We’ll also connect a data source for personalization.
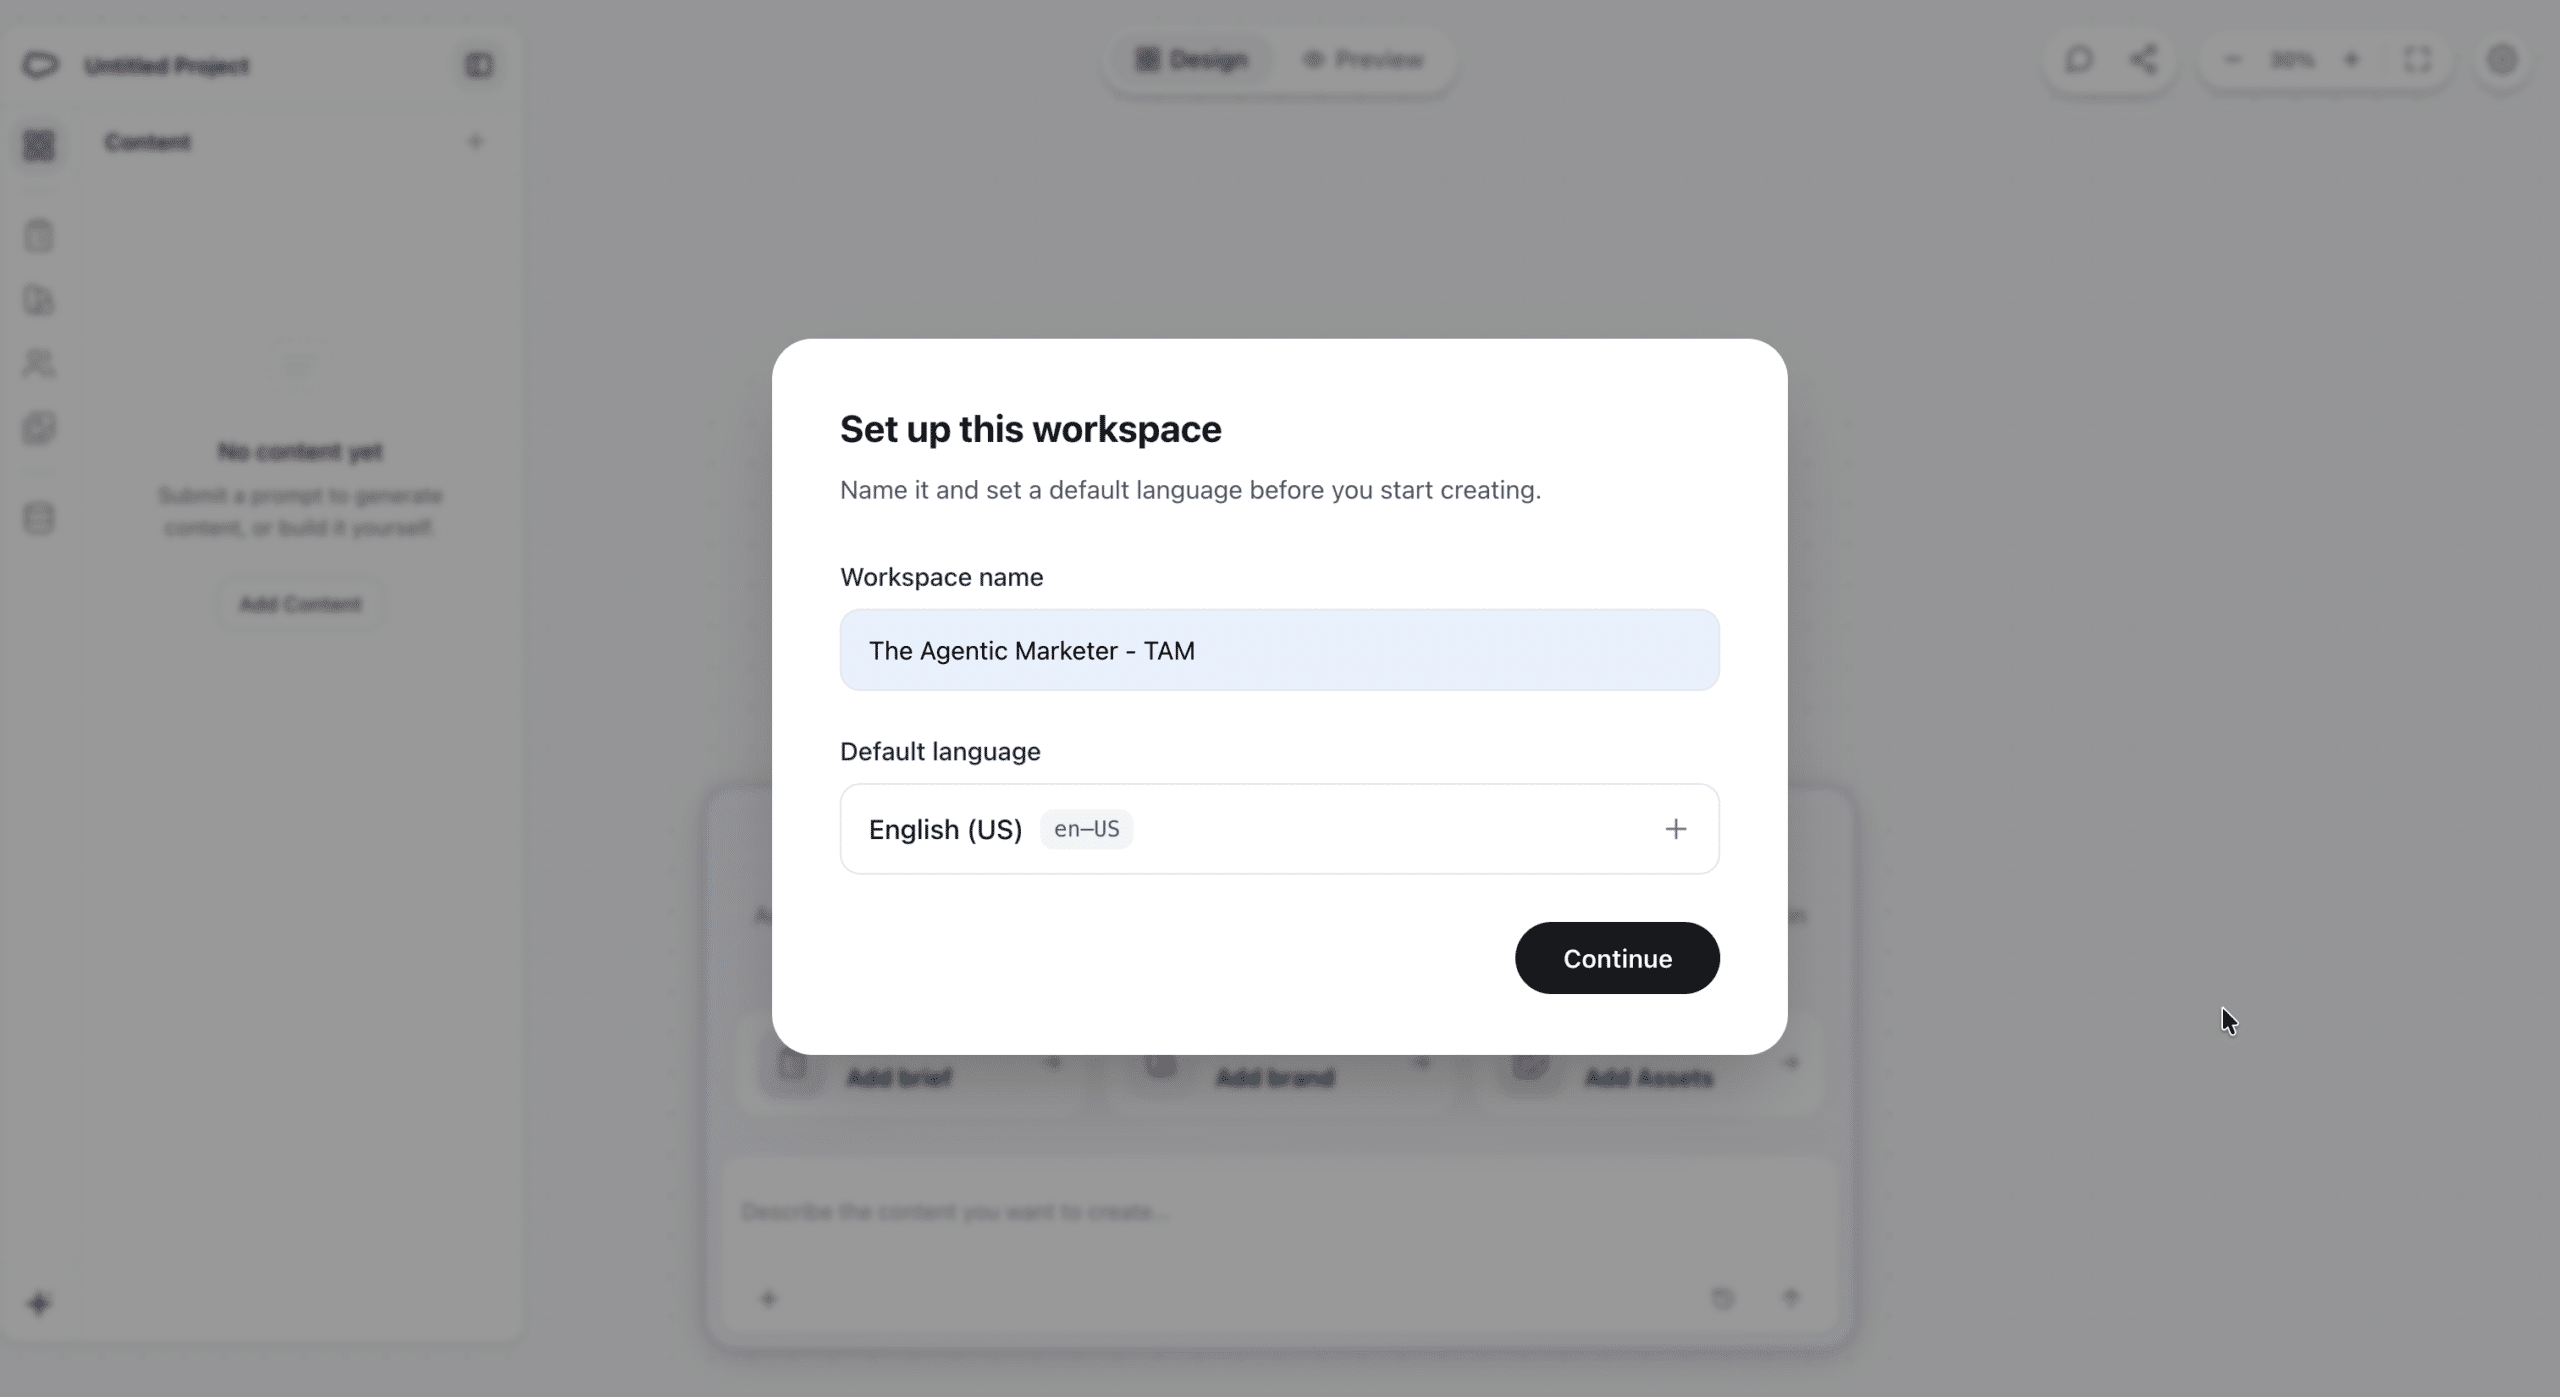
From the Agentic Content tab in the Marketing app, select New Workspace, enter a name, and choose a default language. For this walkthrough, we’re using “The Agentic Marketer – TAM” and English (US).
Get to Know the Workspace
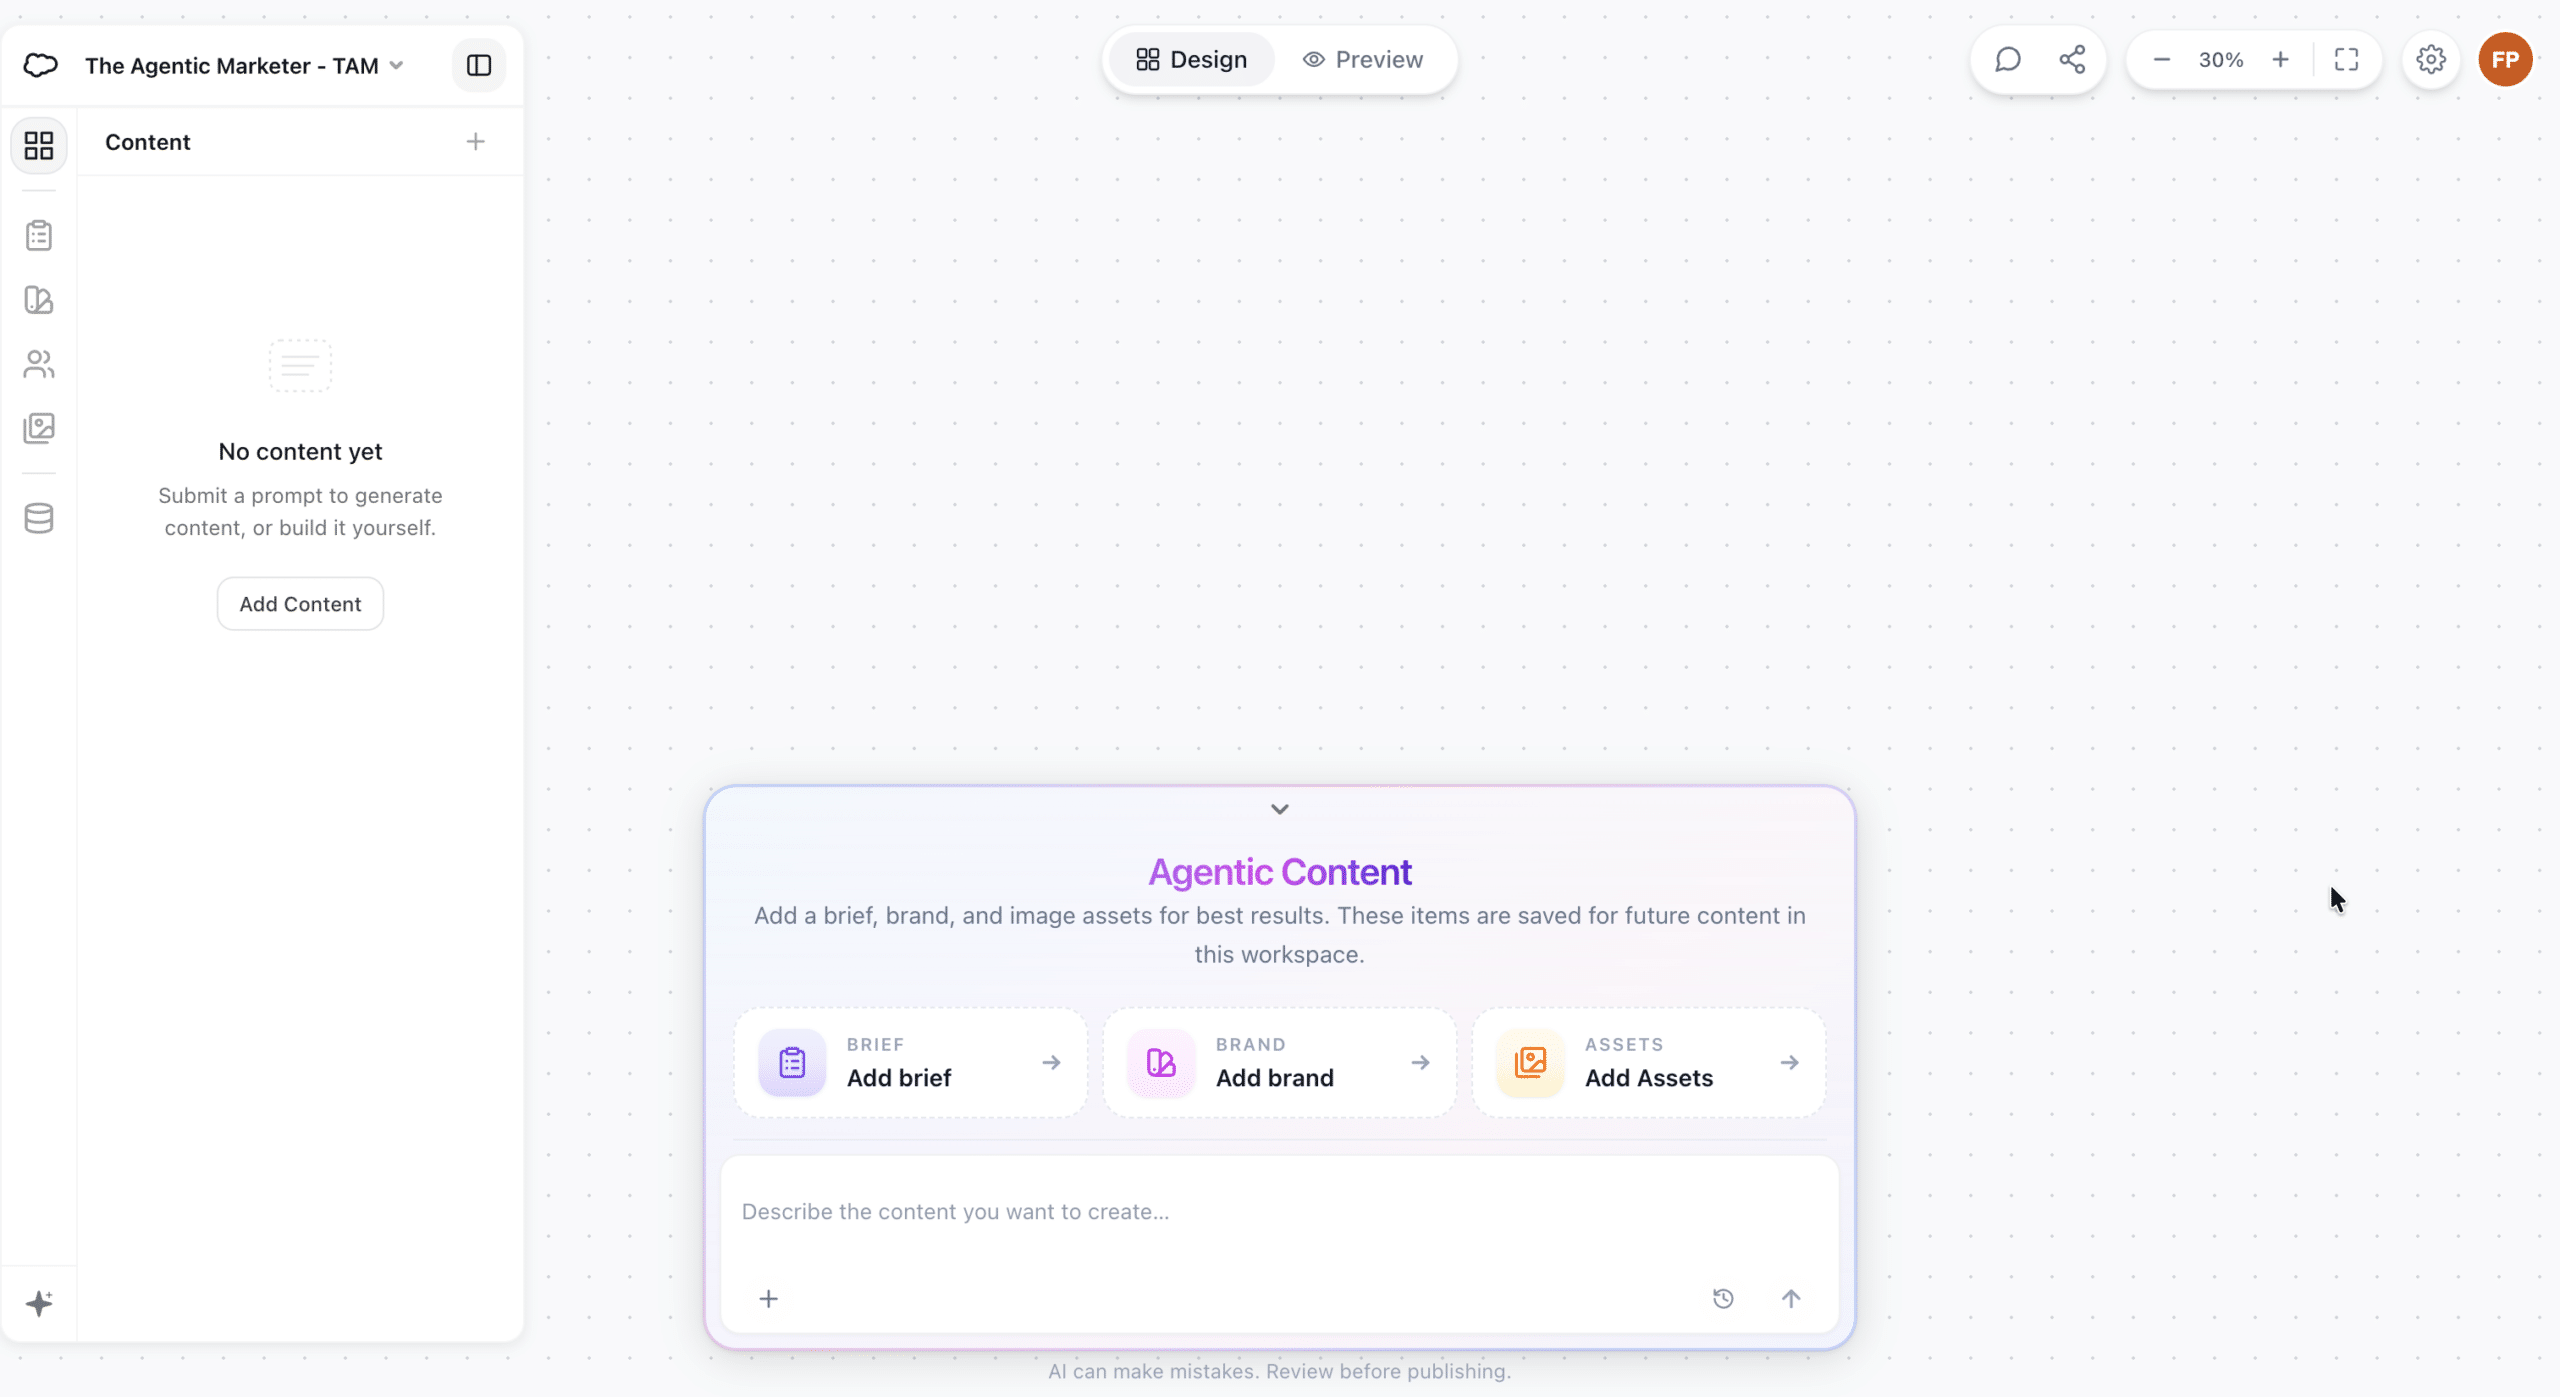
The workspace opens onto an empty canvas where we’ll create and refine our content. The left navigation gives us access to Content, Brief, Brand, Audience, Assets, and Data Sources.
At the bottom, the conversation panel combines the prompt field with shortcuts to connect a brief, select a brand, and add assets. These inputs provide context we can reuse as we work on different messages in the workspace.
We don’t need a separate workspace for every message or channel. A workspace groups content options generated from an initial prompt, with variants sharing the same campaign context and grounding. Related emails, SMS messages, and creative variants can therefore stay together.
A useful organizing principle is to create another workspace when we start a distinct campaign or content project with a different objective and context. This is practical guidance, rather than a requirement to create one workspace per campaign.
The Agentic Content workspace is where we explore and refine our content before publishing selected results to Salesforce CMS. Working assets are initially stored in Amazon S3. Publishing is the step that brings the selected content into CMS.
Connect a Brief: What Are We Trying to Achieve?
The brief gives the agent its marketing direction: the objective, intended audience, key message, and action we want readers to take.
We select Add brief and choose “Introduce Agentic Content to TAM Readers.” We created this brief to support the example we’ll follow: generating an email and an MMS that encourage readers to explore this deep dive.
The preview brings the context together. Our goal is to drive readers to the article, our message highlights the journey from workspace setup to publishing, and our audience consists of Salesforce marketers, administrators, and consultants. It also identifies TAM Brand as the expected brand.
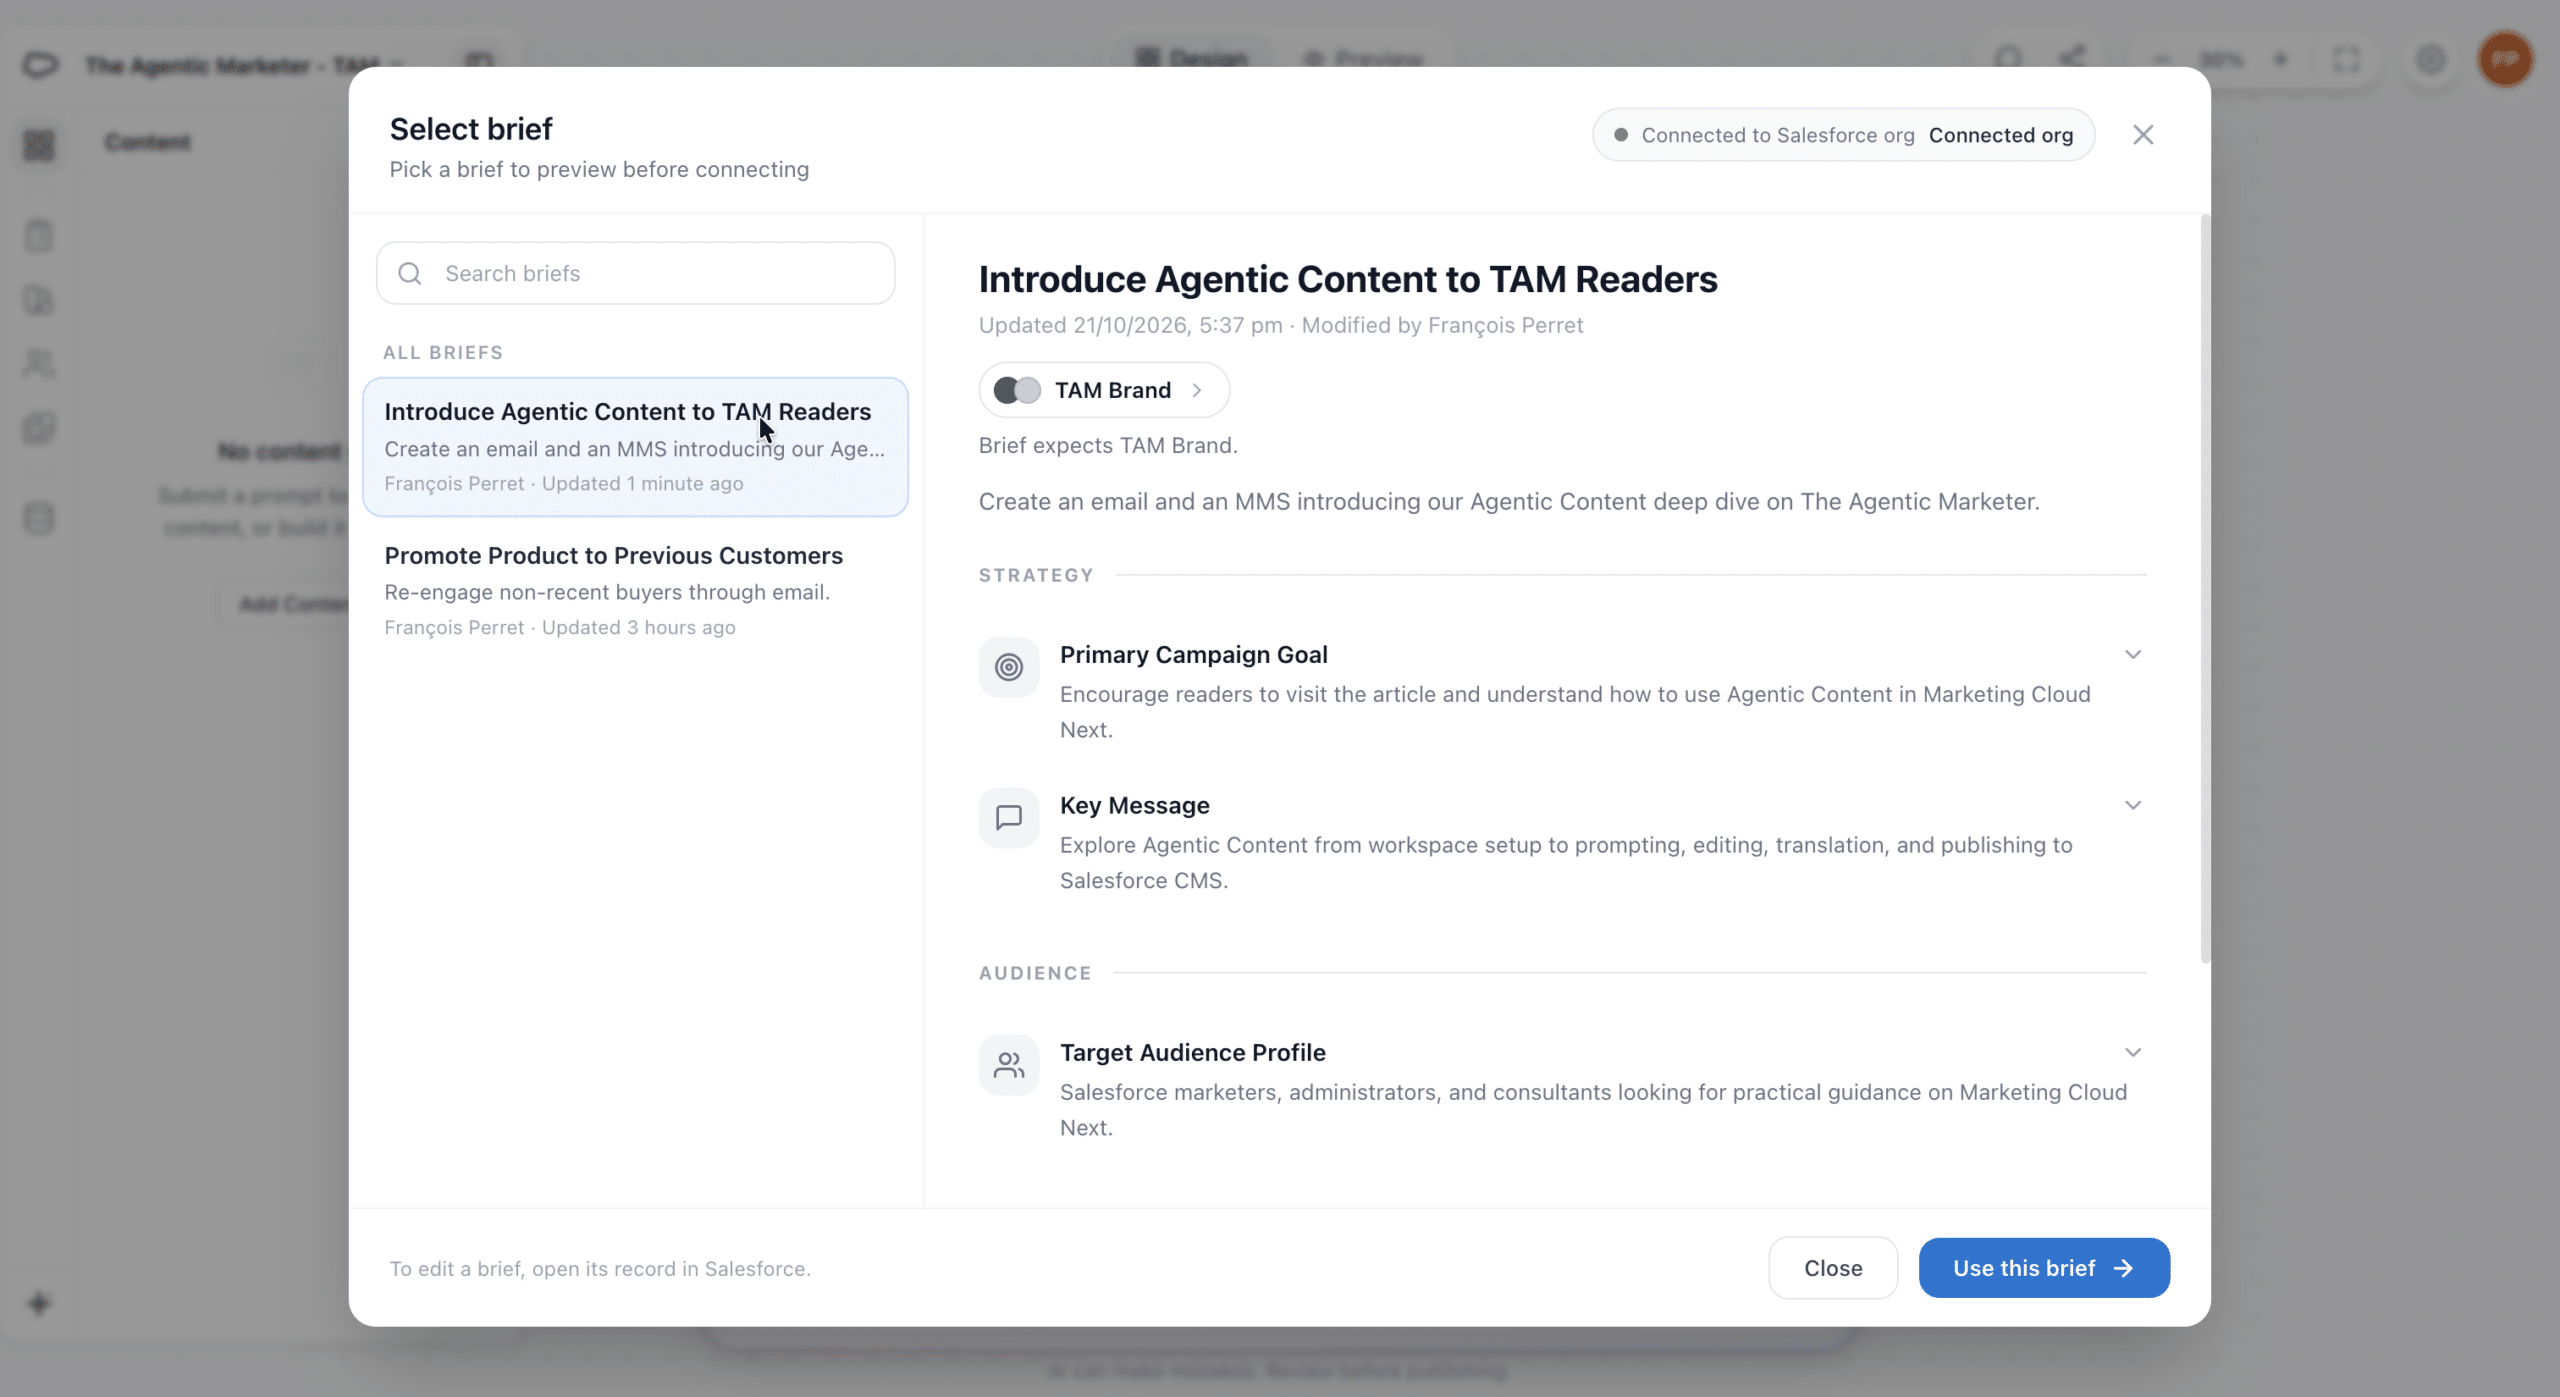
We review these details and select Use this brief. To change the brief itself, we open its record in Salesforce. The brief supplies the marketing context we want to keep consistent across messages. In the generation prompt, we’ll specify the execution details, such as the email structure, image selection, and MMS length.
The audience description helps shape the wording and level of detail. It provides creative context; it does not configure the recipients of a send.
Connect the Brand: How Should the Content Look and Sound?
The brief explains what we want to communicate. The brand provides guidance on how that content should look and sound.
We select Add brand, then choose TAM Brand. Before connecting it, we can review its colors, tone, and typography. Once selected, the brand becomes part of the context available for content generation. To edit the brand itself, we open its record in Salesforce.

For this walkthrough, we’re connecting the existing TAM Brand shown in the picker. Creating and managing a brand, including through Brand Center, is a separate setup task. Here, we’re focusing on the guidance available to Agentic Content once the brand is connected.
We should review these settings rather than assume an existing brand is ready to use. Default colors or broad tone labels may need adjusting to reflect the identity we want.
For more detailed direction, we can also attach a brand guide as a supporting document. Writing examples, preferred terminology, and specific design rules provide context that a few tone labels cannot fully express. The brand settings and supporting guidance should agree, giving the agent a consistent starting point.
During our test, a newly published CMS image did not appear immediately in the asset picker. It became visible later. We could not establish whether this was caused by caching or a refresh delay, so an initially empty picker does not necessarily mean the image is unavailable for use.
Add Assets: Give the Agent the Images It Should Use
We can bring existing images into the workspace through Add Assets, either by importing media from Salesforce CMS or uploading our own files. Here, we select TAM – Official Logo from our CMS workspace.
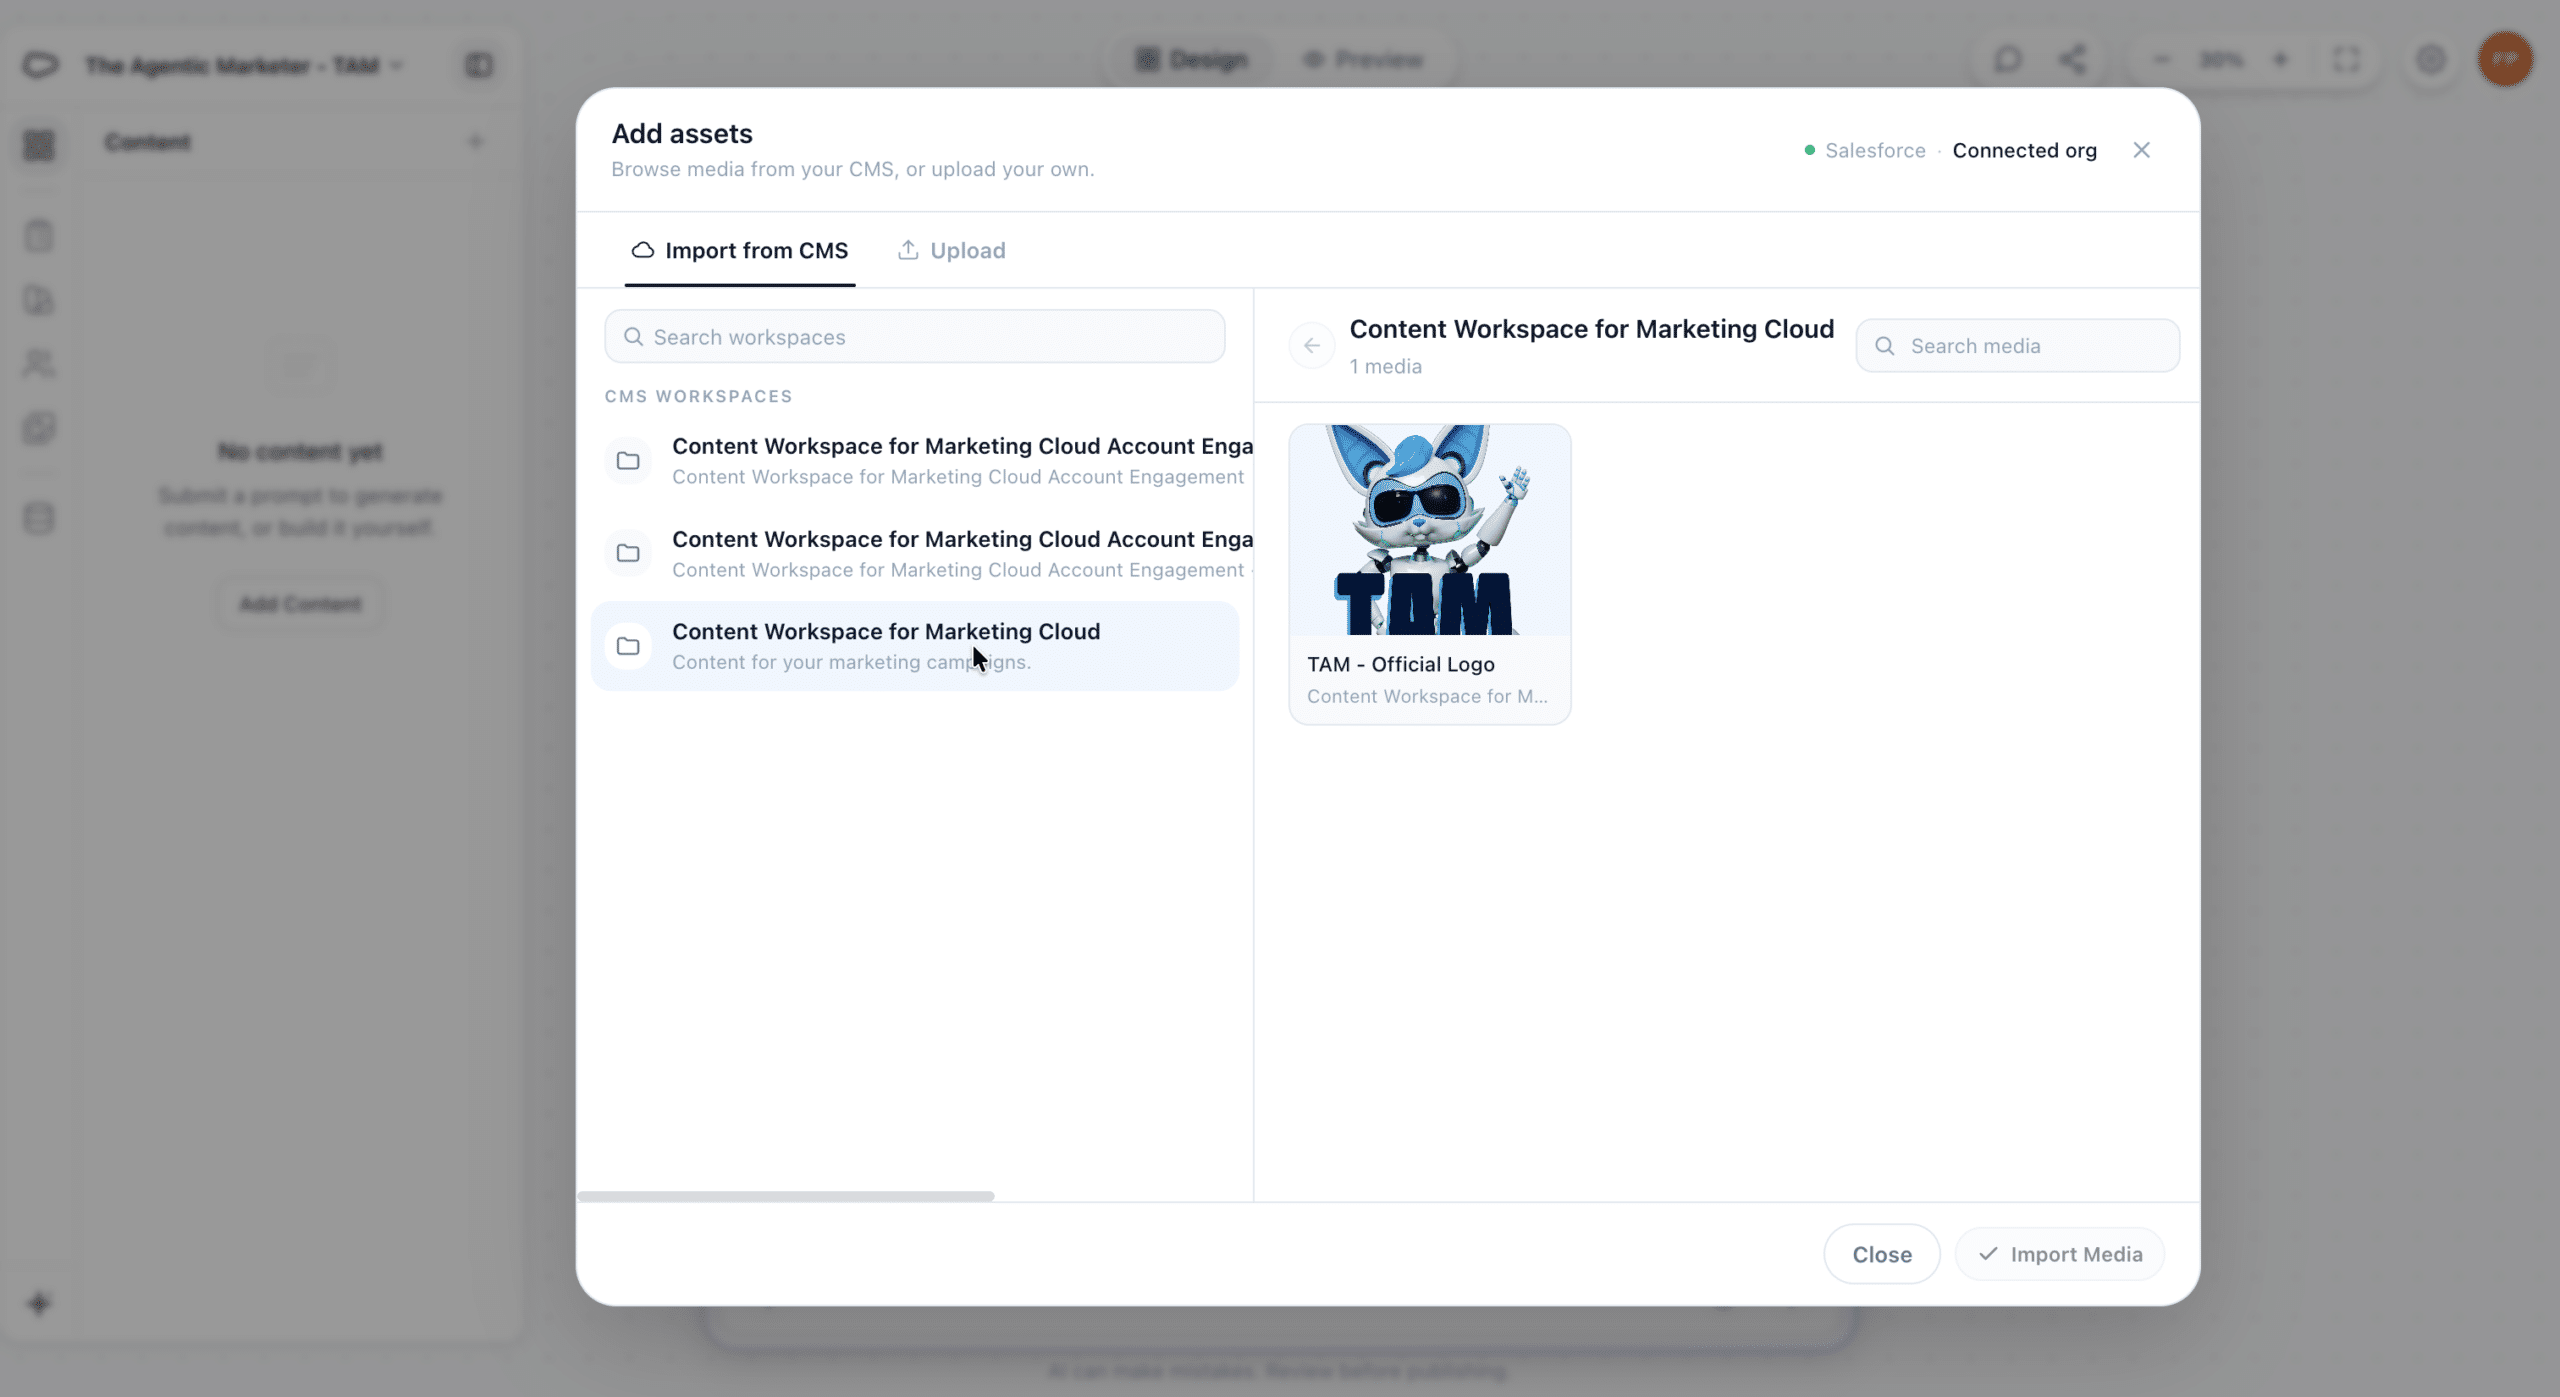
The asset picker displays media, so we should not expect an email template to appear here. The logo and connected brand also serve different purposes: the asset supplies the image, while the brand provides visual and writing guidance.
When we write our prompt, we should explain how to use the supplied images. For example, we can specify that the TAM logo belongs in the header and that no new images should be generated.
We can also attach supporting PDFs or plain-text documents through the + control in the conversation panel. A product description supplies facts, a brand guide adds detailed rules, and a previous email can provide a visual reference. When reusing older material, we should distinguish the design we want to retain from dates, offers, or wording that must change.
Connect Data Sources When the Content Needs Them
Data sources provide access to information that can support content generation and personalization. In the Data Sources panel, we connect an existing Data Graph called My_Data_Graph from the default data space. The connection dialog identifies its underlying object as UnifiedIndividual__dlm.
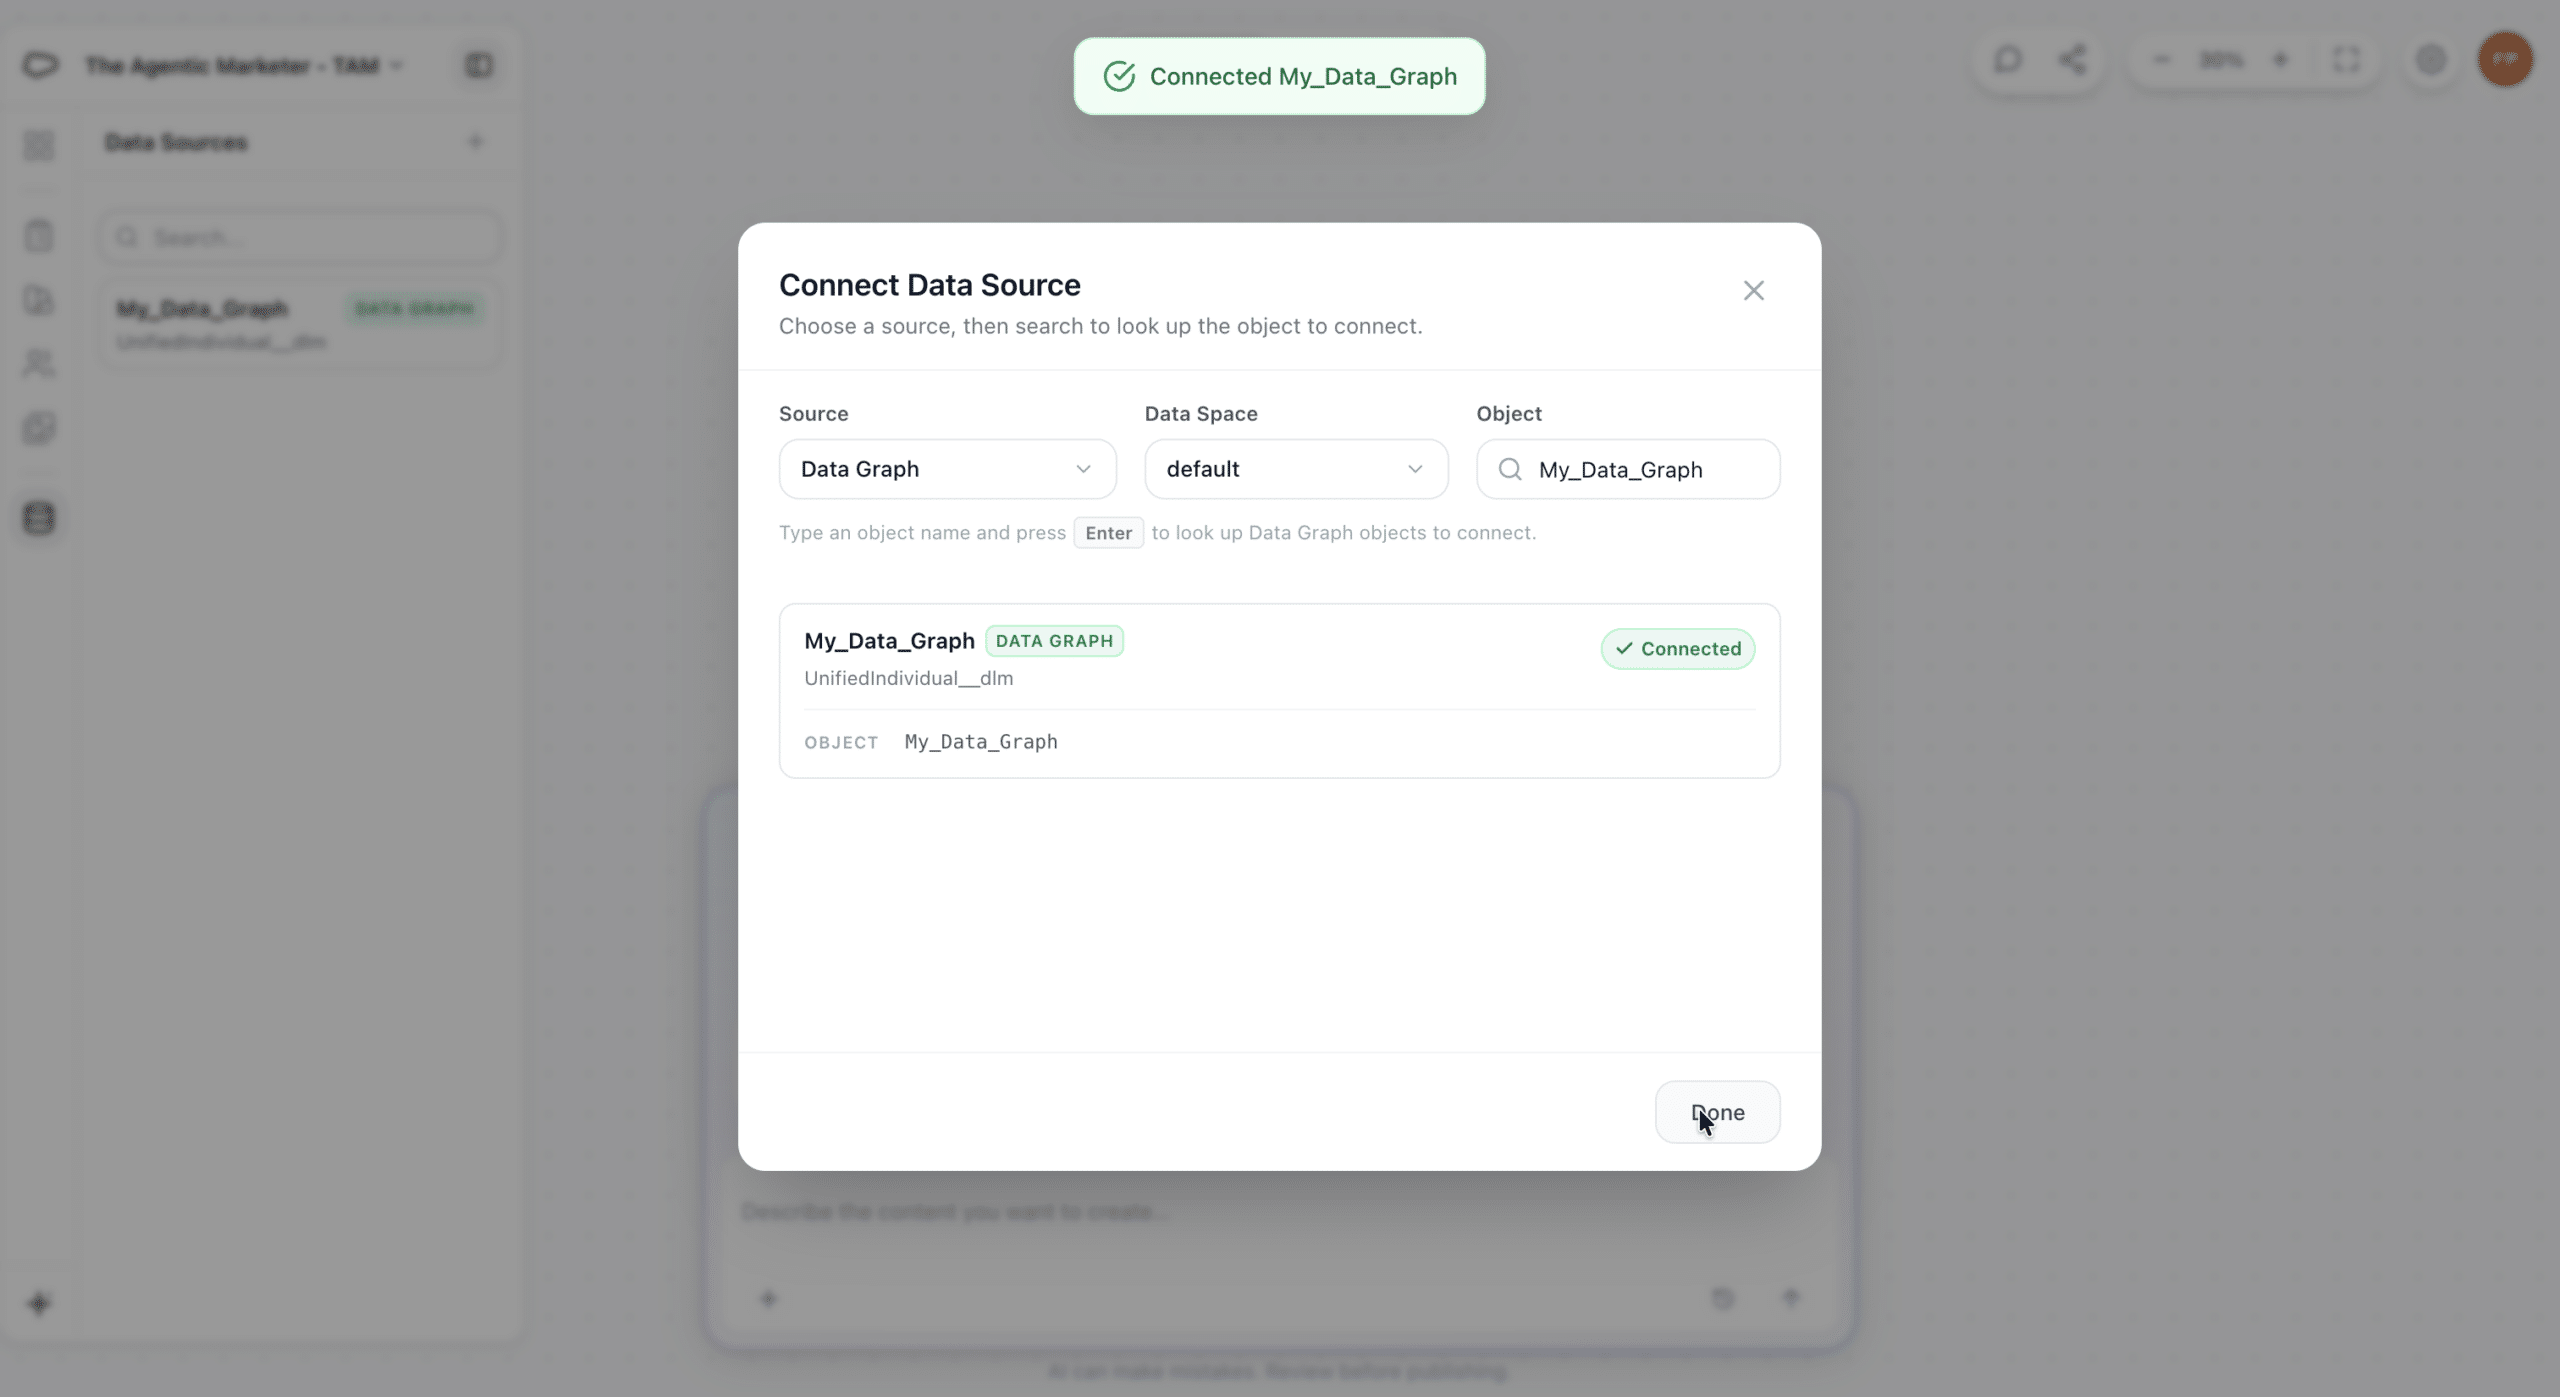
The audience description in the brief and a connected data source serve different purposes. The audience description helps guide the message and tone. A data source supports requests that depend on actual fields and data.
Connecting the source is a preparation step. When we write our prompt, we still need to explain the intended personalization, then inspect the generated fields and preview their values. A successful connection alone does not confirm that the resulting content uses the right data.
Set Instructions That Apply Across Prompts
Behind the gear icon, Settings → Instructions lets us define guidance that applies to every prompt in the workspace. This gives us a place for recurring rules without repeating them in each request.
For this walkthrough, we add instructions to keep the writing clear and practical, avoid inventing facts, use approved images, and maintain a consistent message across channels. We also specify how to handle revisions and translations.
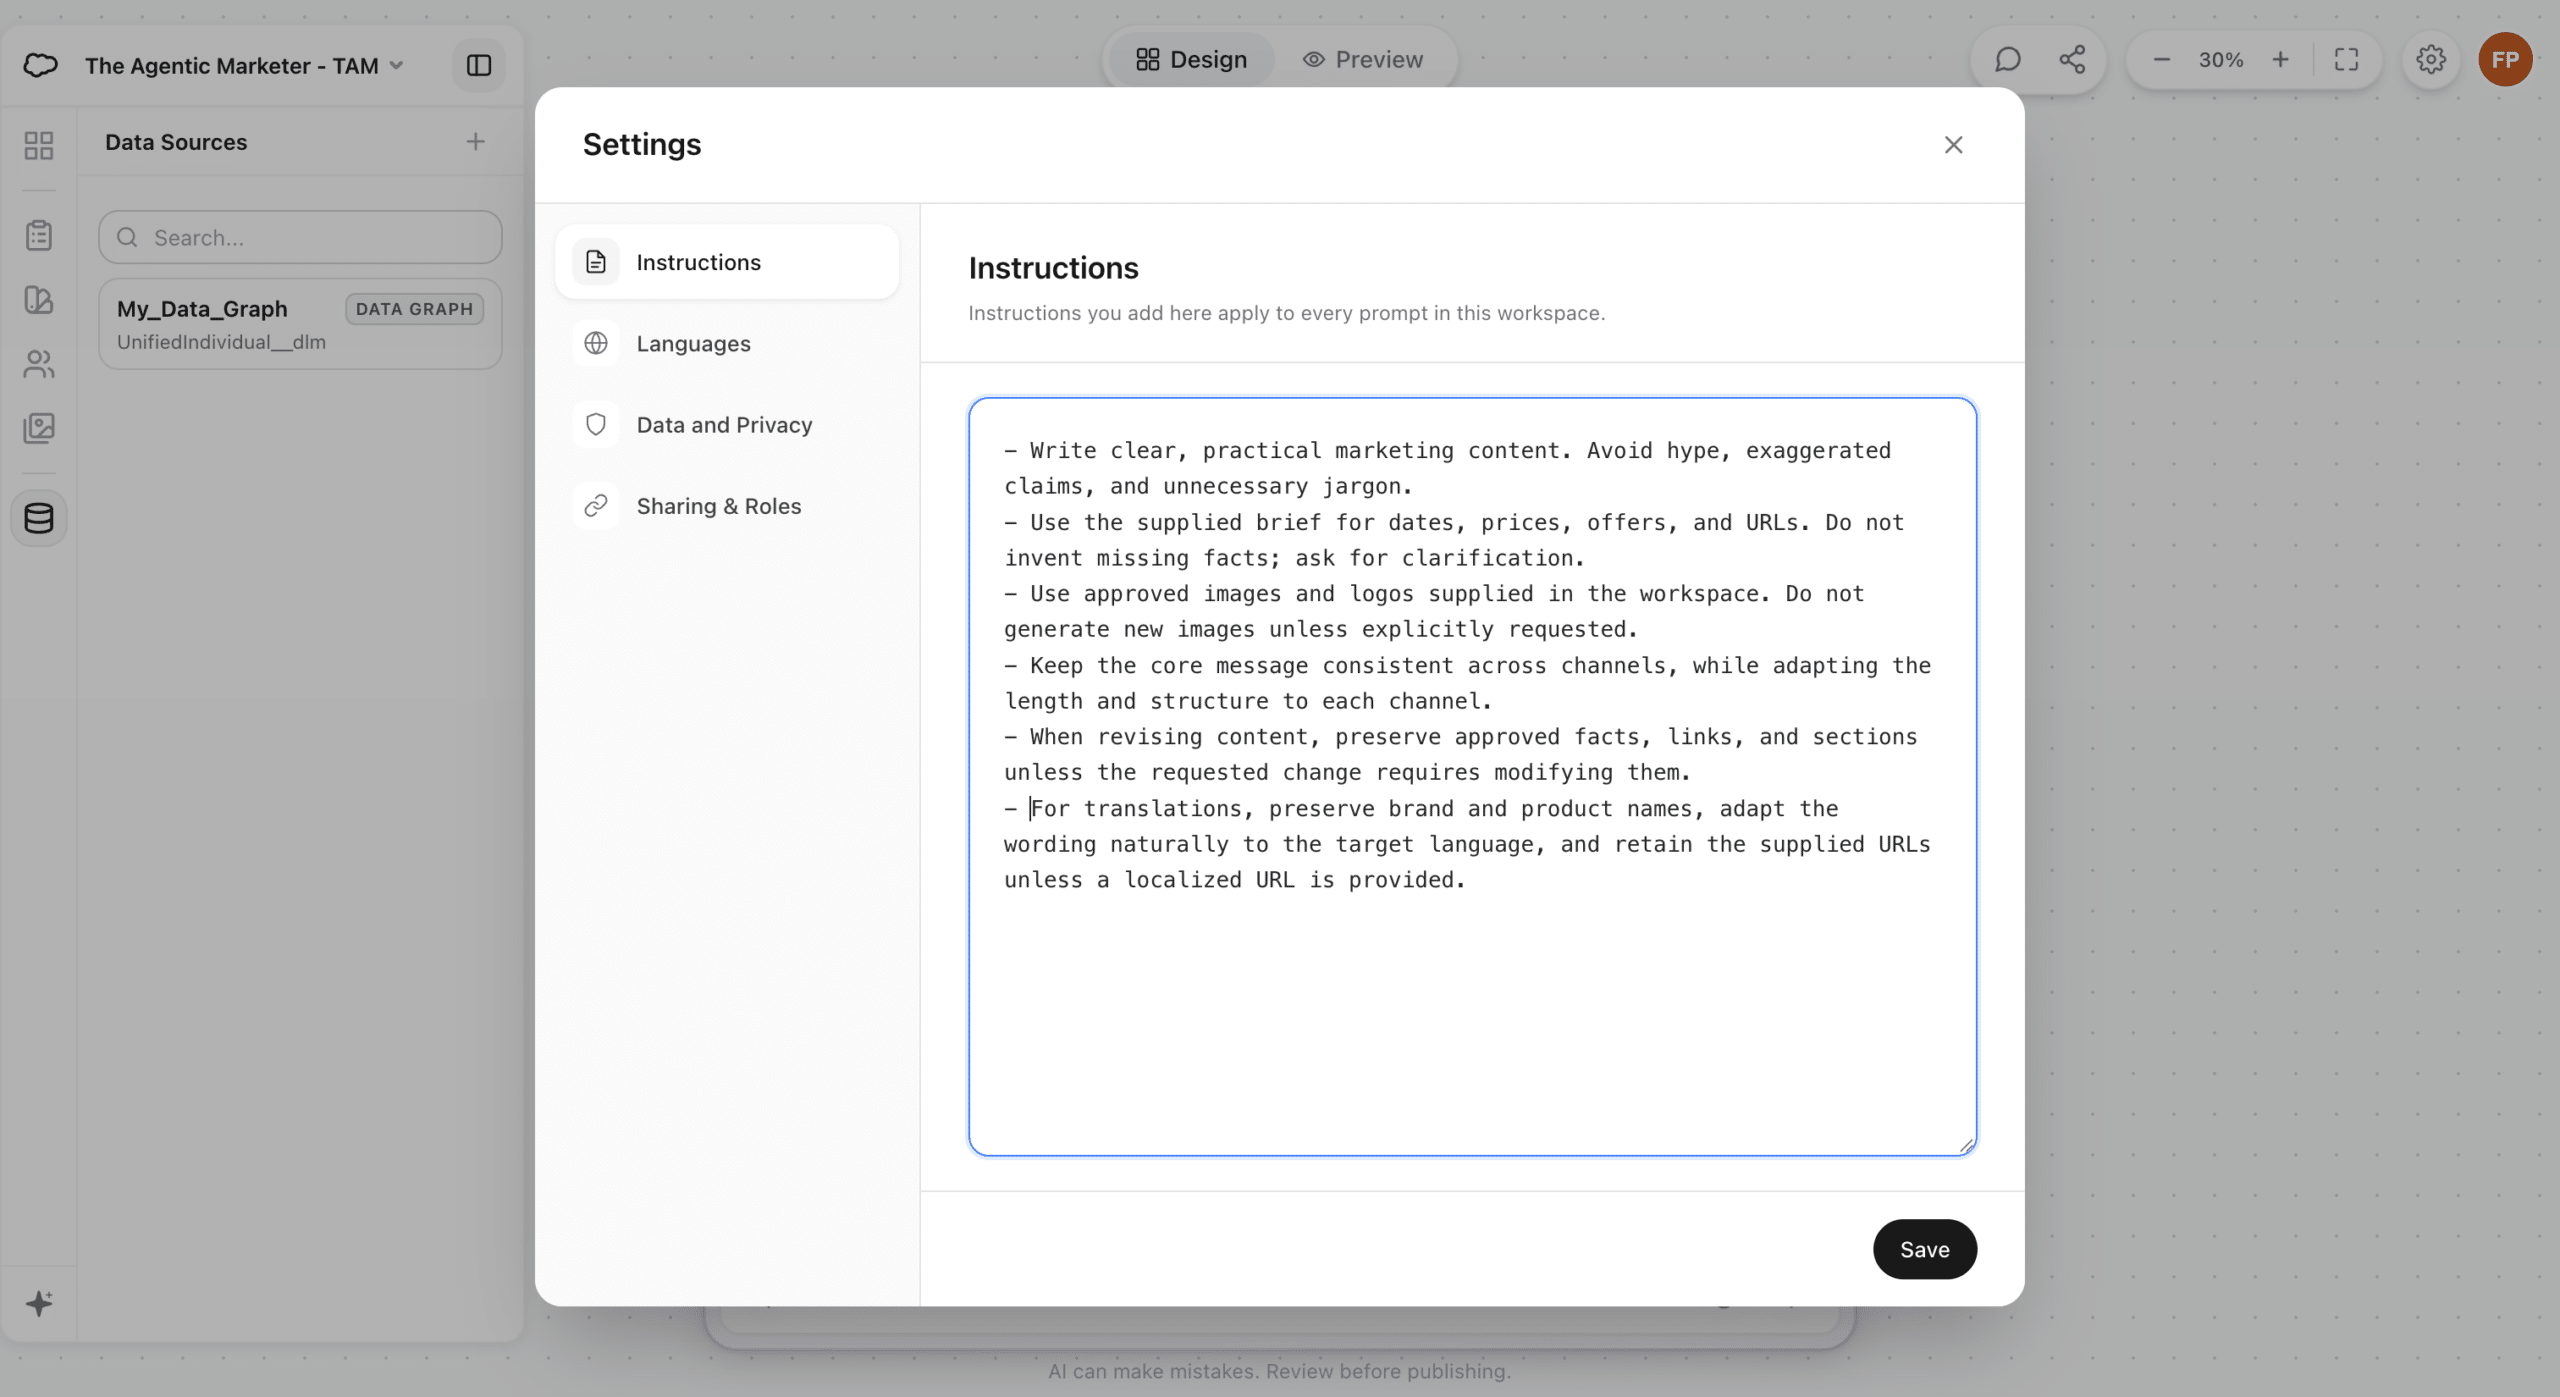
These instructions are our example for the demo, rather than a Salesforce-provided template. After entering them, we select Save.
We keep specific dates, offers, and URLs in the brief or supporting documents. Workspace instructions hold the rules we want to carry through the project. They should agree with the connected brand and brief, and we’ll check how well the generated content follows them.
With the workspace prepared, we’re ready to write our first prompt.
From prompt to published content
We’ll use one prompt to create an email and an MMS promoting this deep dive, then refine the results through conversation and direct editing. Along the way, we’ll add personalization, create language variants, and publish the selected content to Salesforce CMS.
Write a Prompt That Gives Clear Direction
The brief sets the objective. The prompt turns that objective into a concrete request: what to create, what to say, and how it should look. For this walkthrough, we’ll ask for an email and an MMS promoting our Agentic Content article. We’ll reuse our approved TAM logo and request a new illustration that follows the connected brand.
A useful prompt gives clear direction without repeating every detail already available in the workspace. We specify the channels, the intended audience, the key message, and the exact CTA destination. We also distinguish existing assets to reuse from images we want generated.
For our example, we use the following prompt:
Create an email and an MMS promoting our Agentic Content deep dive on The Agentic Marketer. Use the connected brief, brand, and workspace instructions.

Write for Salesforce marketers, administrators, and consultants. Keep the tone practical, friendly, and informative.

Use the original TAM logo from the asset library unchanged. Generate a new illustration in our brand style showing a creative brief becoming an email and a mobile message. Do not include text or logos in the generated illustration.

For the email, include a subject line, preheader, a short introduction, and three points covering workspace setup, content generation and editing, and publishing to Salesforce CMS. Use “Read the deep dive” as the CTA.

For the MMS, write a concise invitation to read the article and include the illustration.

Use this destination for both messages:
https://the-agentic-marketer.com/marketing-cloud-next-deep-dives/agentic-content/

Use configured footer and opt-out elements where available. Flag missing information instead of inventing it. Create both messages as drafts for review.
Five simple habits help make these requests more useful:
- Name the deliverables. Specify the channels and the content expected for each.
- Give concrete details. Include the message, CTA wording, and destination.
- Describe the visual direction. Explain the subject and style of a new image.
- Identify what to reuse. Name approved assets clearly and distinguish them from new creative requests.
- Refine with focused follow-ups. Review the first result, then ask for specific changes.
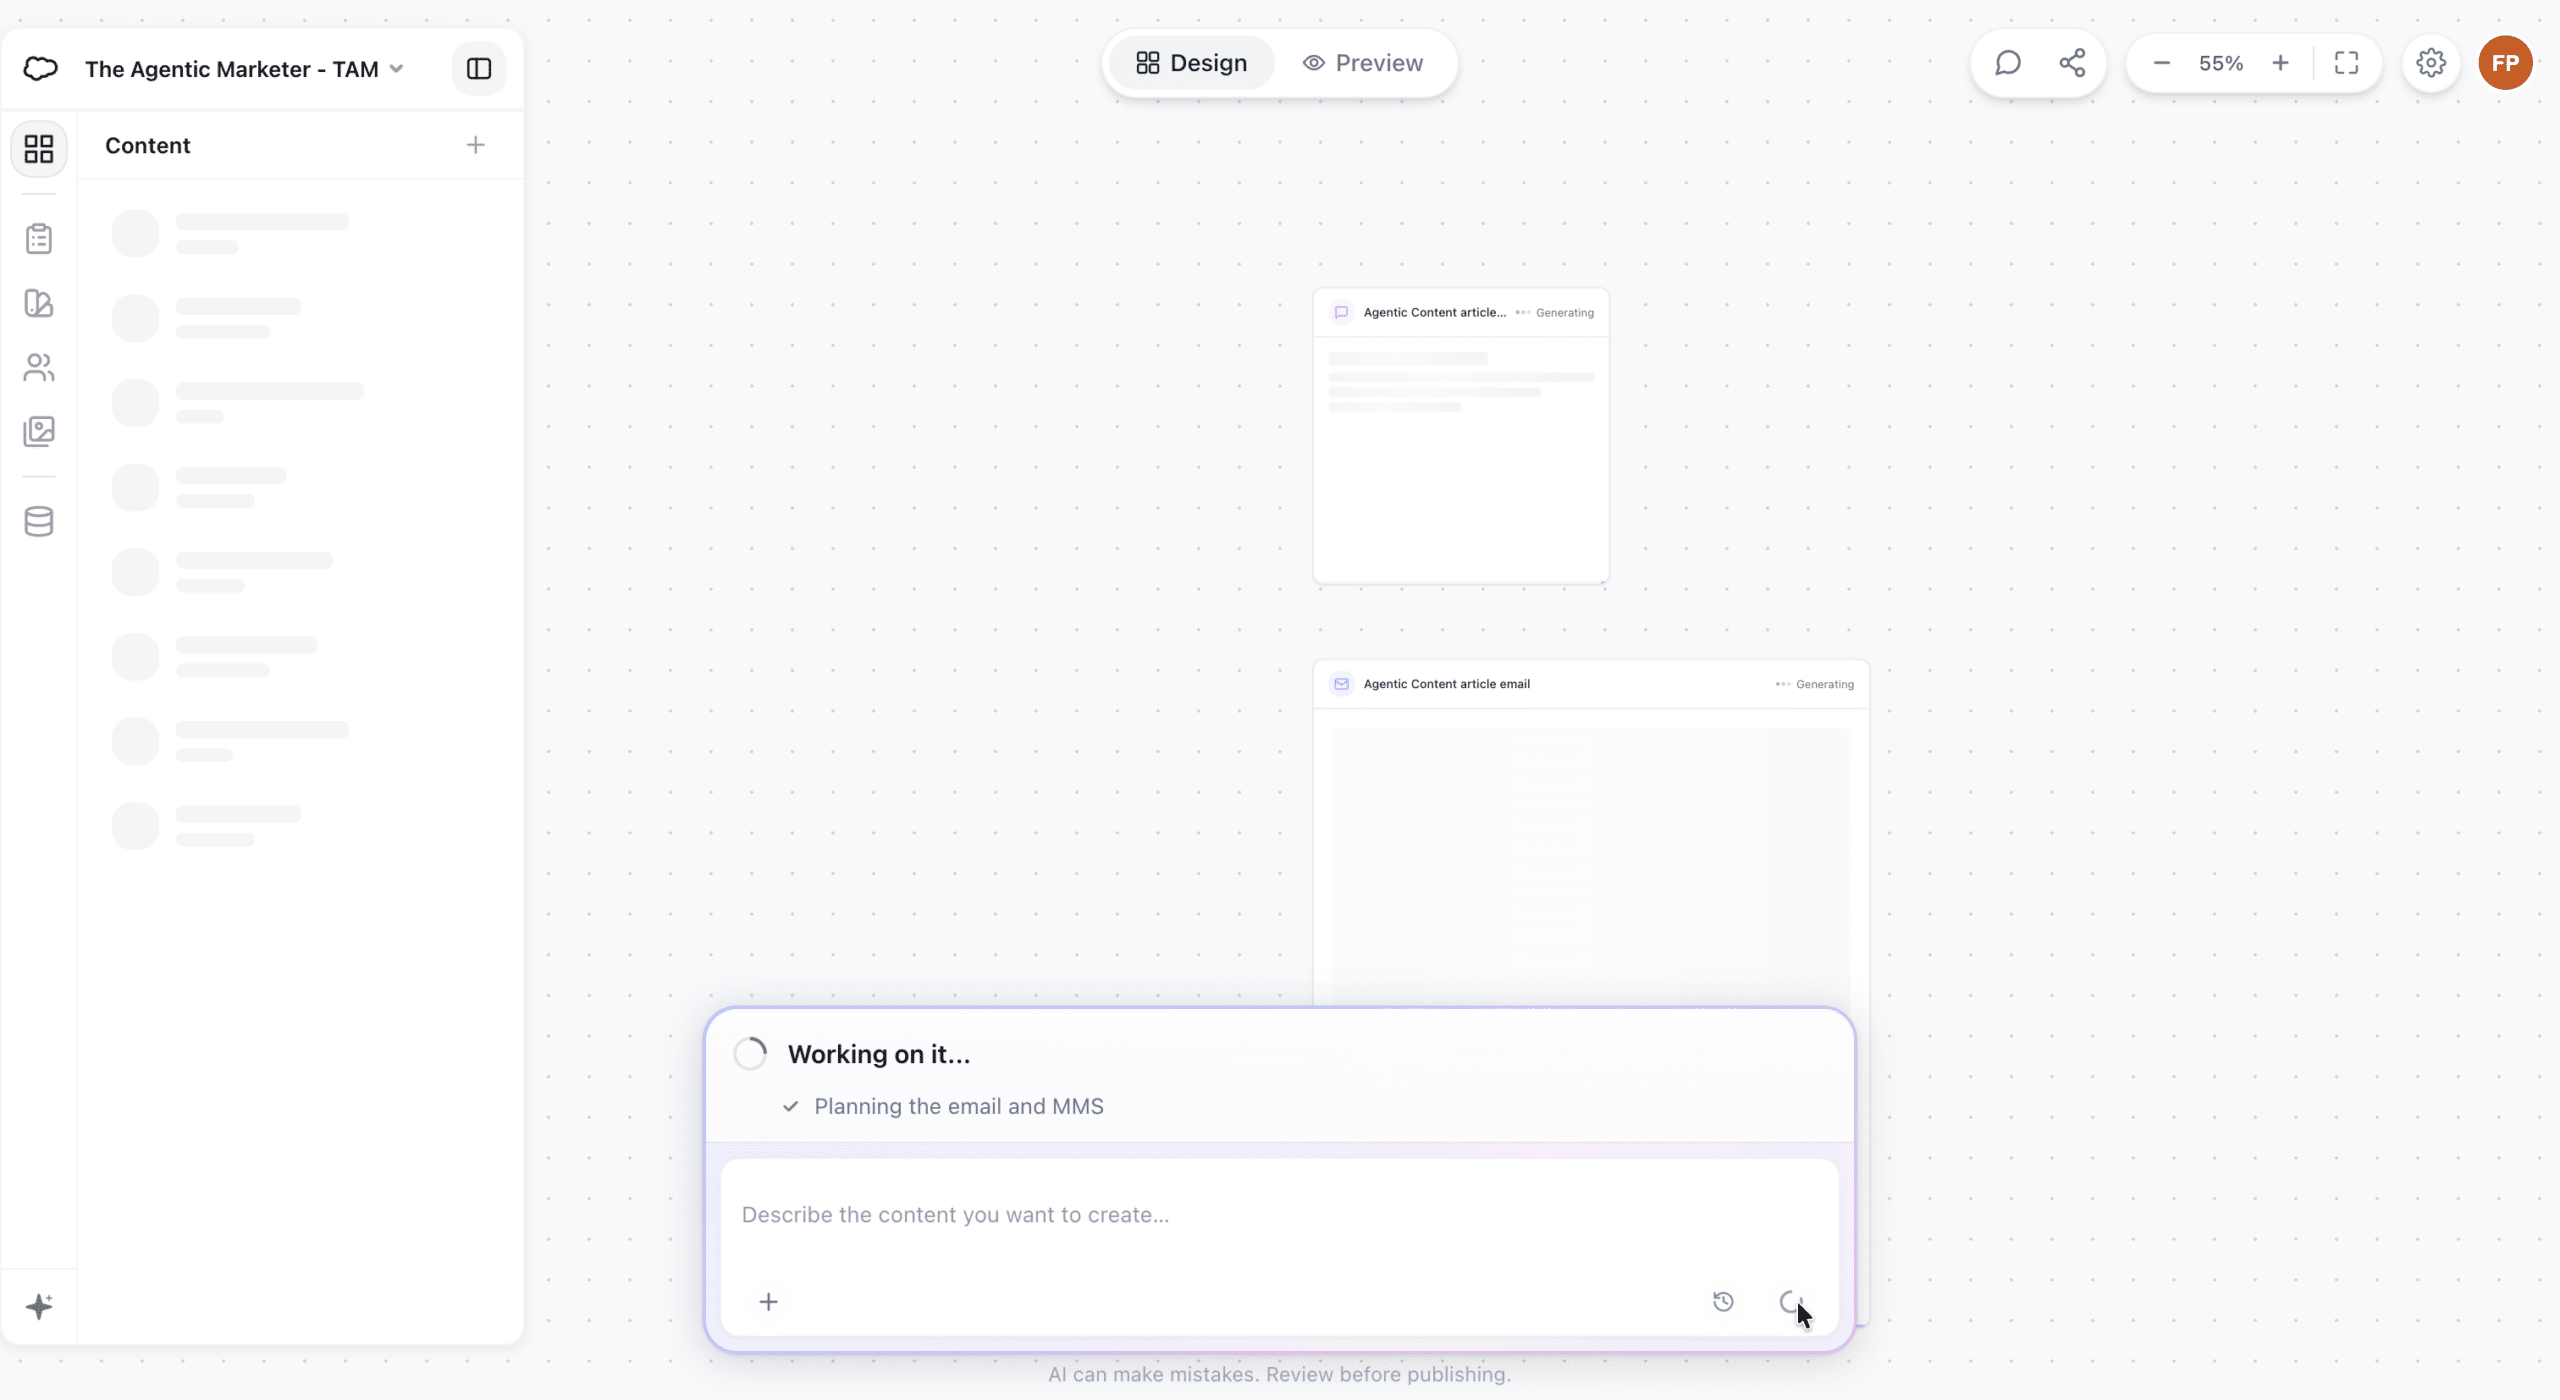
Once submitted, the request starts a conversational creation process. We can follow the progress as the email and MMS take shape on the canvas, then continue the conversation to refine them.
Review the First Results Across Channels
The first result gives us an email and an MMS on the same canvas. Both promote the same article, but the content is adapted to each format. The email combines our TAM logo, a generated illustration, explanatory copy, and a “Read the deep dive” button. The MMS delivers a shorter invitation with the article URL.
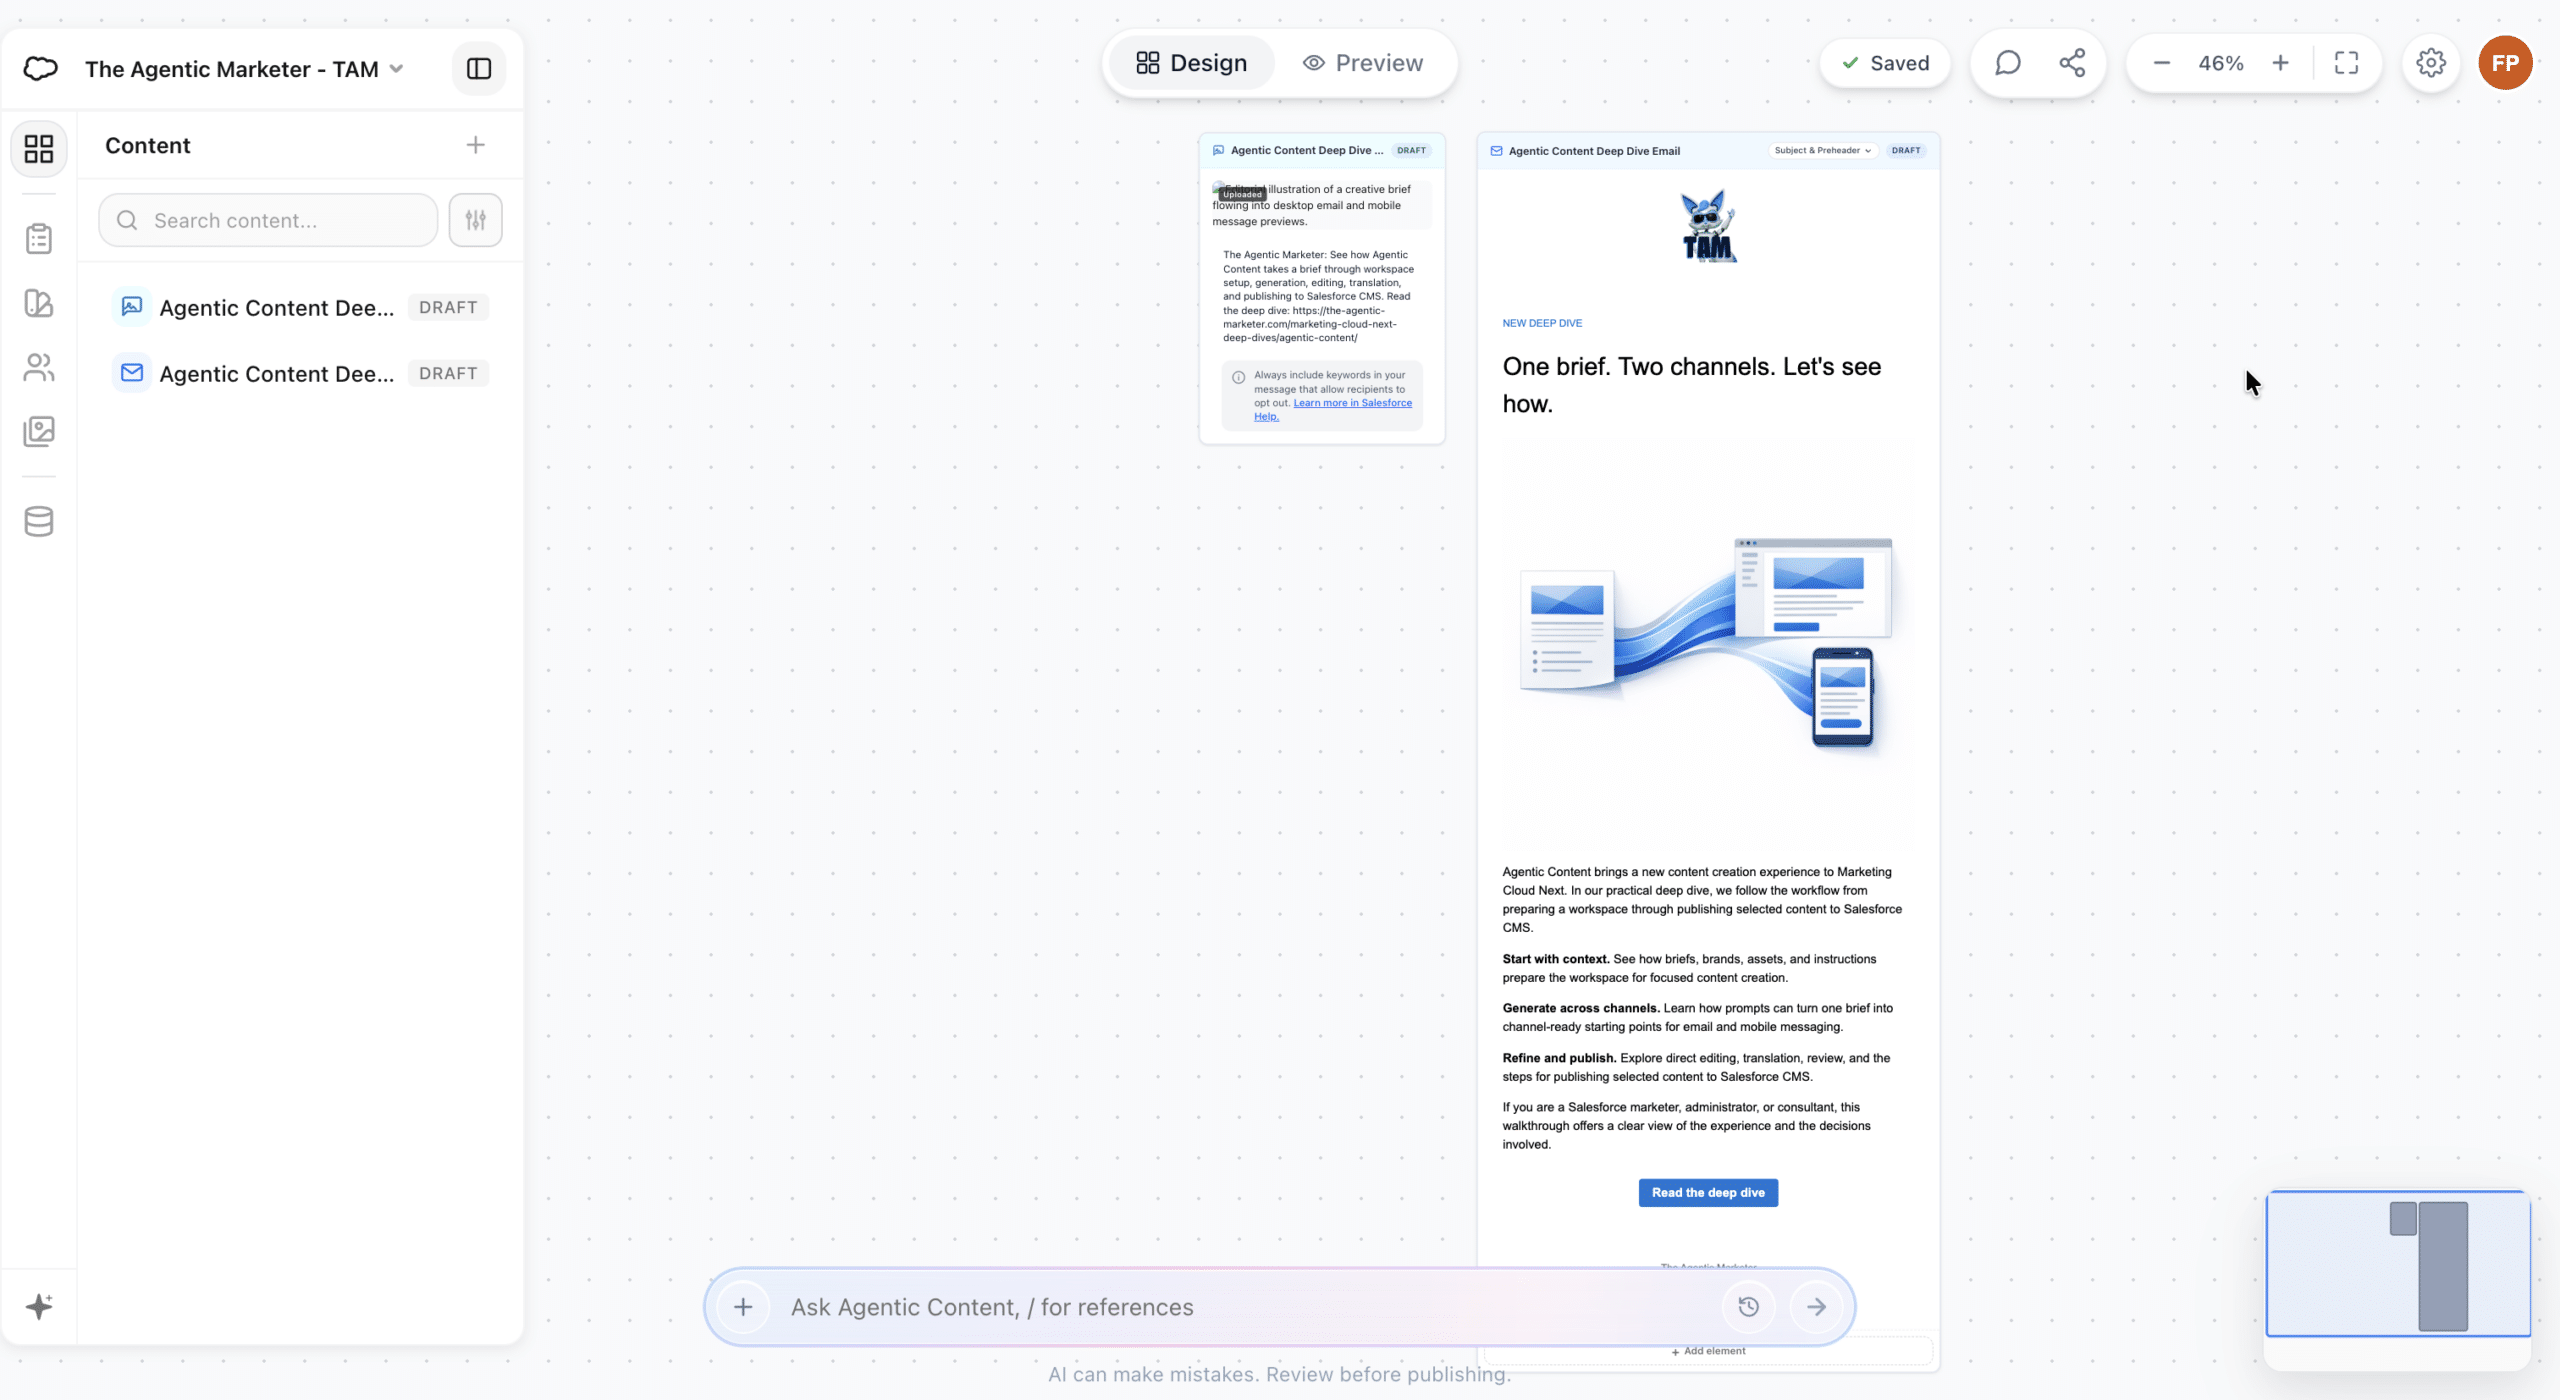
Before requesting changes, we compare the drafts with our brief and prompt. Does the email explain what readers will learn? Are the subject line and preheader useful? Does the CTA point to the correct article? We also check the images, layout, and footer instead of relying solely on the completion message in the conversation.
In this first result, the illustration appears in the email, but the MMS displays alternative text where its image should be. The visible MMS copy also lacks opt-out wording, despite the reminder beneath it. These are points to resolve before using the message.
The first generation gives us material to work with. We can now refine the wording through conversation and use the editor for precise adjustments.
Refine the Content Through Conversation
We can continue the conversation to change what we have already created. For our email, we want the body to focus more clearly on what readers will learn. We ask for a new introduction and three numbered steps, while preserving the visual elements and CTA.
Revise only the email to focus on what readers will learn.

Replace the introduction with a short question about moving from a brief to usable marketing content. Then organize the body into three numbered steps:
Prepare the brief, brand, and assets.
Generate and refine content for email and MMS.
Review and publish selected content to CMS.
Keep the body under 150 words. Preserve the logo, illustration, styling, footer, and “Read the deep dive” CTA with its existing URL. Leave the MMS unchanged.
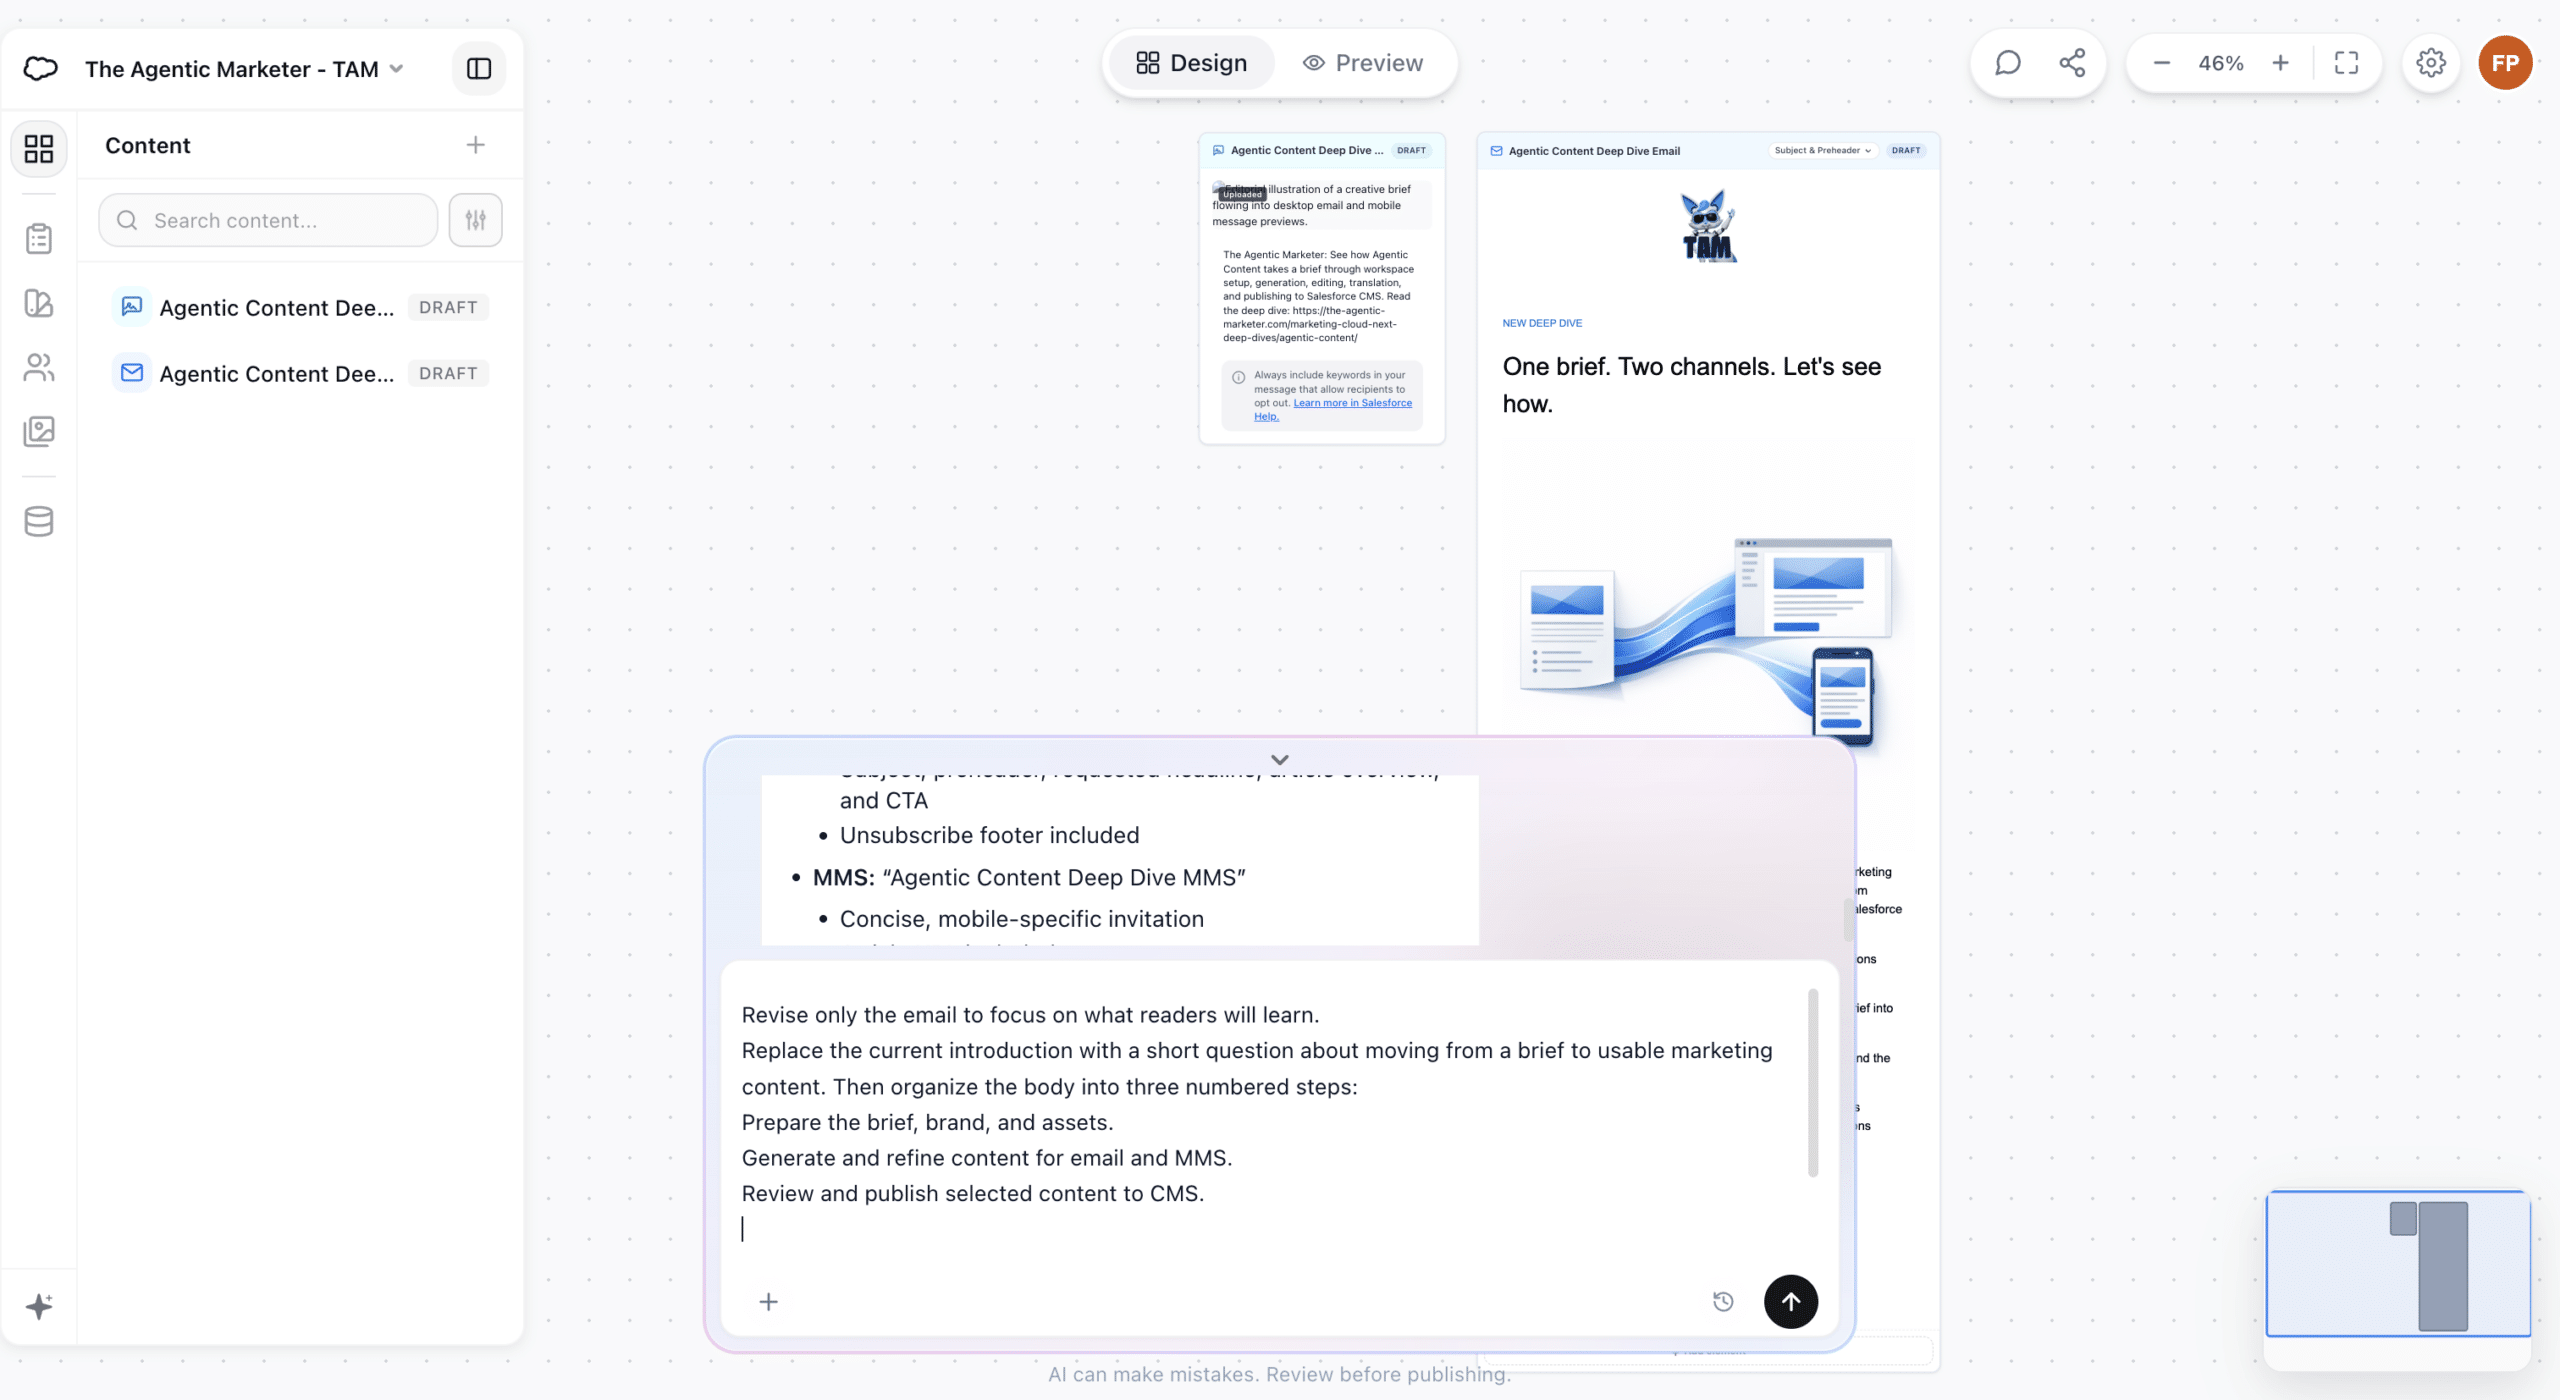
The revised email opens with “How do you move from a brief to usable marketing content?” and presents the three steps below it. This is conversational editing: we describe a change in ordinary language, inspect the result, and continue refining it as needed.
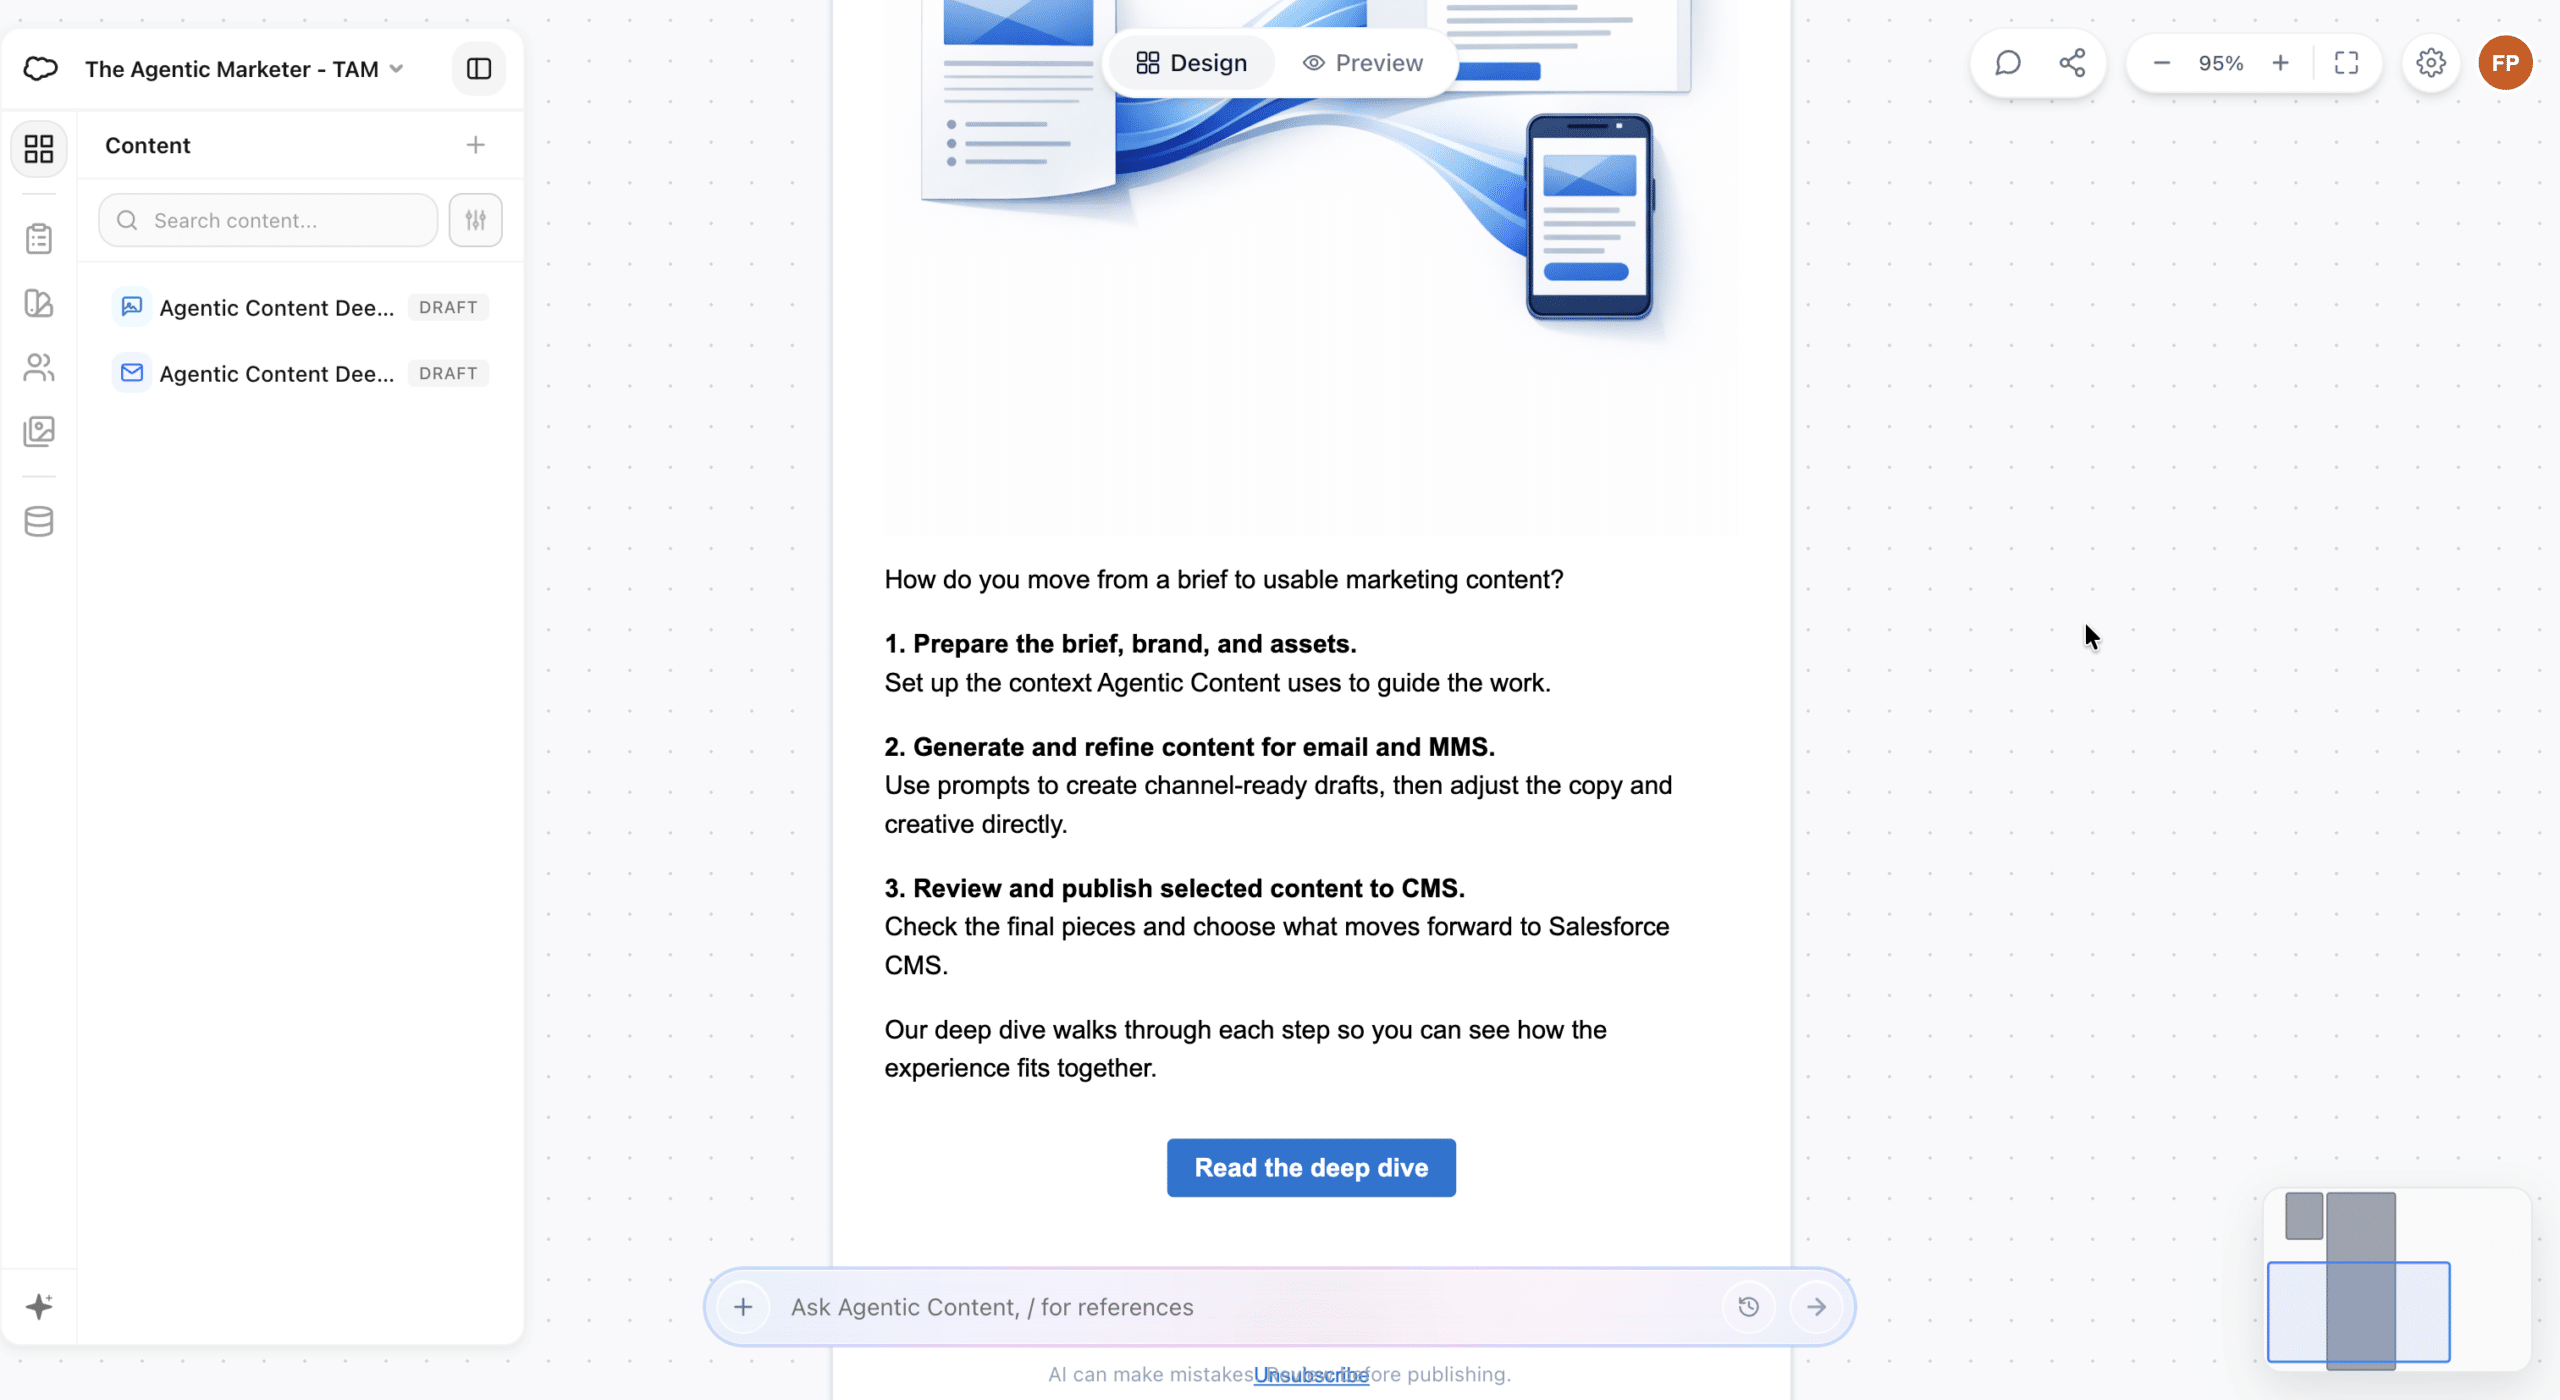
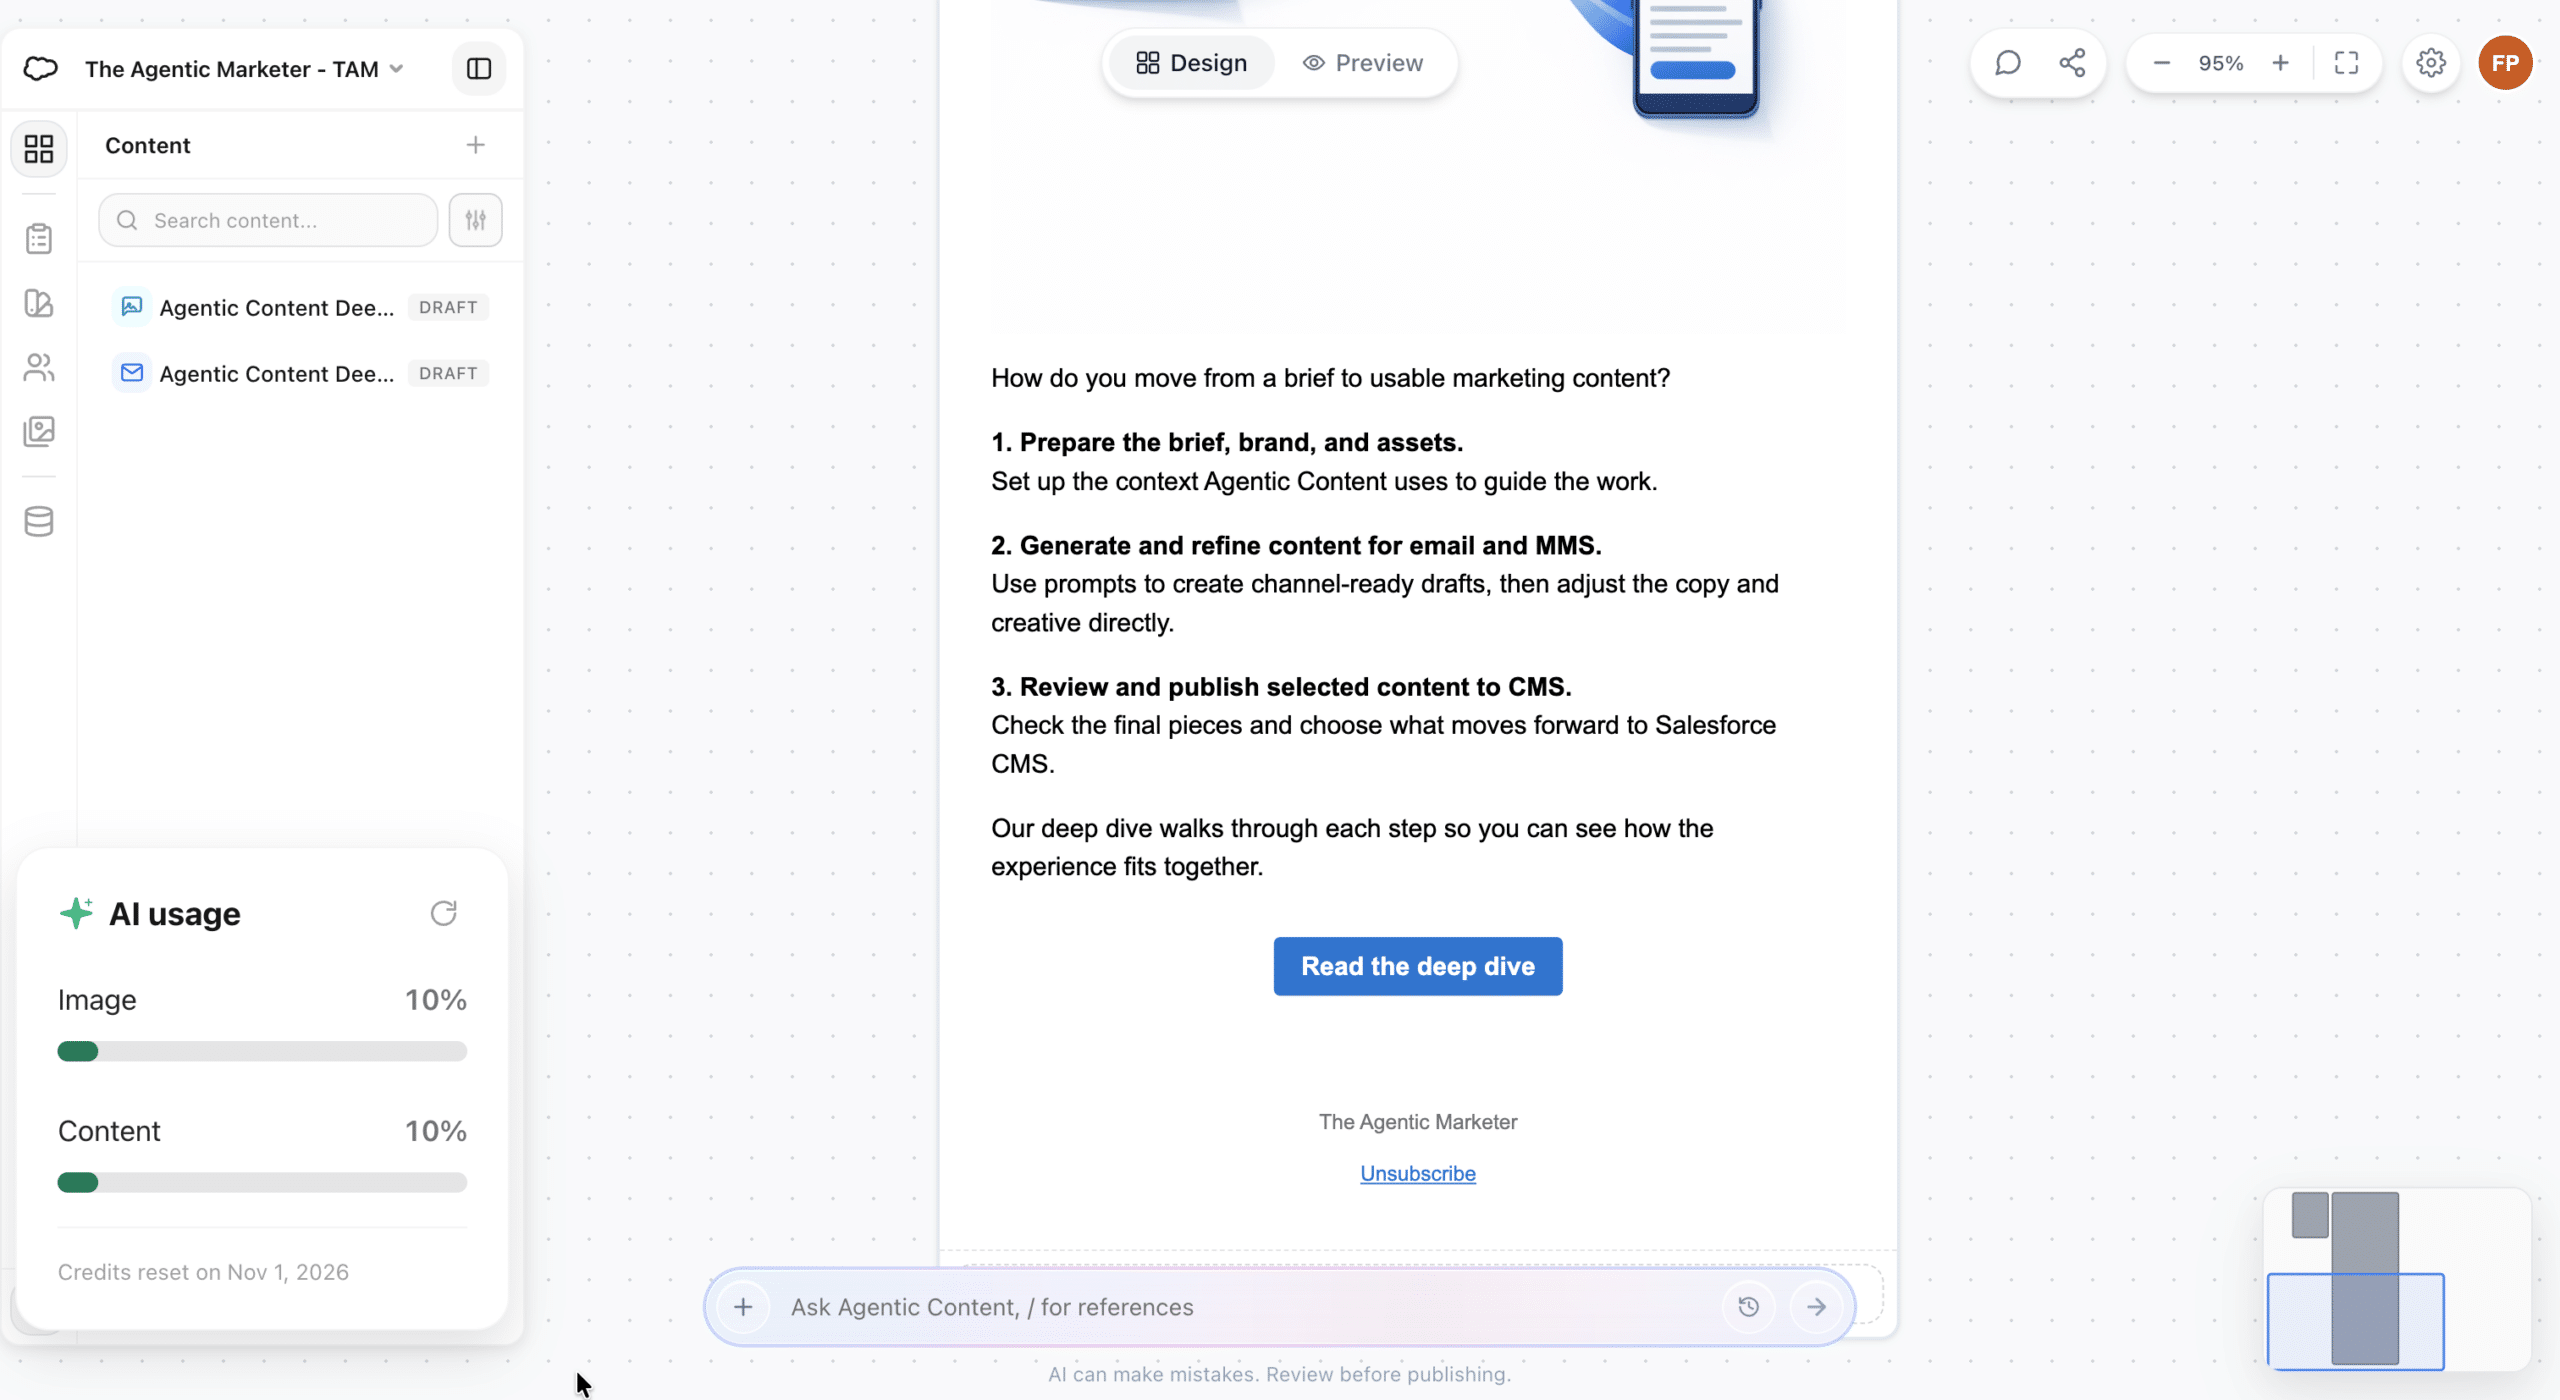
It is also a useful moment to check the AI usage indicator in the bottom-left corner. In our demo, it shows 10% usage for images and 10% for content, together with the next reset date. These figures reflect usage at that point in the session, rather than the cost of this single revision.
Make Small Changes Directly in the Editor
Conversation is useful when we want to reorganize a message or change its emphasis. For a small correction, we can work directly on the content. Selecting the CTA, for example, exposes its text-formatting controls and the destination URL in the Details panel.
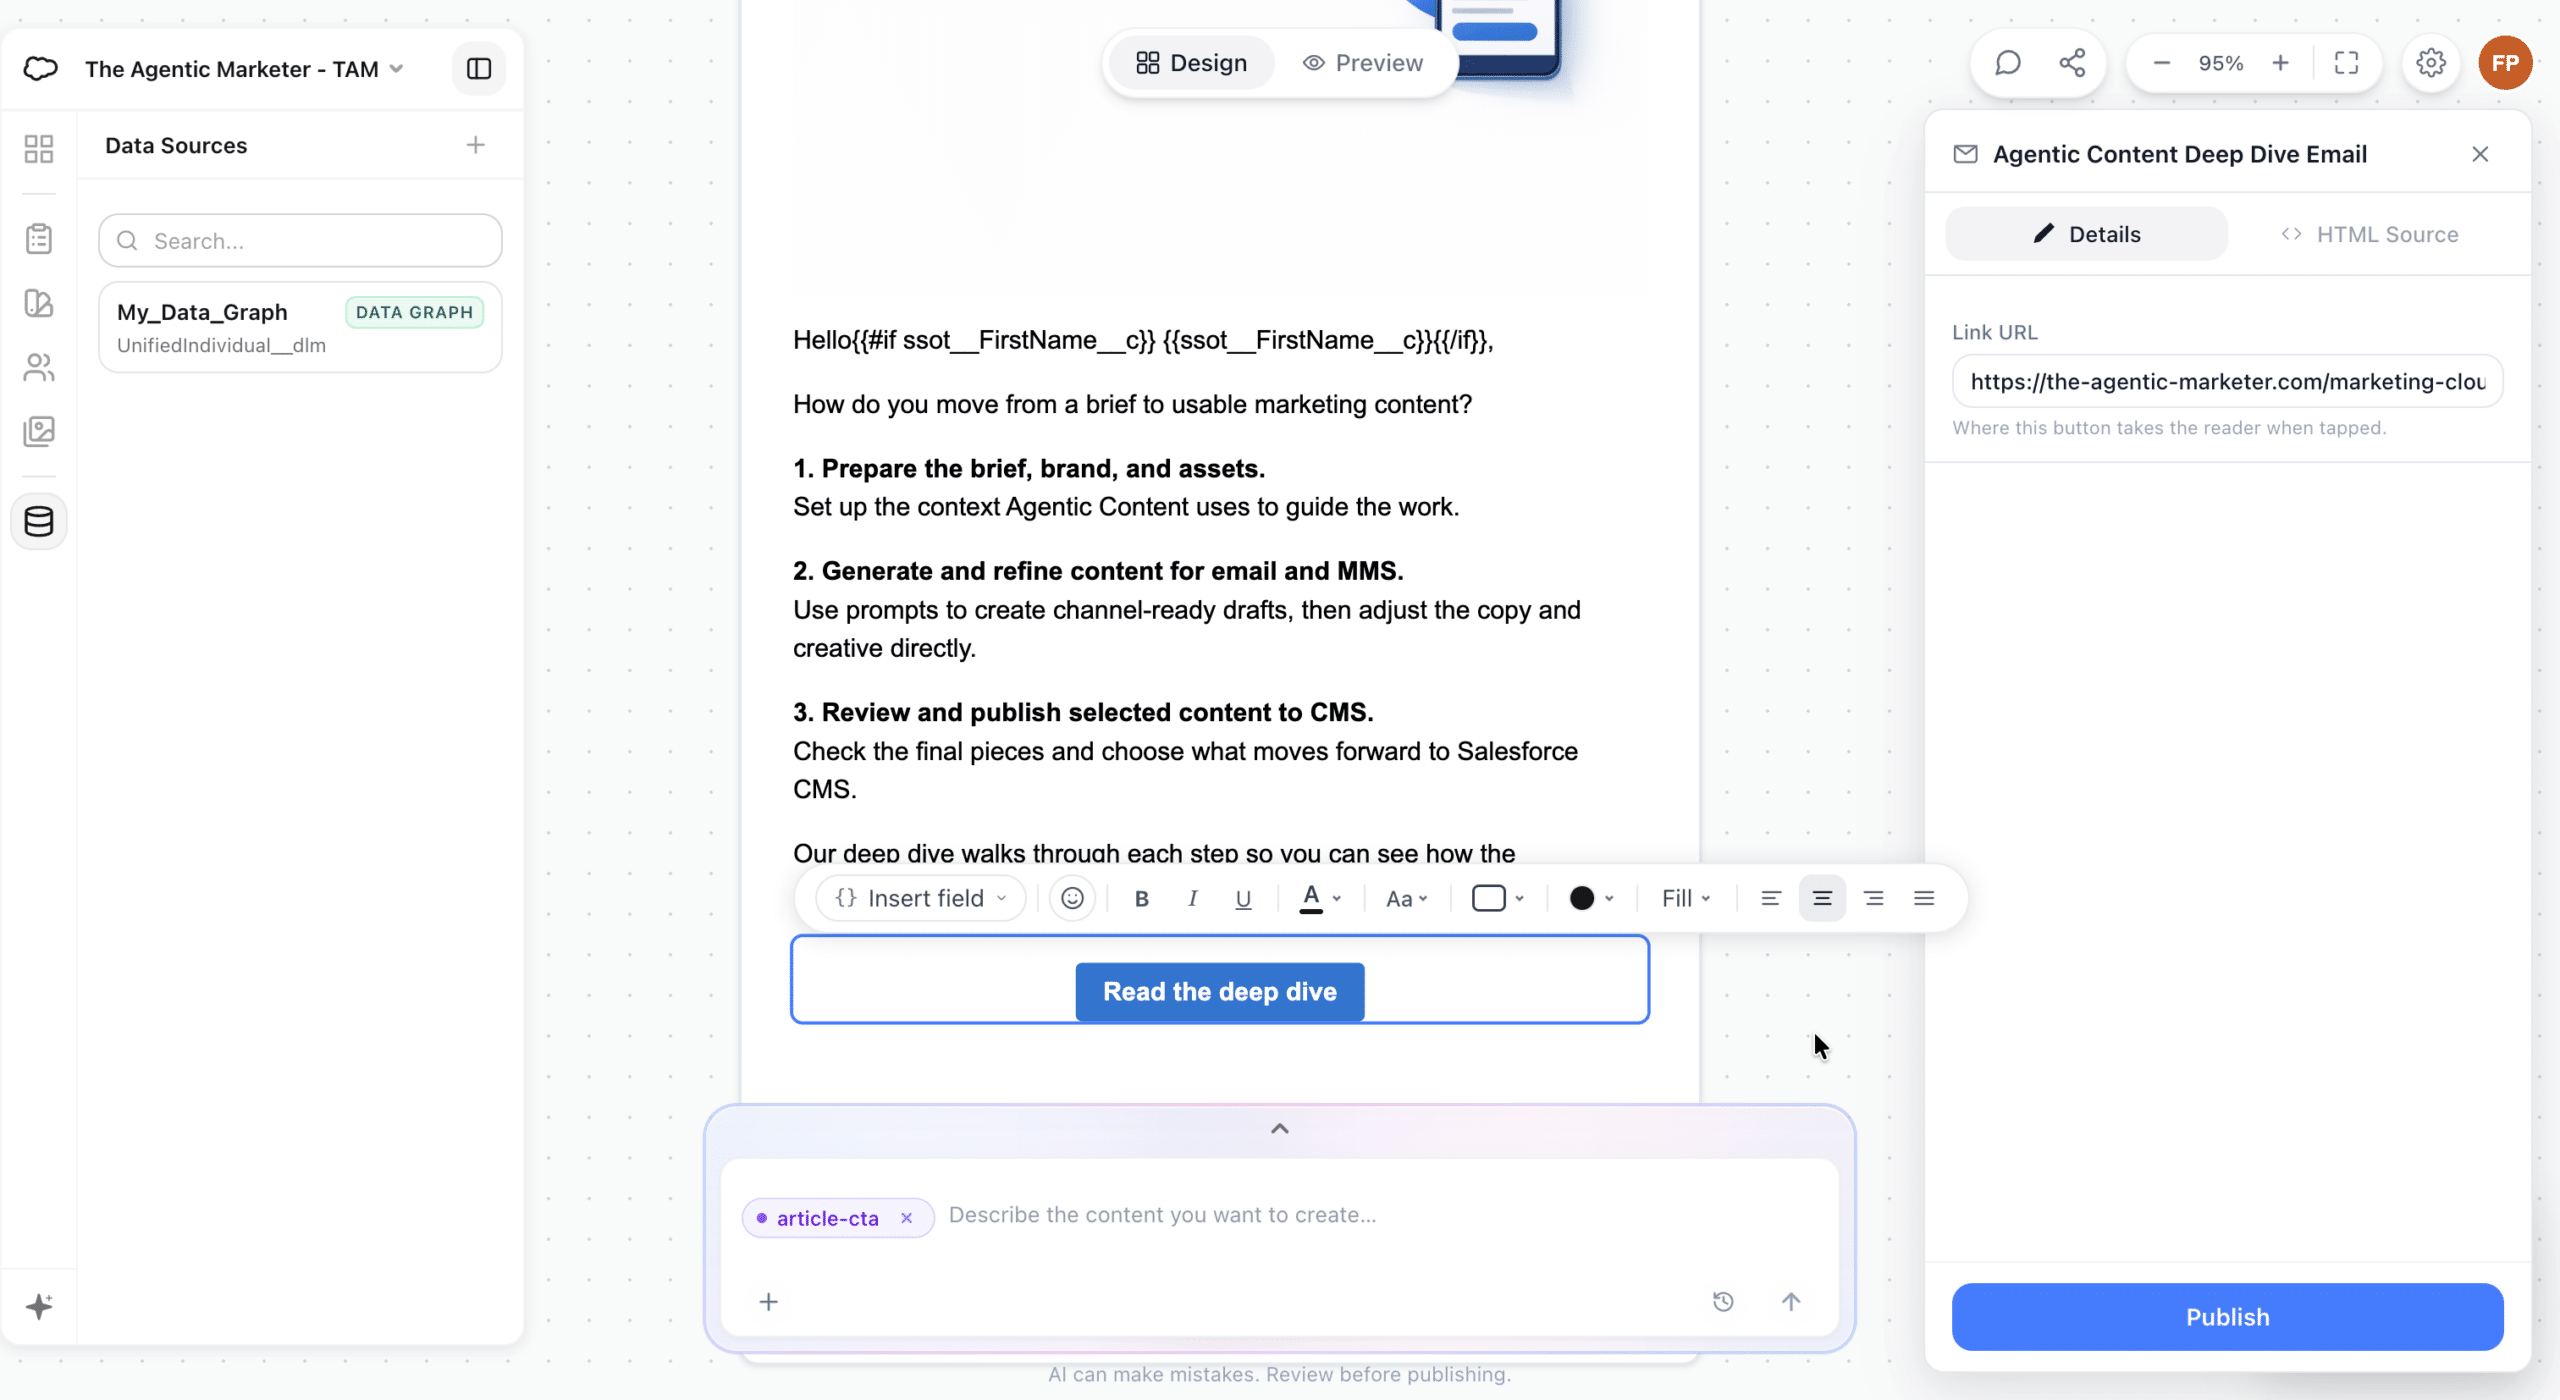
This lets us adjust a label or correct a link without requesting another generated version. We can move between conversational editing and manual changes as we review the email, choosing the approach that fits the adjustment.
For changes that require looking at the underlying markup, the side panel also provides an HTML Source tab. In our example, selecting the illustration highlights its corresponding markup, including the image reference and alternative text.
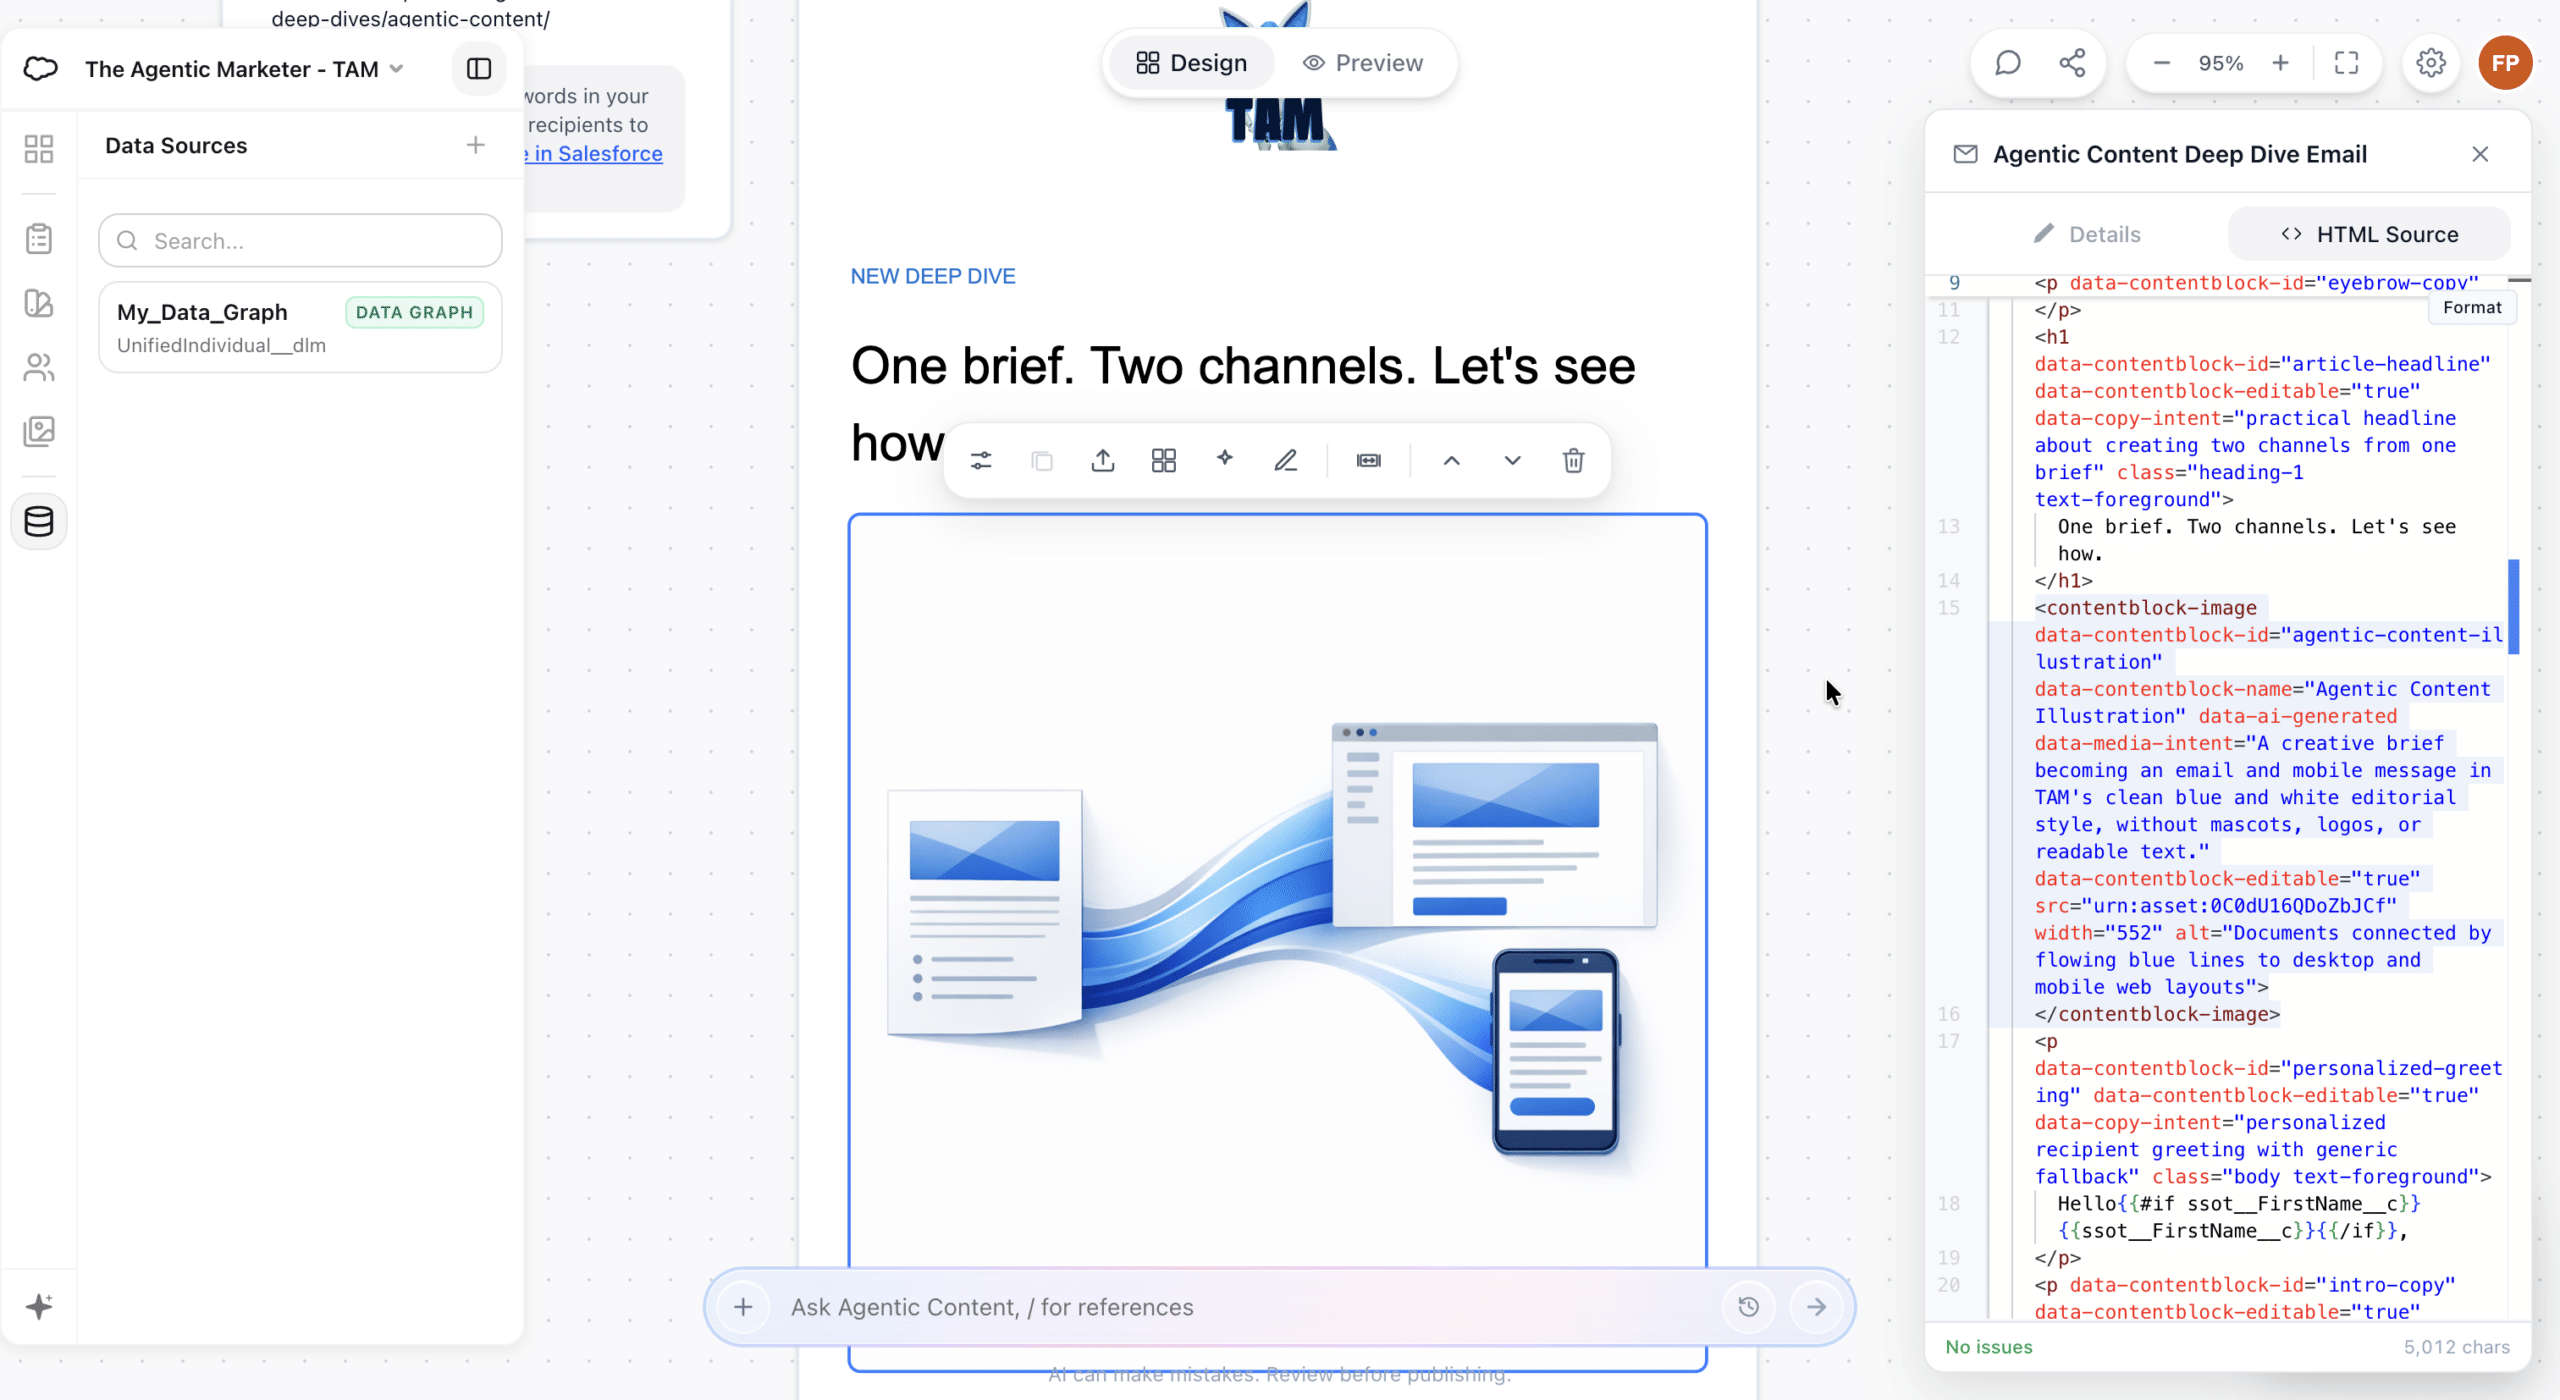
We retain control over the generated result. The conversation helps us make broader changes, while the editor gives us a way to make precise adjustments before previewing and publishing.
Ask for Personalization, Then Preview It
With the message in place, we can ask for a personalized greeting. This gives us a practical use for the data source connected during setup. We specify both the information to use and what should happen when it is missing.
Personalize the email greeting using the recipient’s first name from the connected data source. Use a dynamic merge field, not a literal name. If the first name is missing, display “Hello,”. Keep the rest of the email and the MMS unchanged.
In our example, the generated greeting contains a Handlebars condition around the first-name field. The name and its preceding space are included only when a value is available, leaving the generic greeting as the fallback.
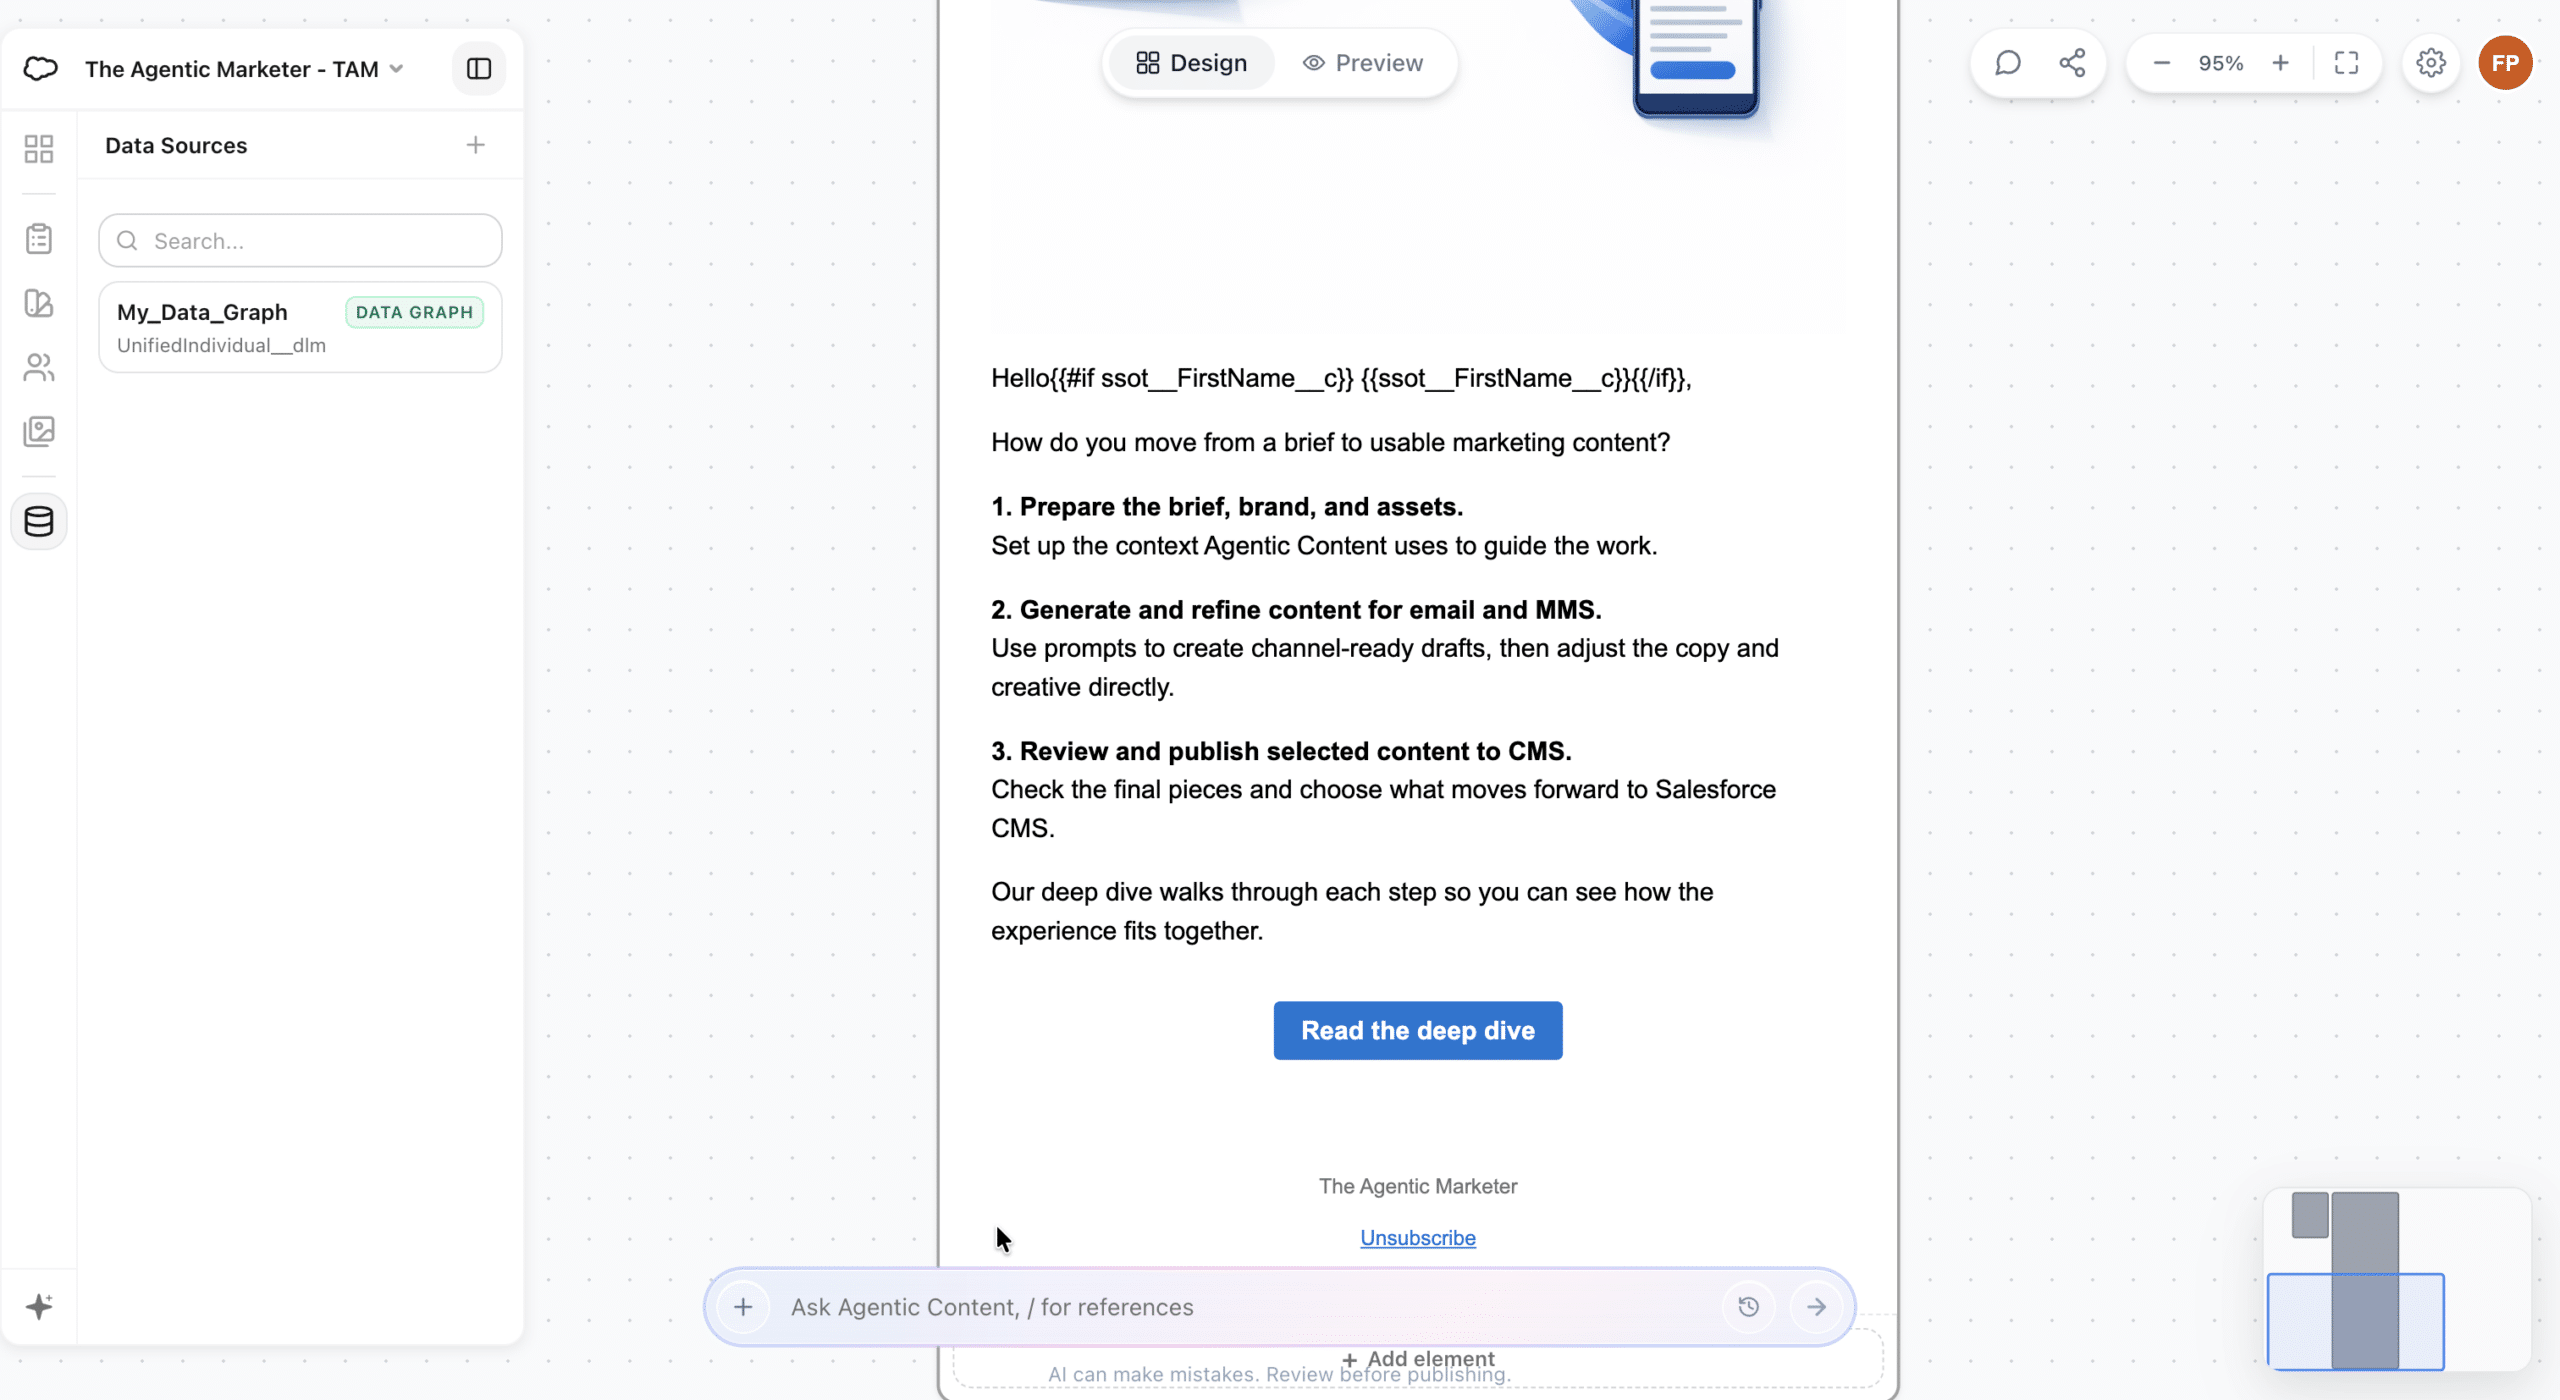
We then switch to Preview to inspect the rendered message.
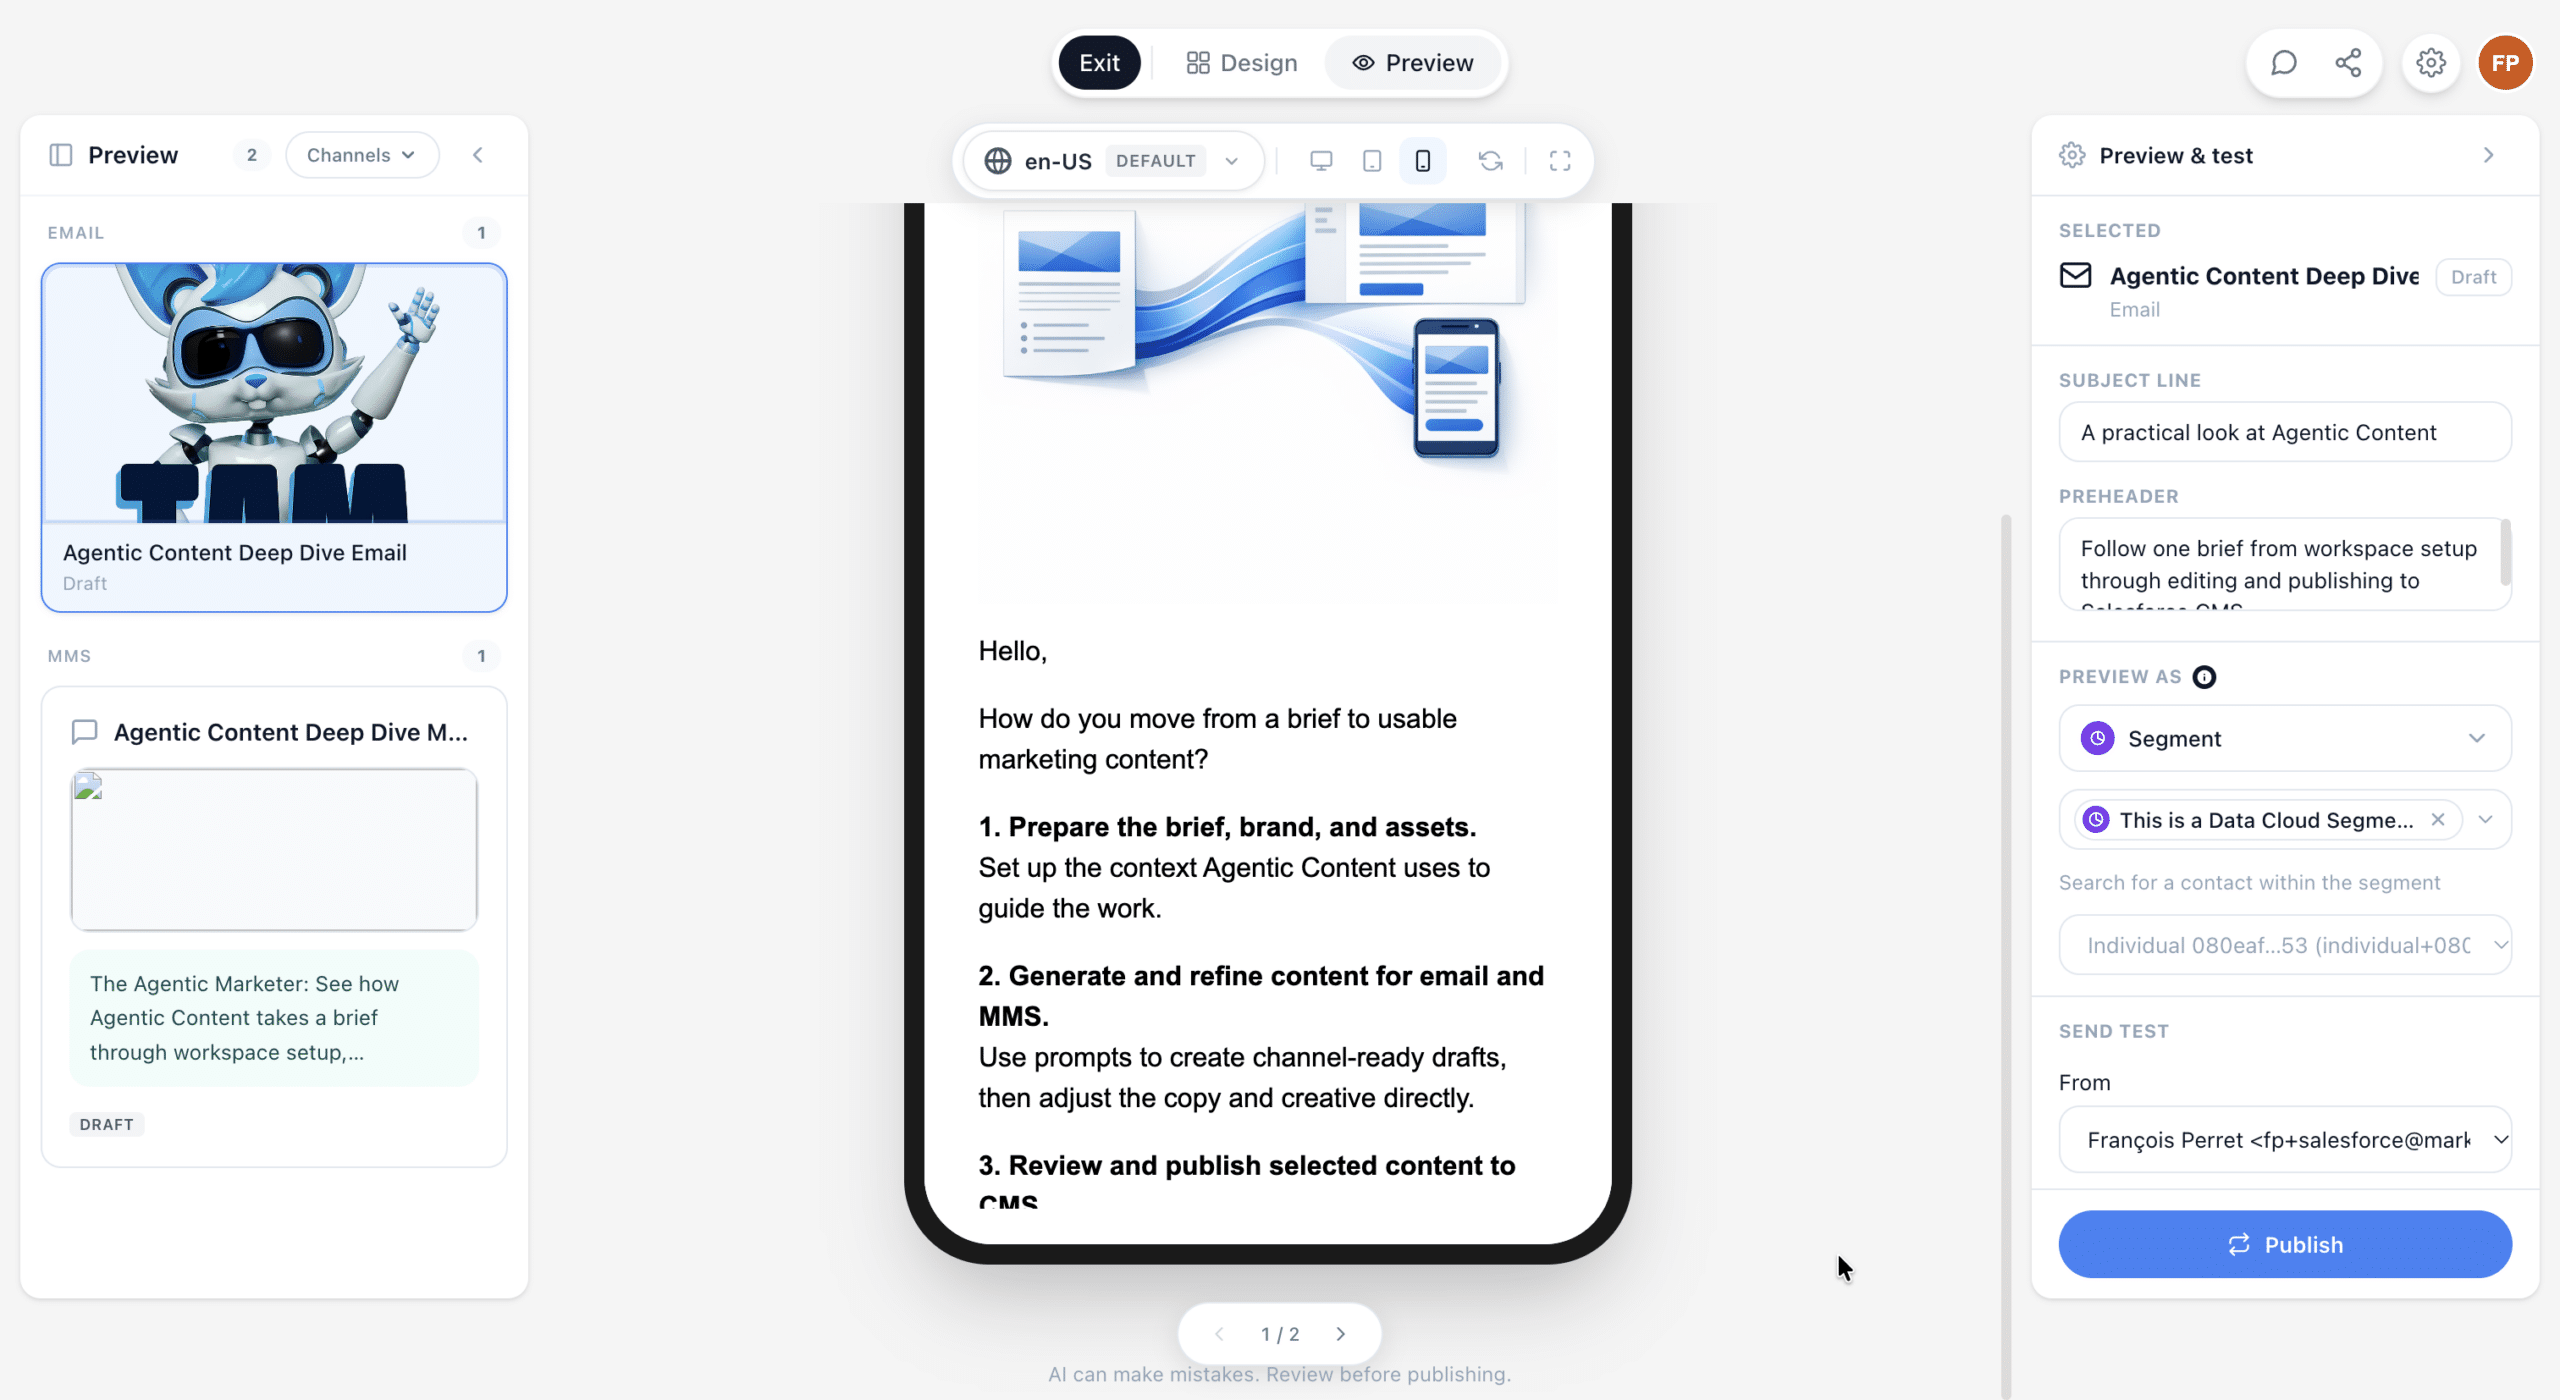
Personalization can extend beyond a greeting. A request to build a list from connected data, for example, can involve generated scripting (actually the greeting was an Handlebar script). We keep this walkthrough focused on the first name: describe the intended behavior, inspect what was generated, and verify the result with representative data.
Create and Review Language Variants
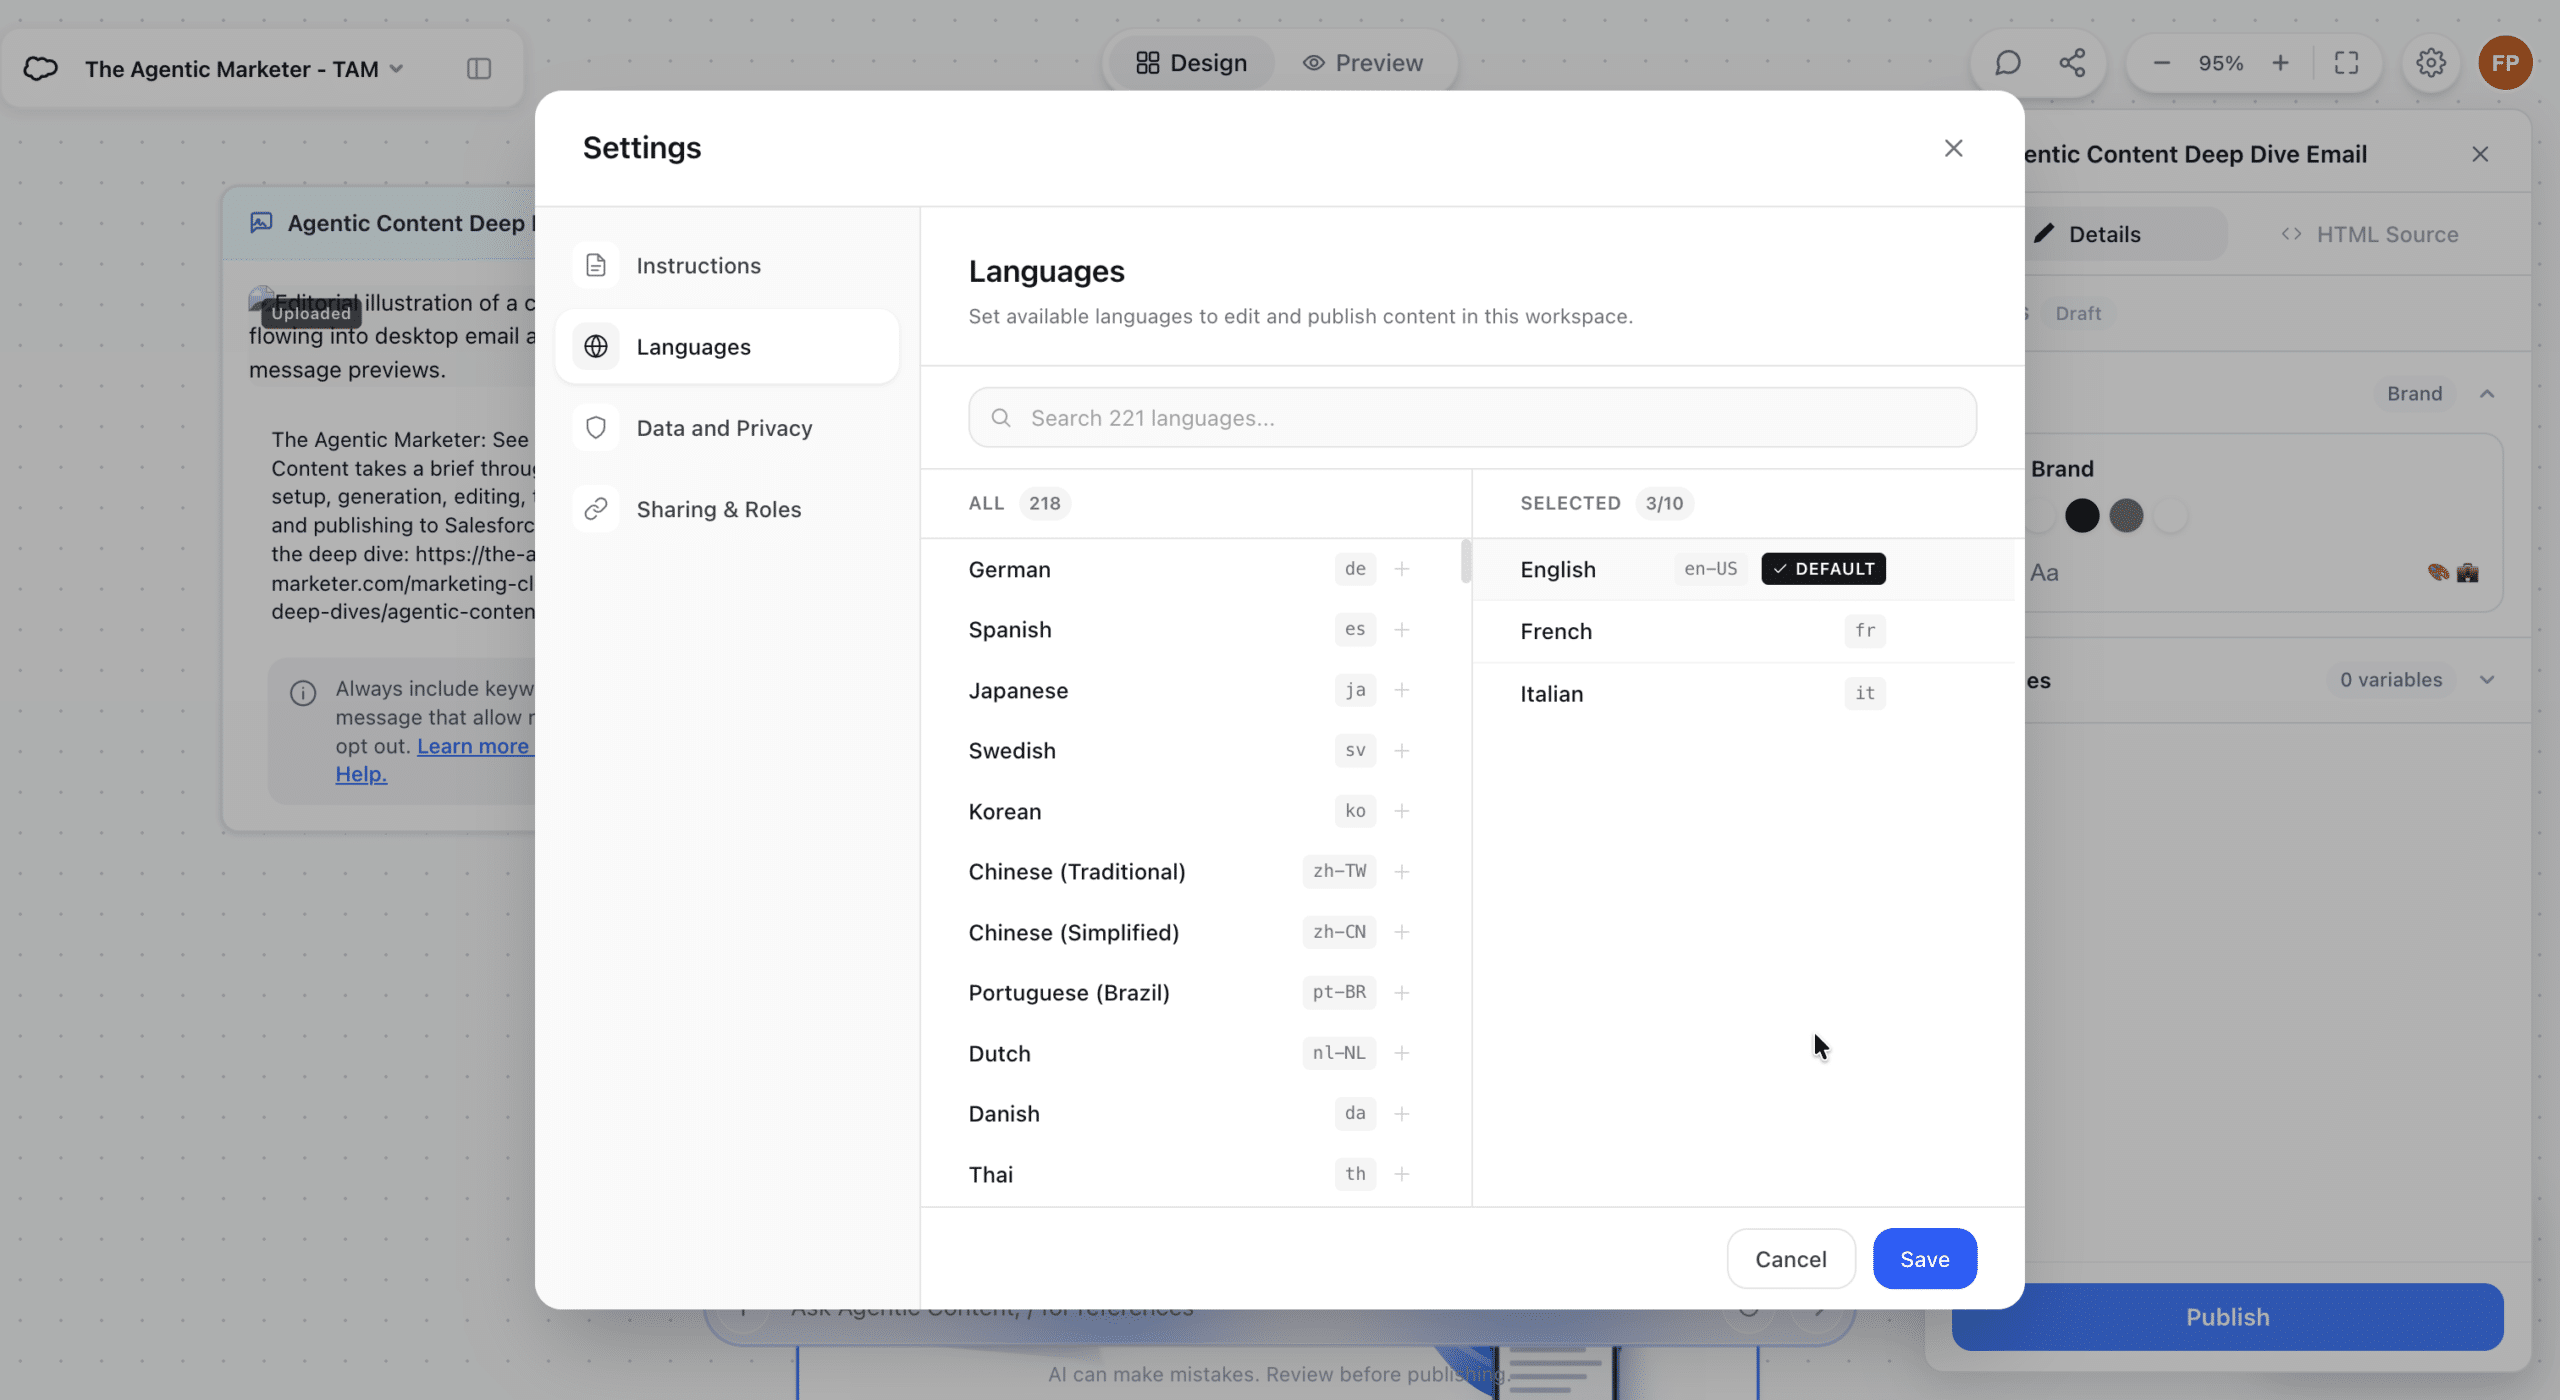
Once we are satisfied with the source email, we can create versions in other languages. For this example, we open the workspace settings and add French and Italian alongside the default English language.
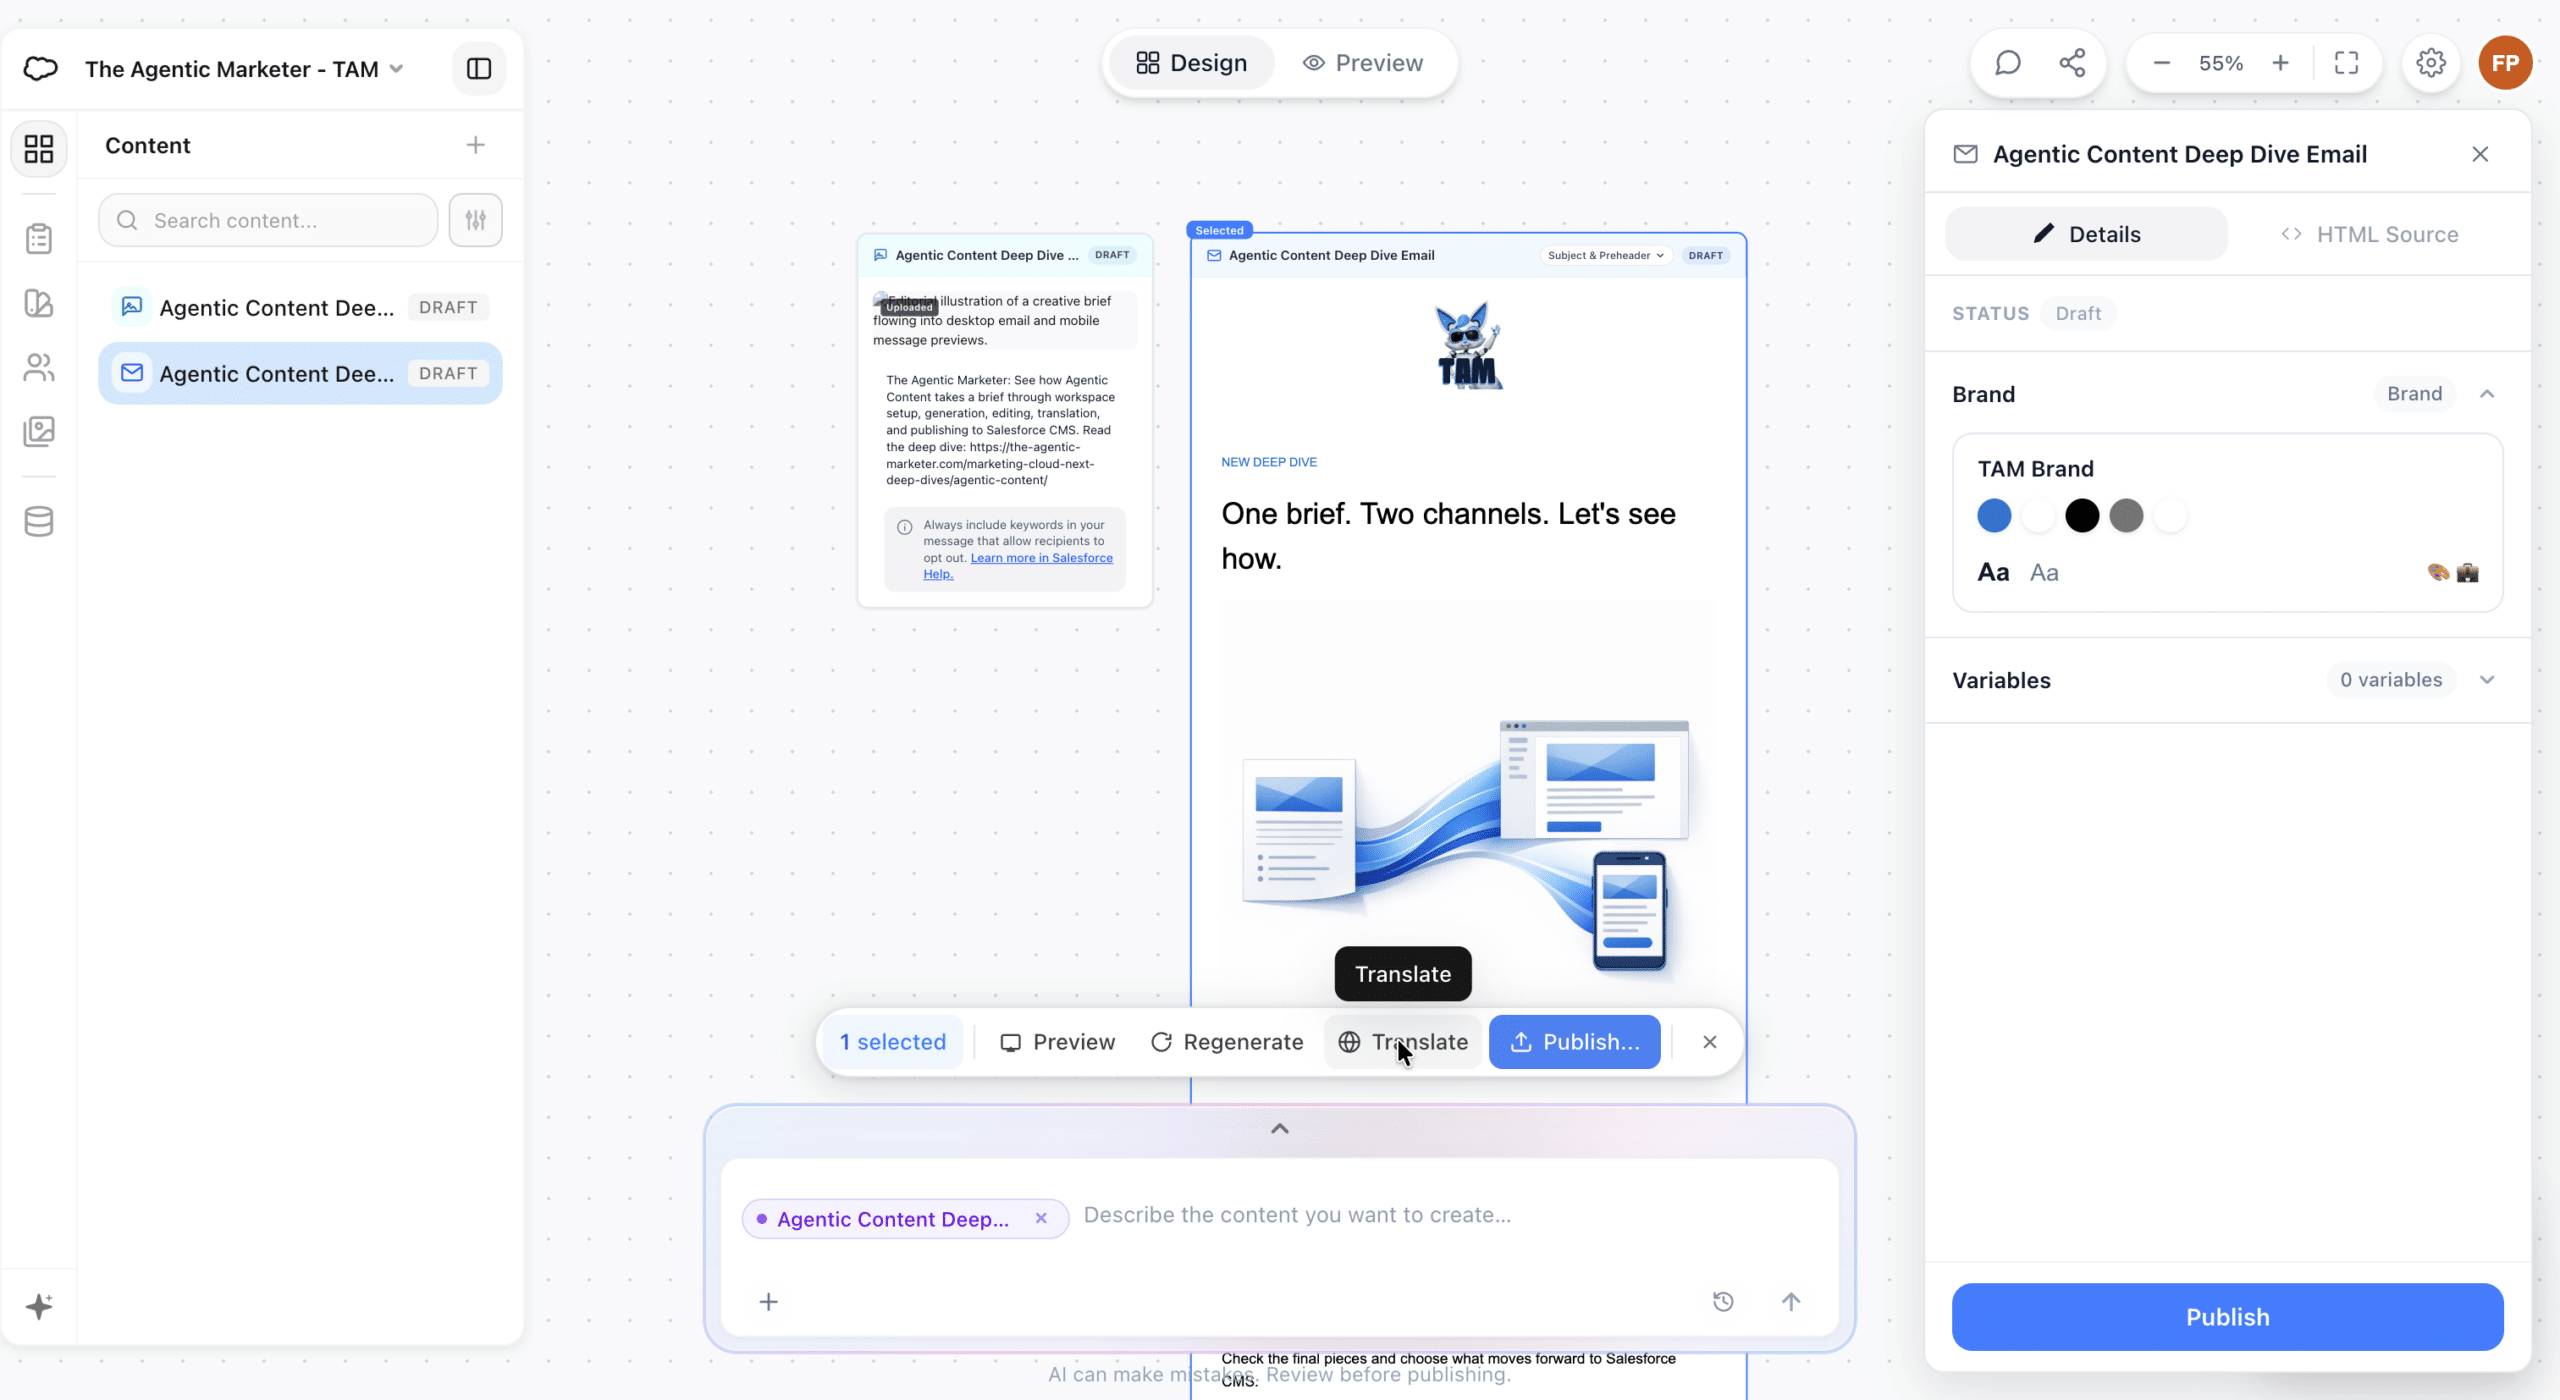
We then select the email on the canvas and choose Translate. In our demonstration, this produces a conversational request to translate the selected content into French and Italian.
The resulting versions are grouped with the source email. In Preview, we can switch between languages and inspect the translated subject line, preheader, and body. The French version also retains the conditional first-name expression, with “Bonjour” replacing “Hello”.
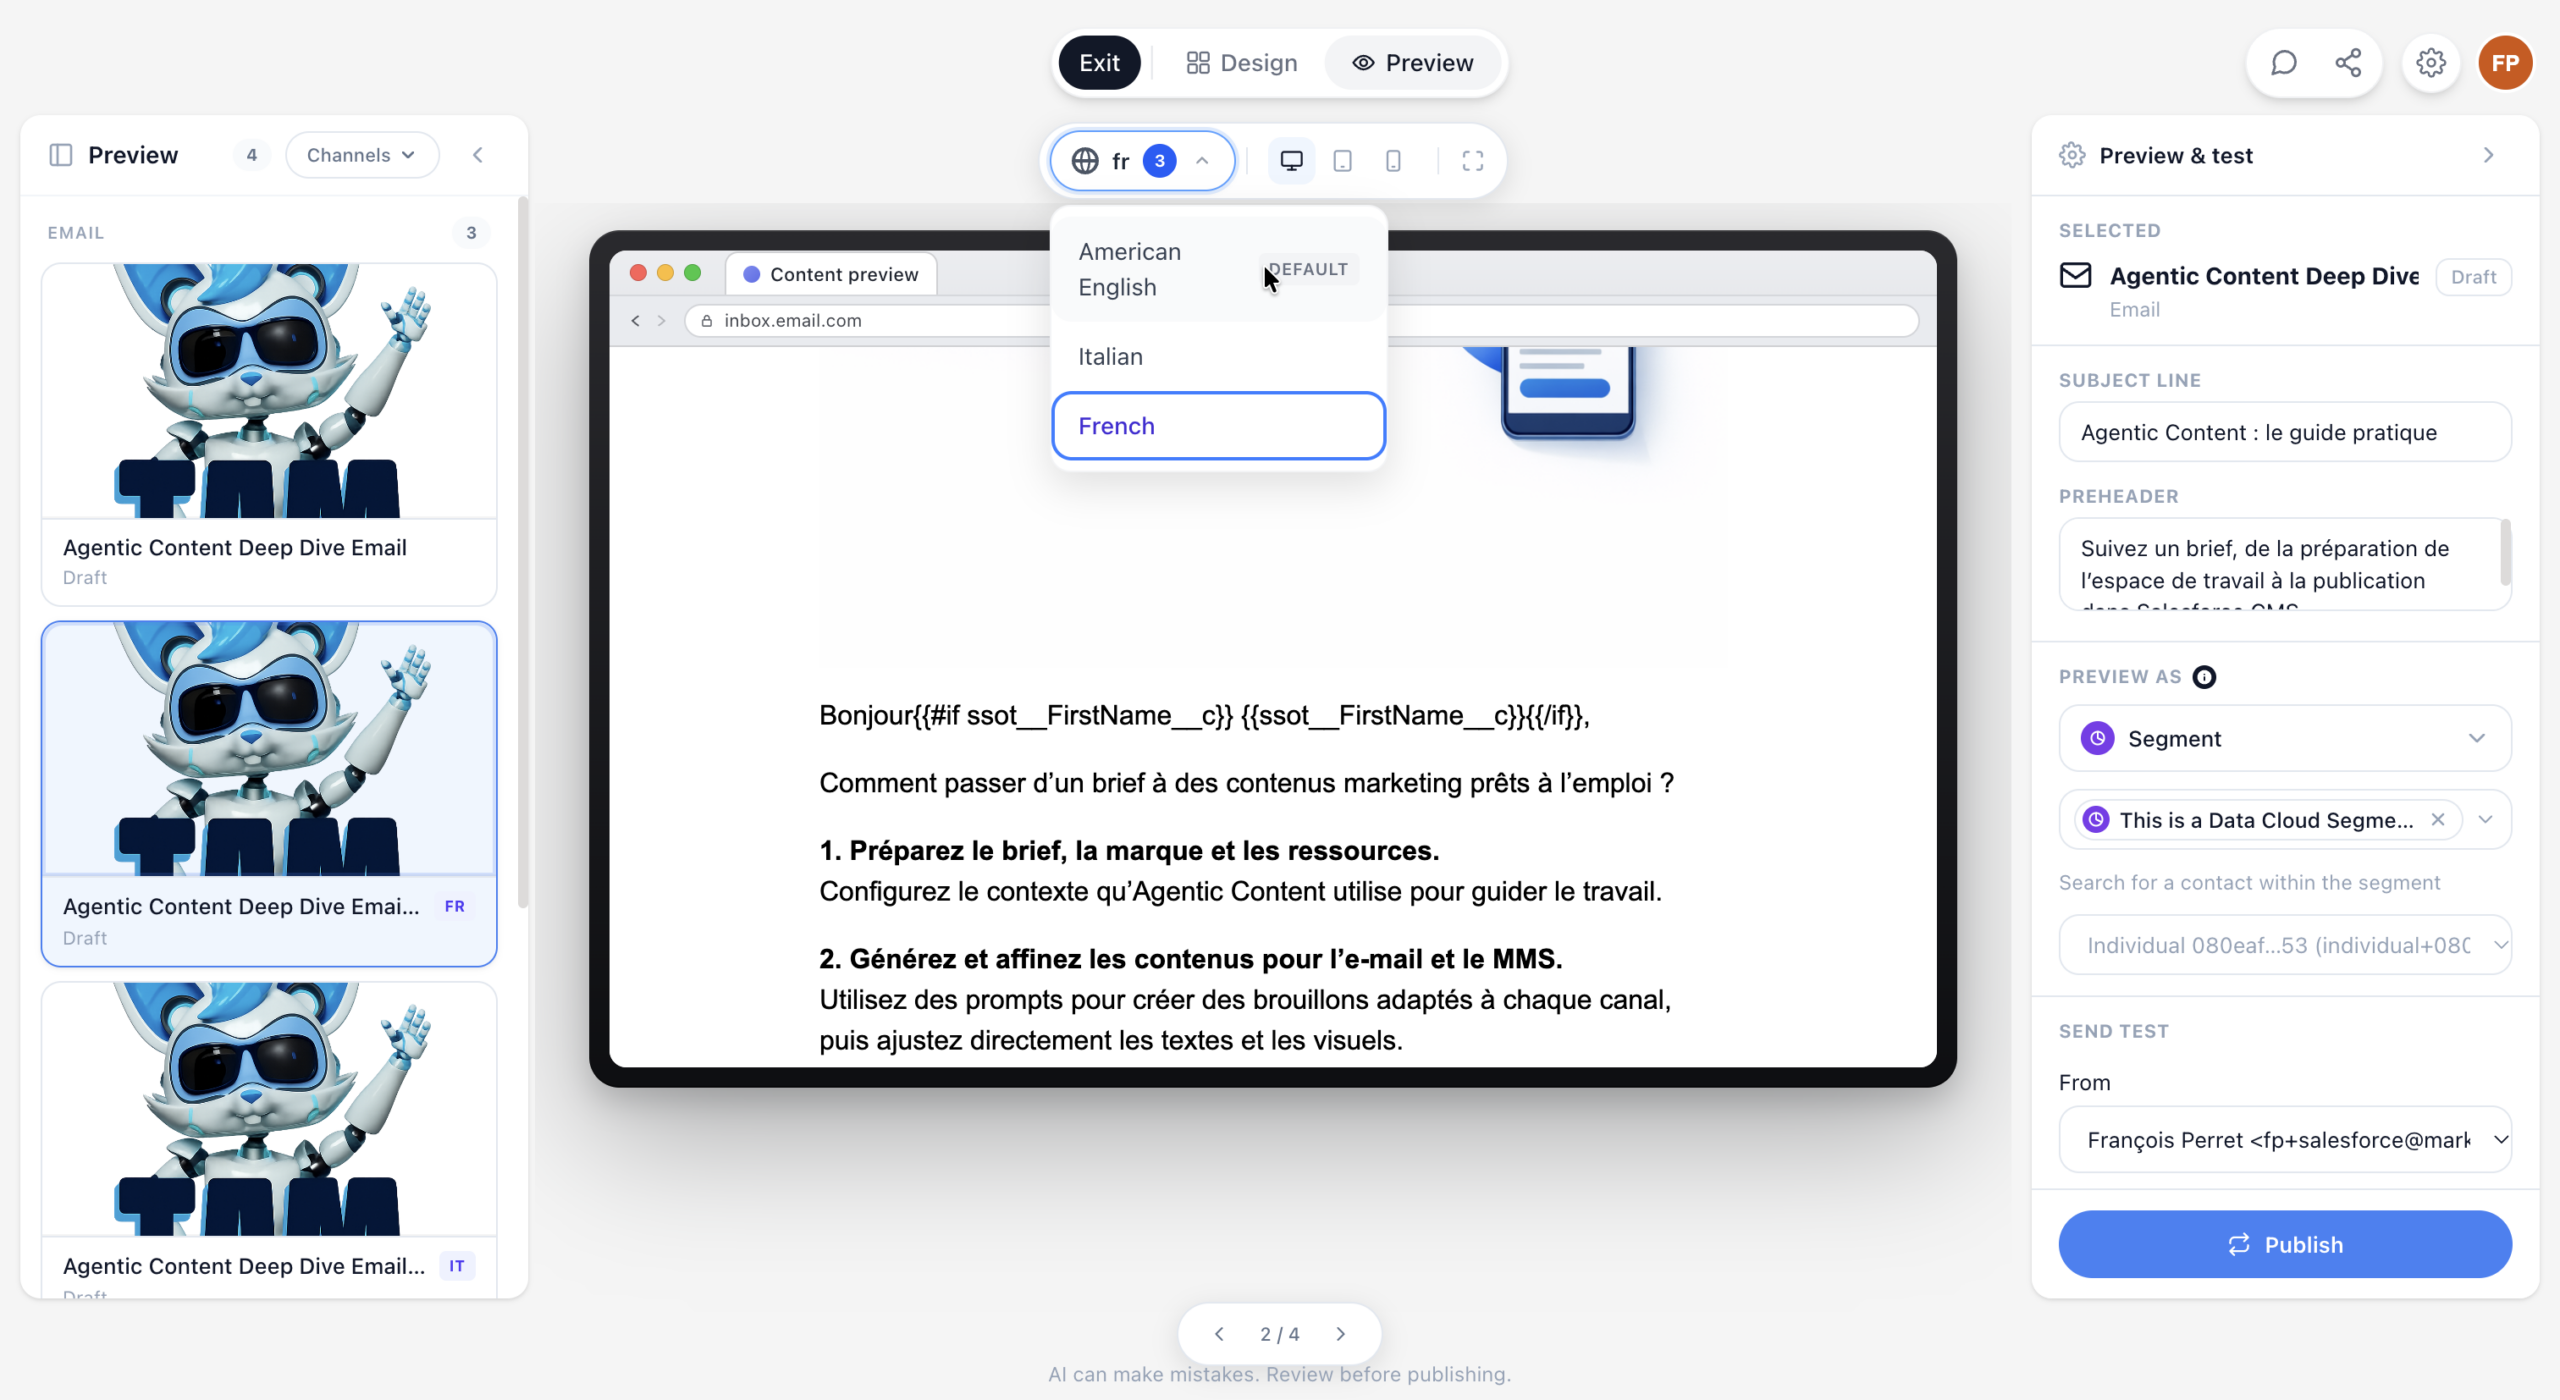
Each translation still needs review. We check terminology, tone, CTA wording, and layout, particularly where translated text takes more space. We also verify that personalization and links remain correct.
There are two language settings to keep in mind: those in the Agentic Content workspace and those in the destination CMS workspace. Before publishing a translated variant, we must also add its language to the destination CMS workspace. We’ll see why this matters when we publish our email.
Organize the Canvas and Share the Workspace
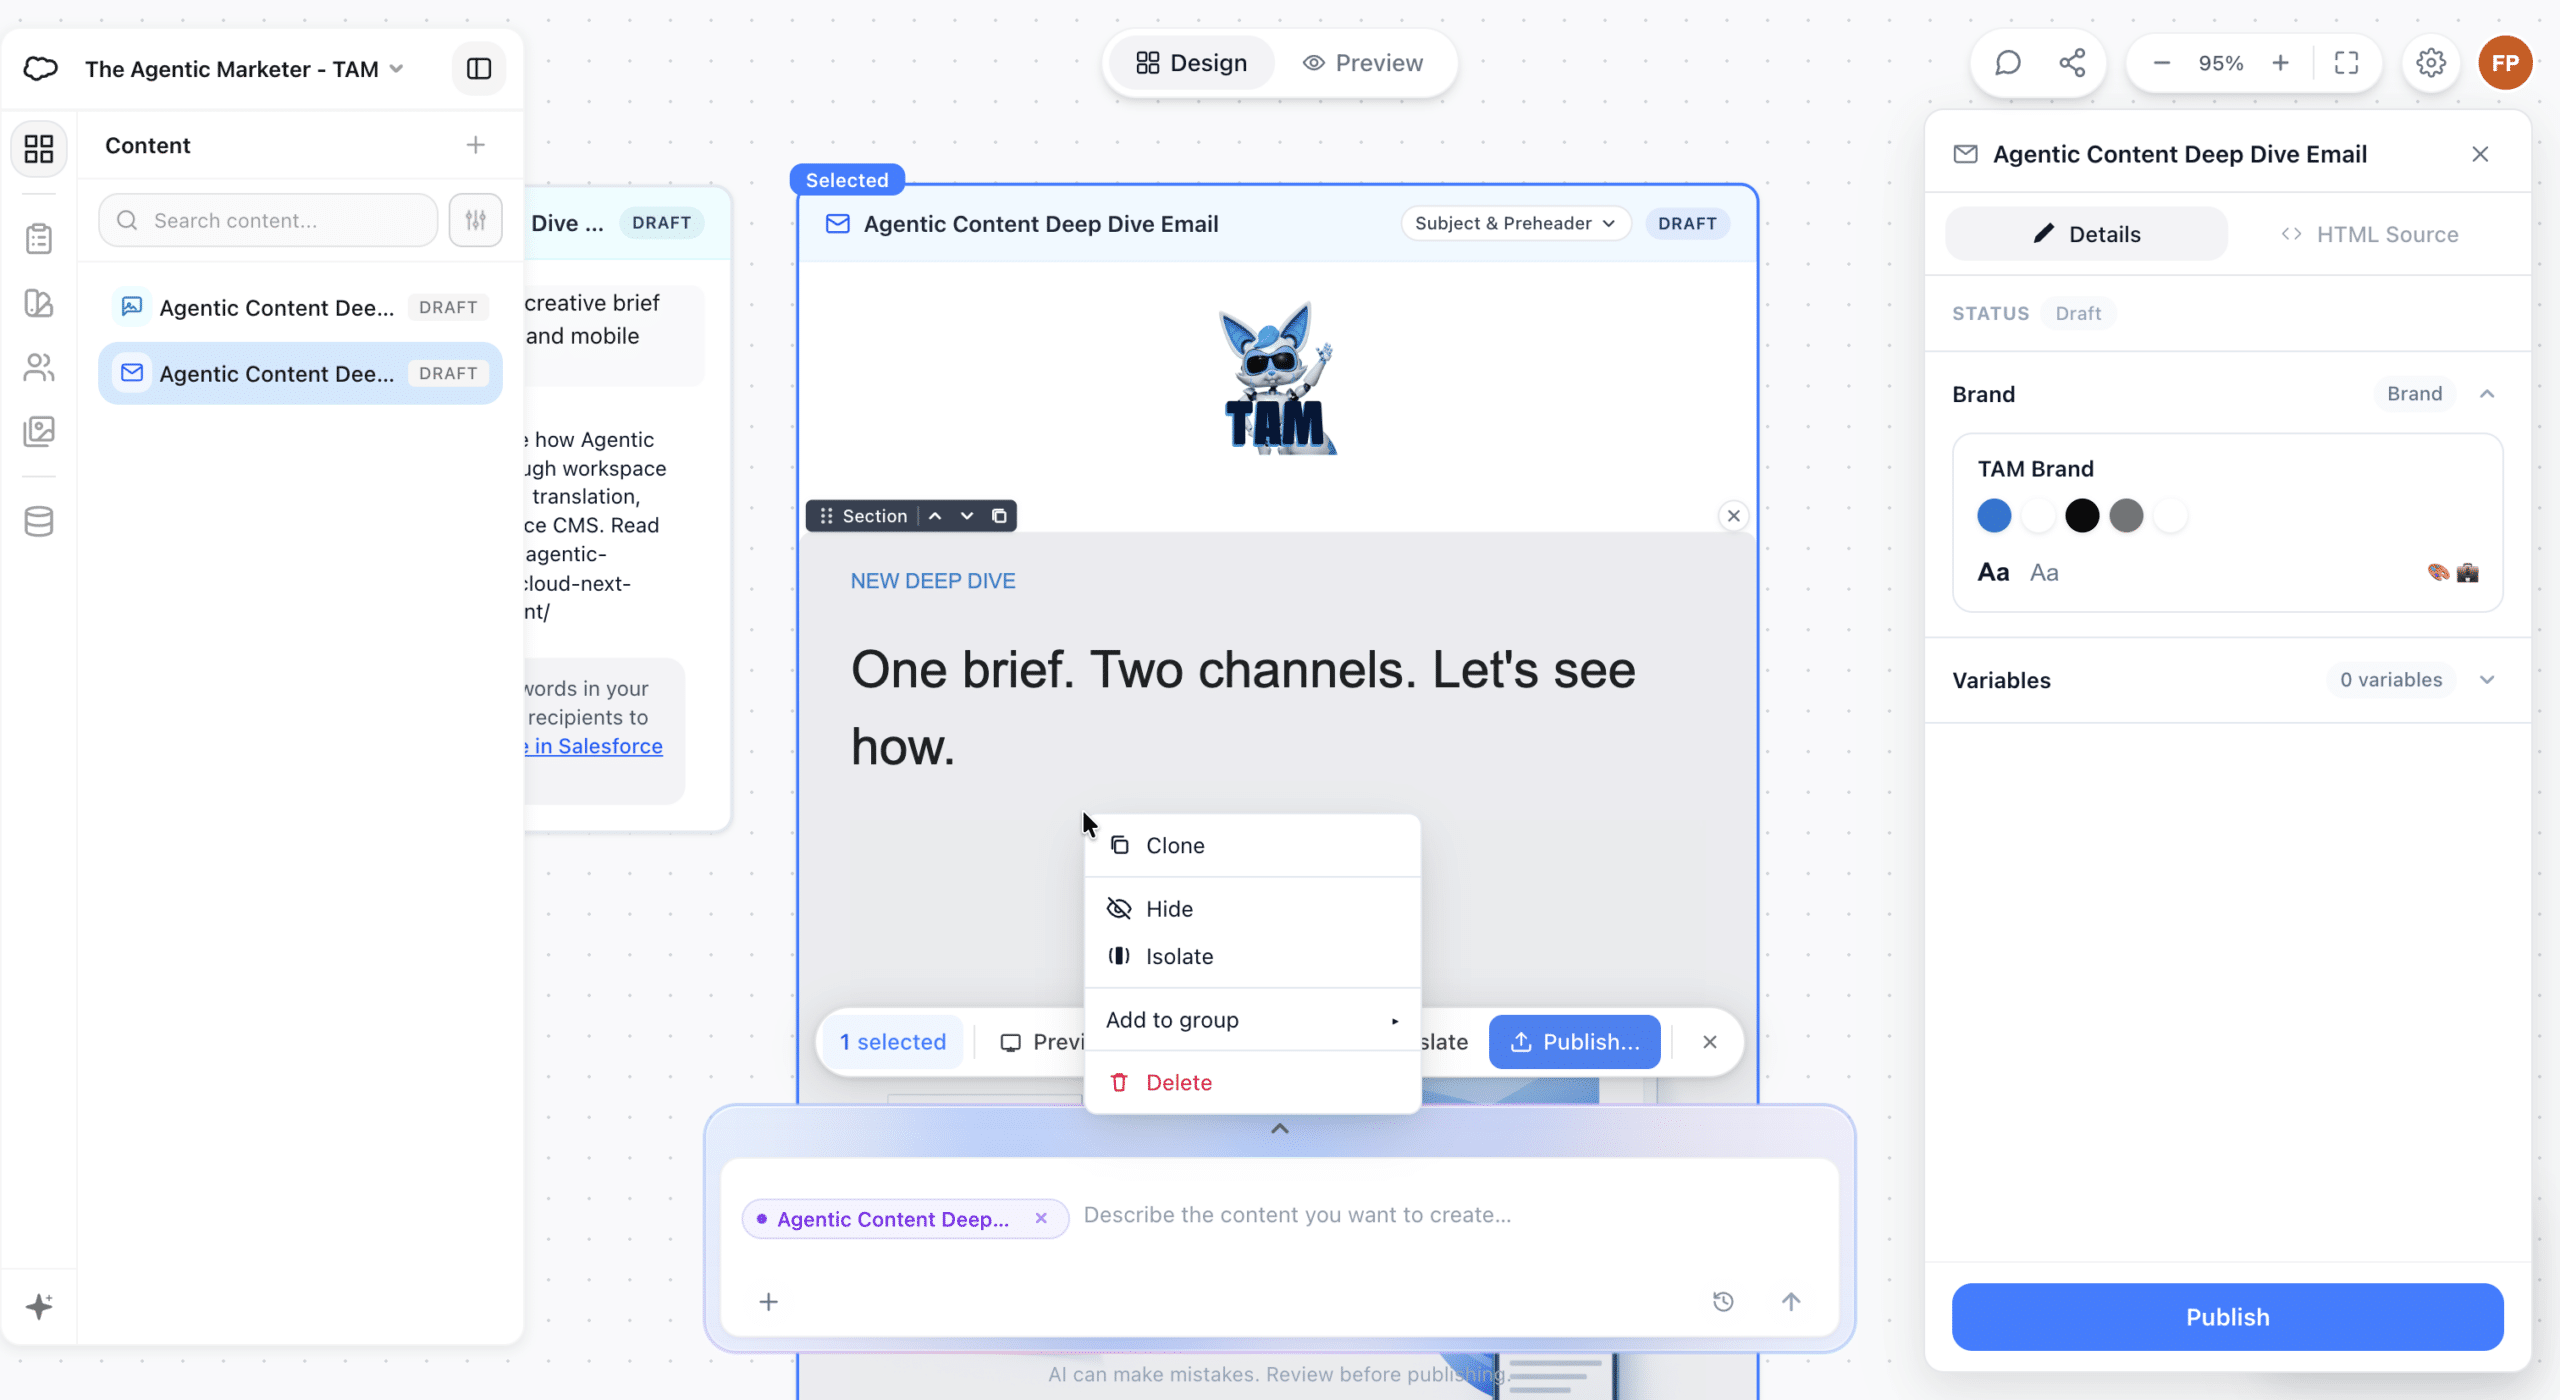
As we create more content and language variants, the canvas becomes busier. The context menu provides actions such as Hide, Isolate, Clone, Zoom, and Add to group to help us manage the working view. Hide and Isolate are useful when we want to focus on one piece of content. Delete appears as a separate action.
We can also give colleagues access to the workspace. Under Settings → Sharing & Roles, we can search for people in the connected org, select a role, and add them. In our screenshot, the selected role is Editor.
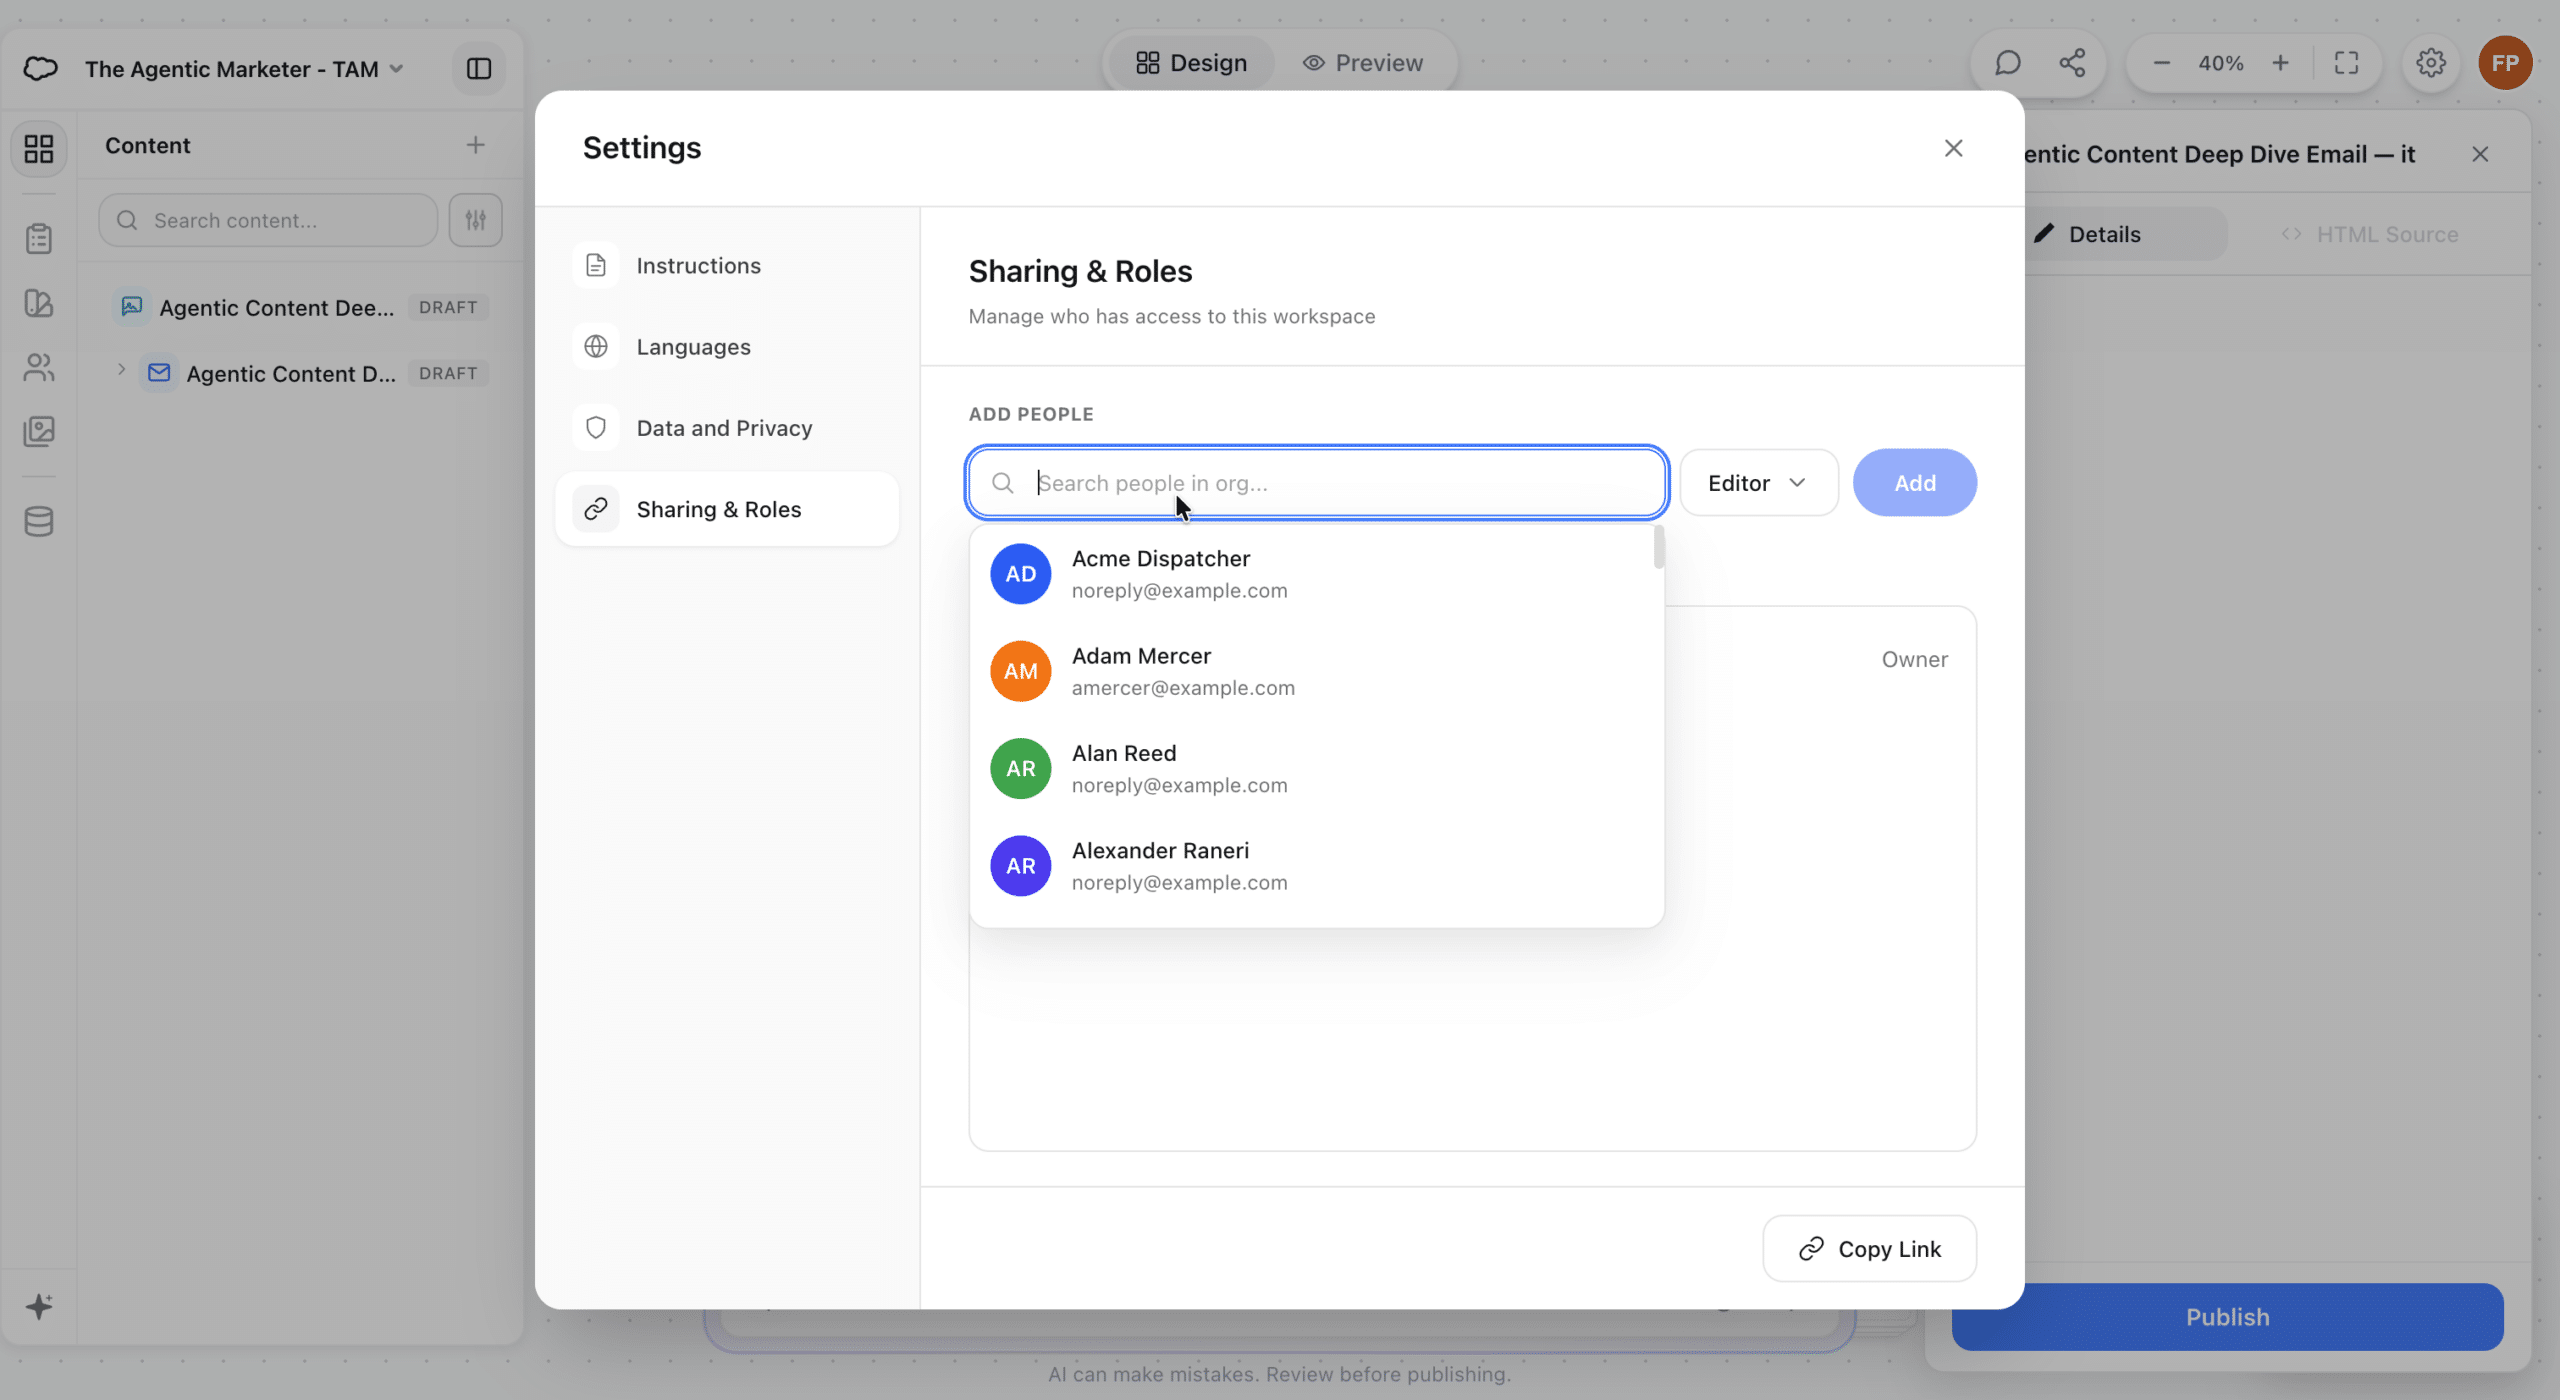
This gives us a shared place to refine the drafts before moving selected content into CMS. Workspace access and permission to publish to the destination CMS workspace remain separate considerations.
Publish to CMS and Inspect the Result
Once we have reviewed the email and its language variants, we select it and choose Publish. The Review & publish dialog shows the selected content, its destination CMS workspace, and the languages included. This is where we check that the content is going to the intended workspace, including the appropriate business-unit context where applicable.
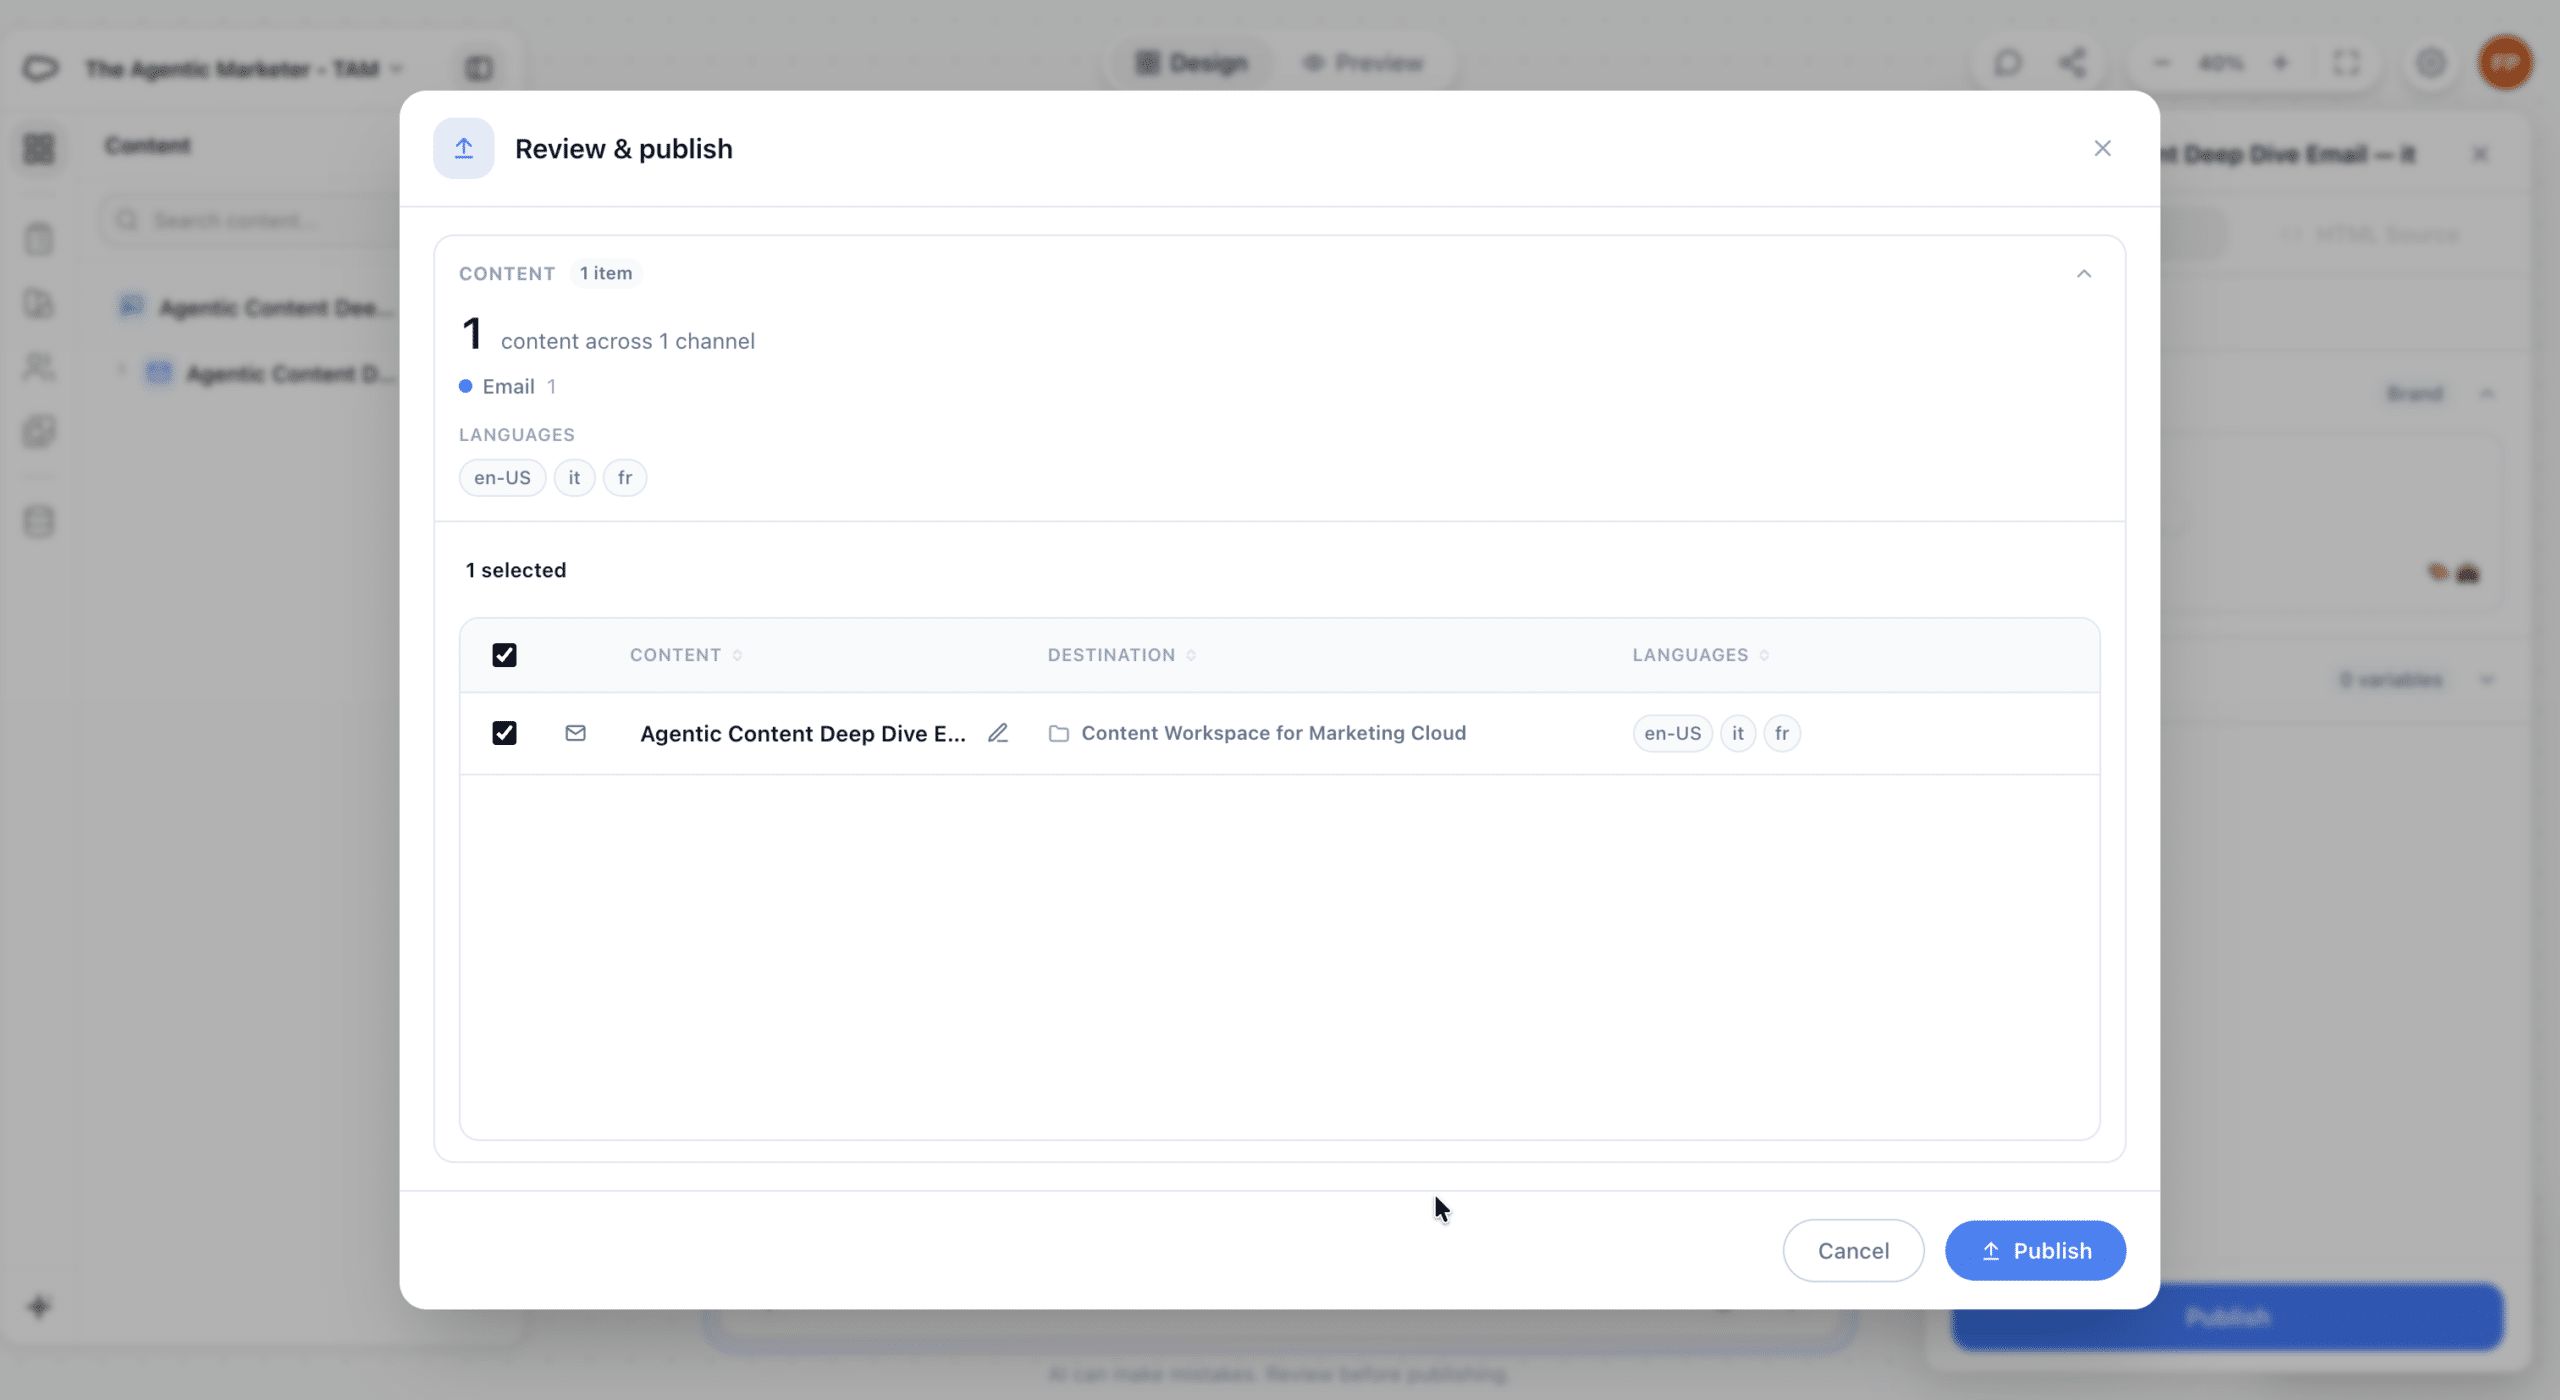
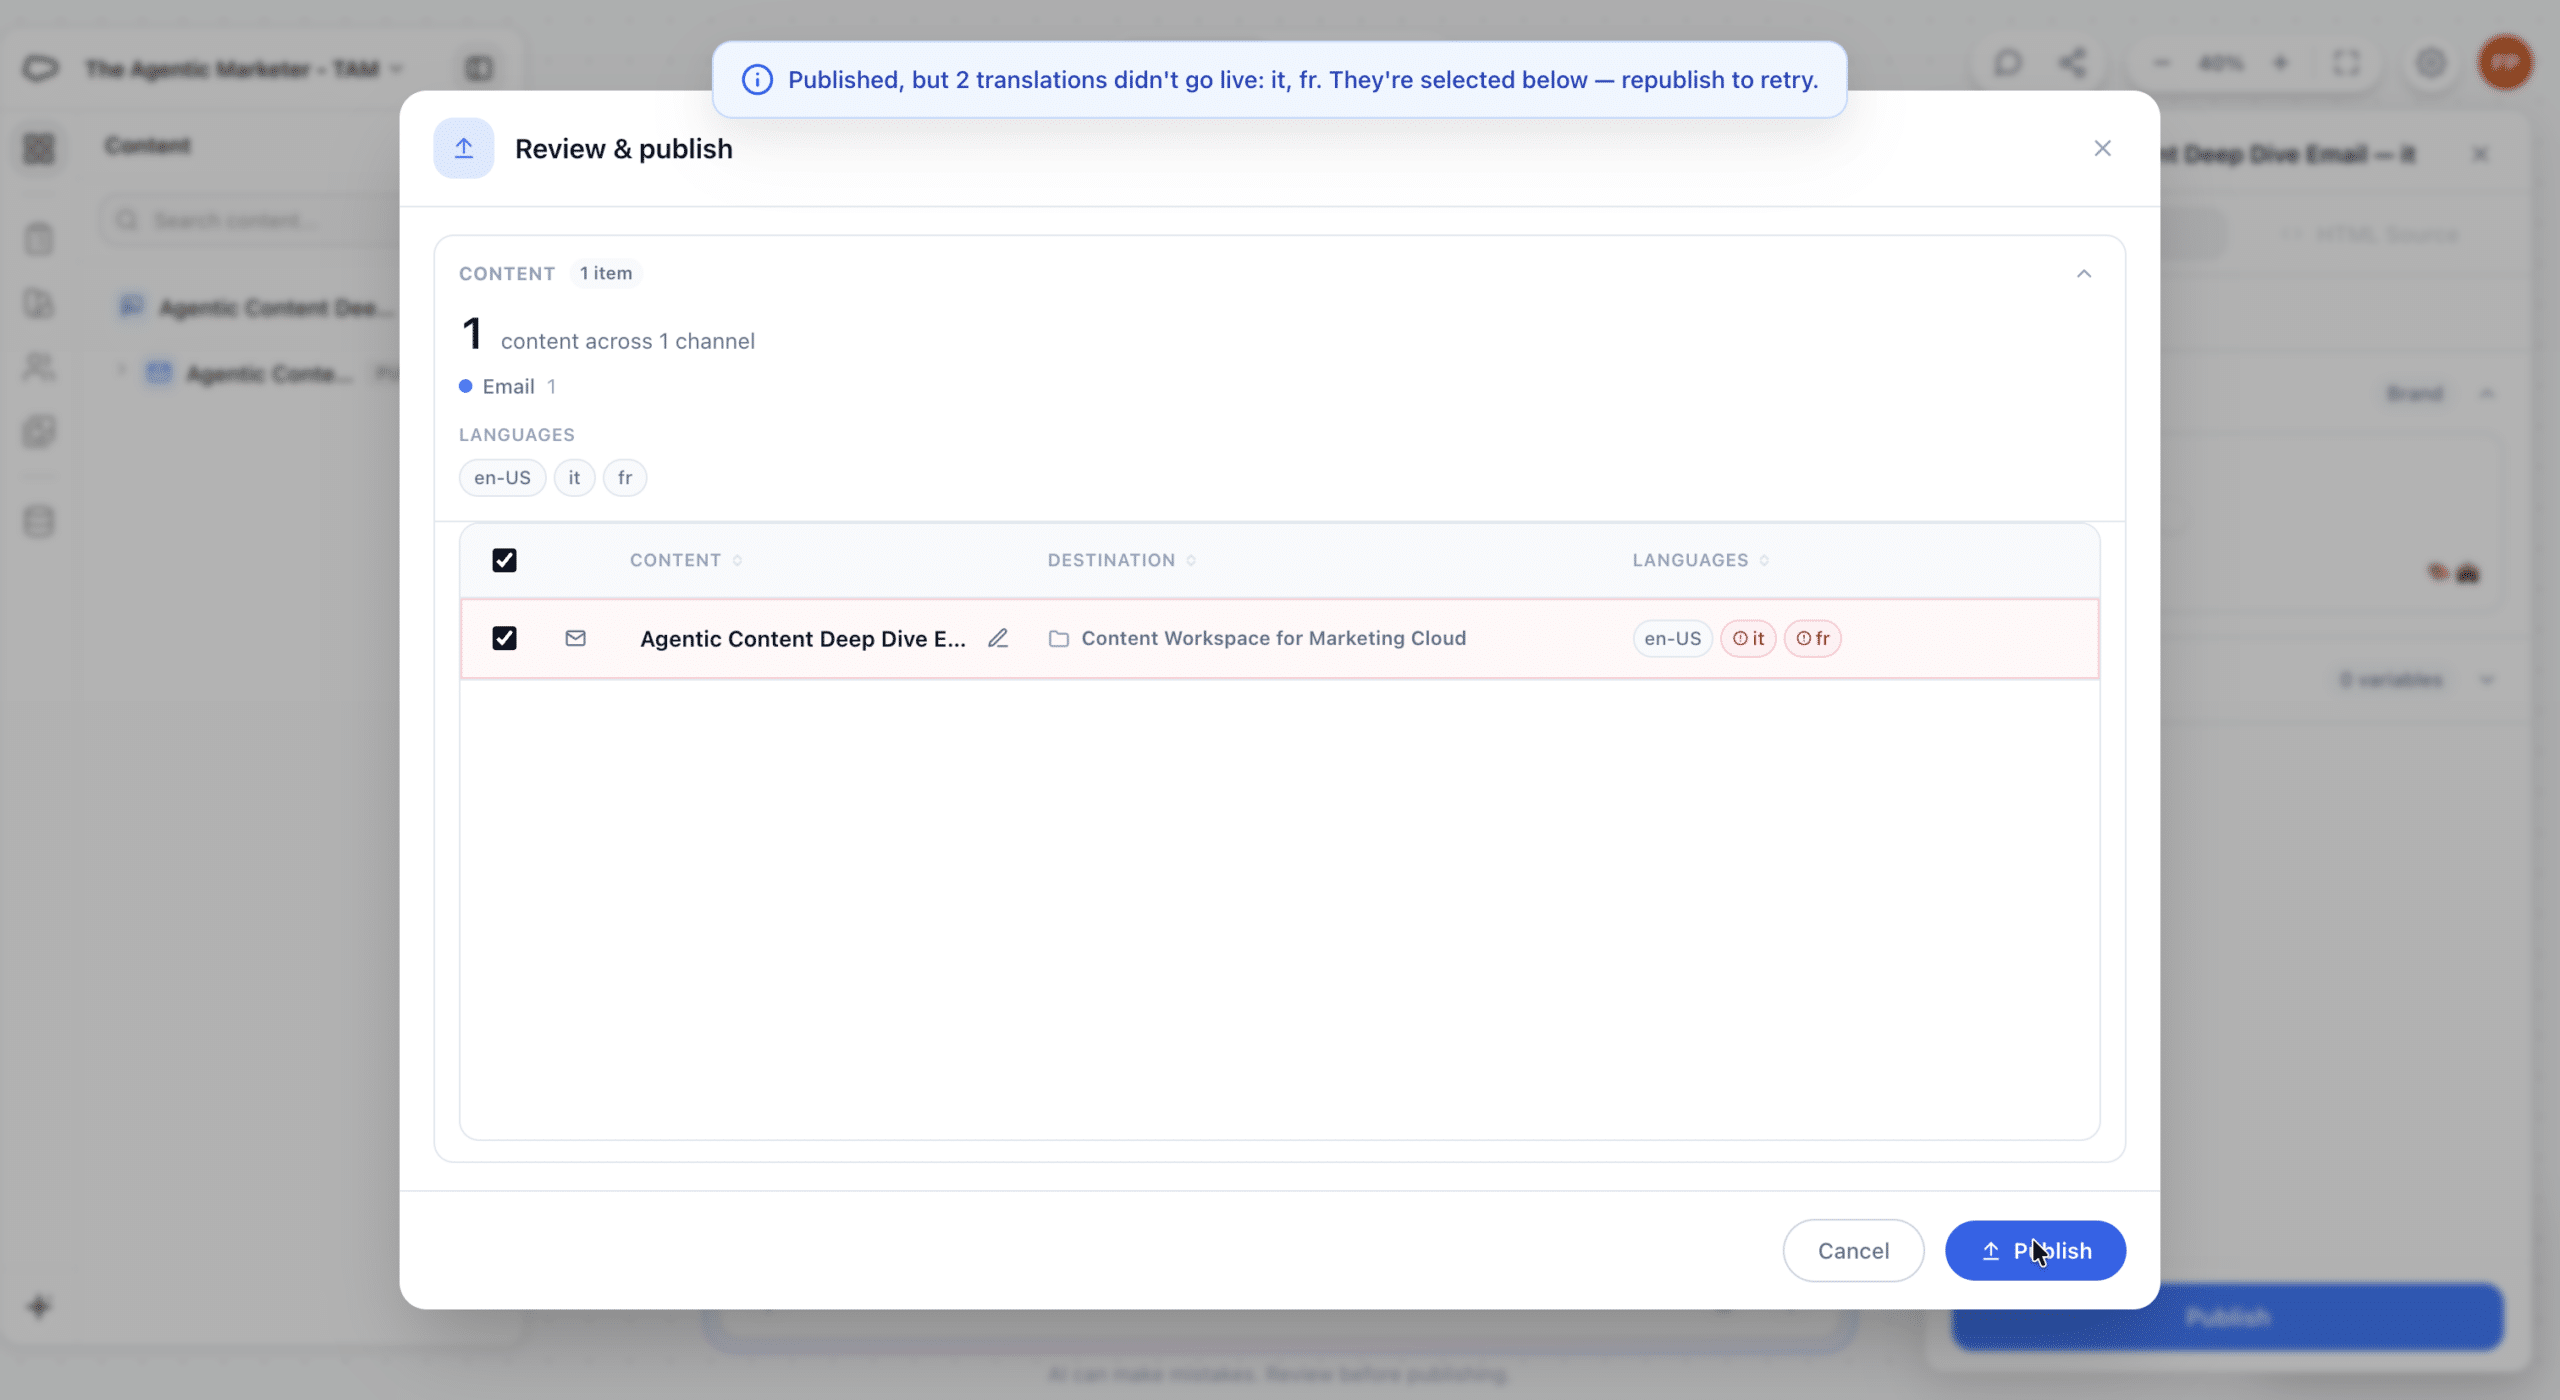
Our first attempt illustrates an important prerequisite. The English version publishes, but French and Italian do not go live. Those languages must also be configured in the destination CMS workspace. Adding them in Agentic Content prepares the variants for creation and editing; the CMS workspace needs its own language configuration to receive them.
After adding the required languages to the destination CMS workspace, we retry publication and inspect the email in CMS. The resulting content includes English, French, and Italian in the Language Variants panel.
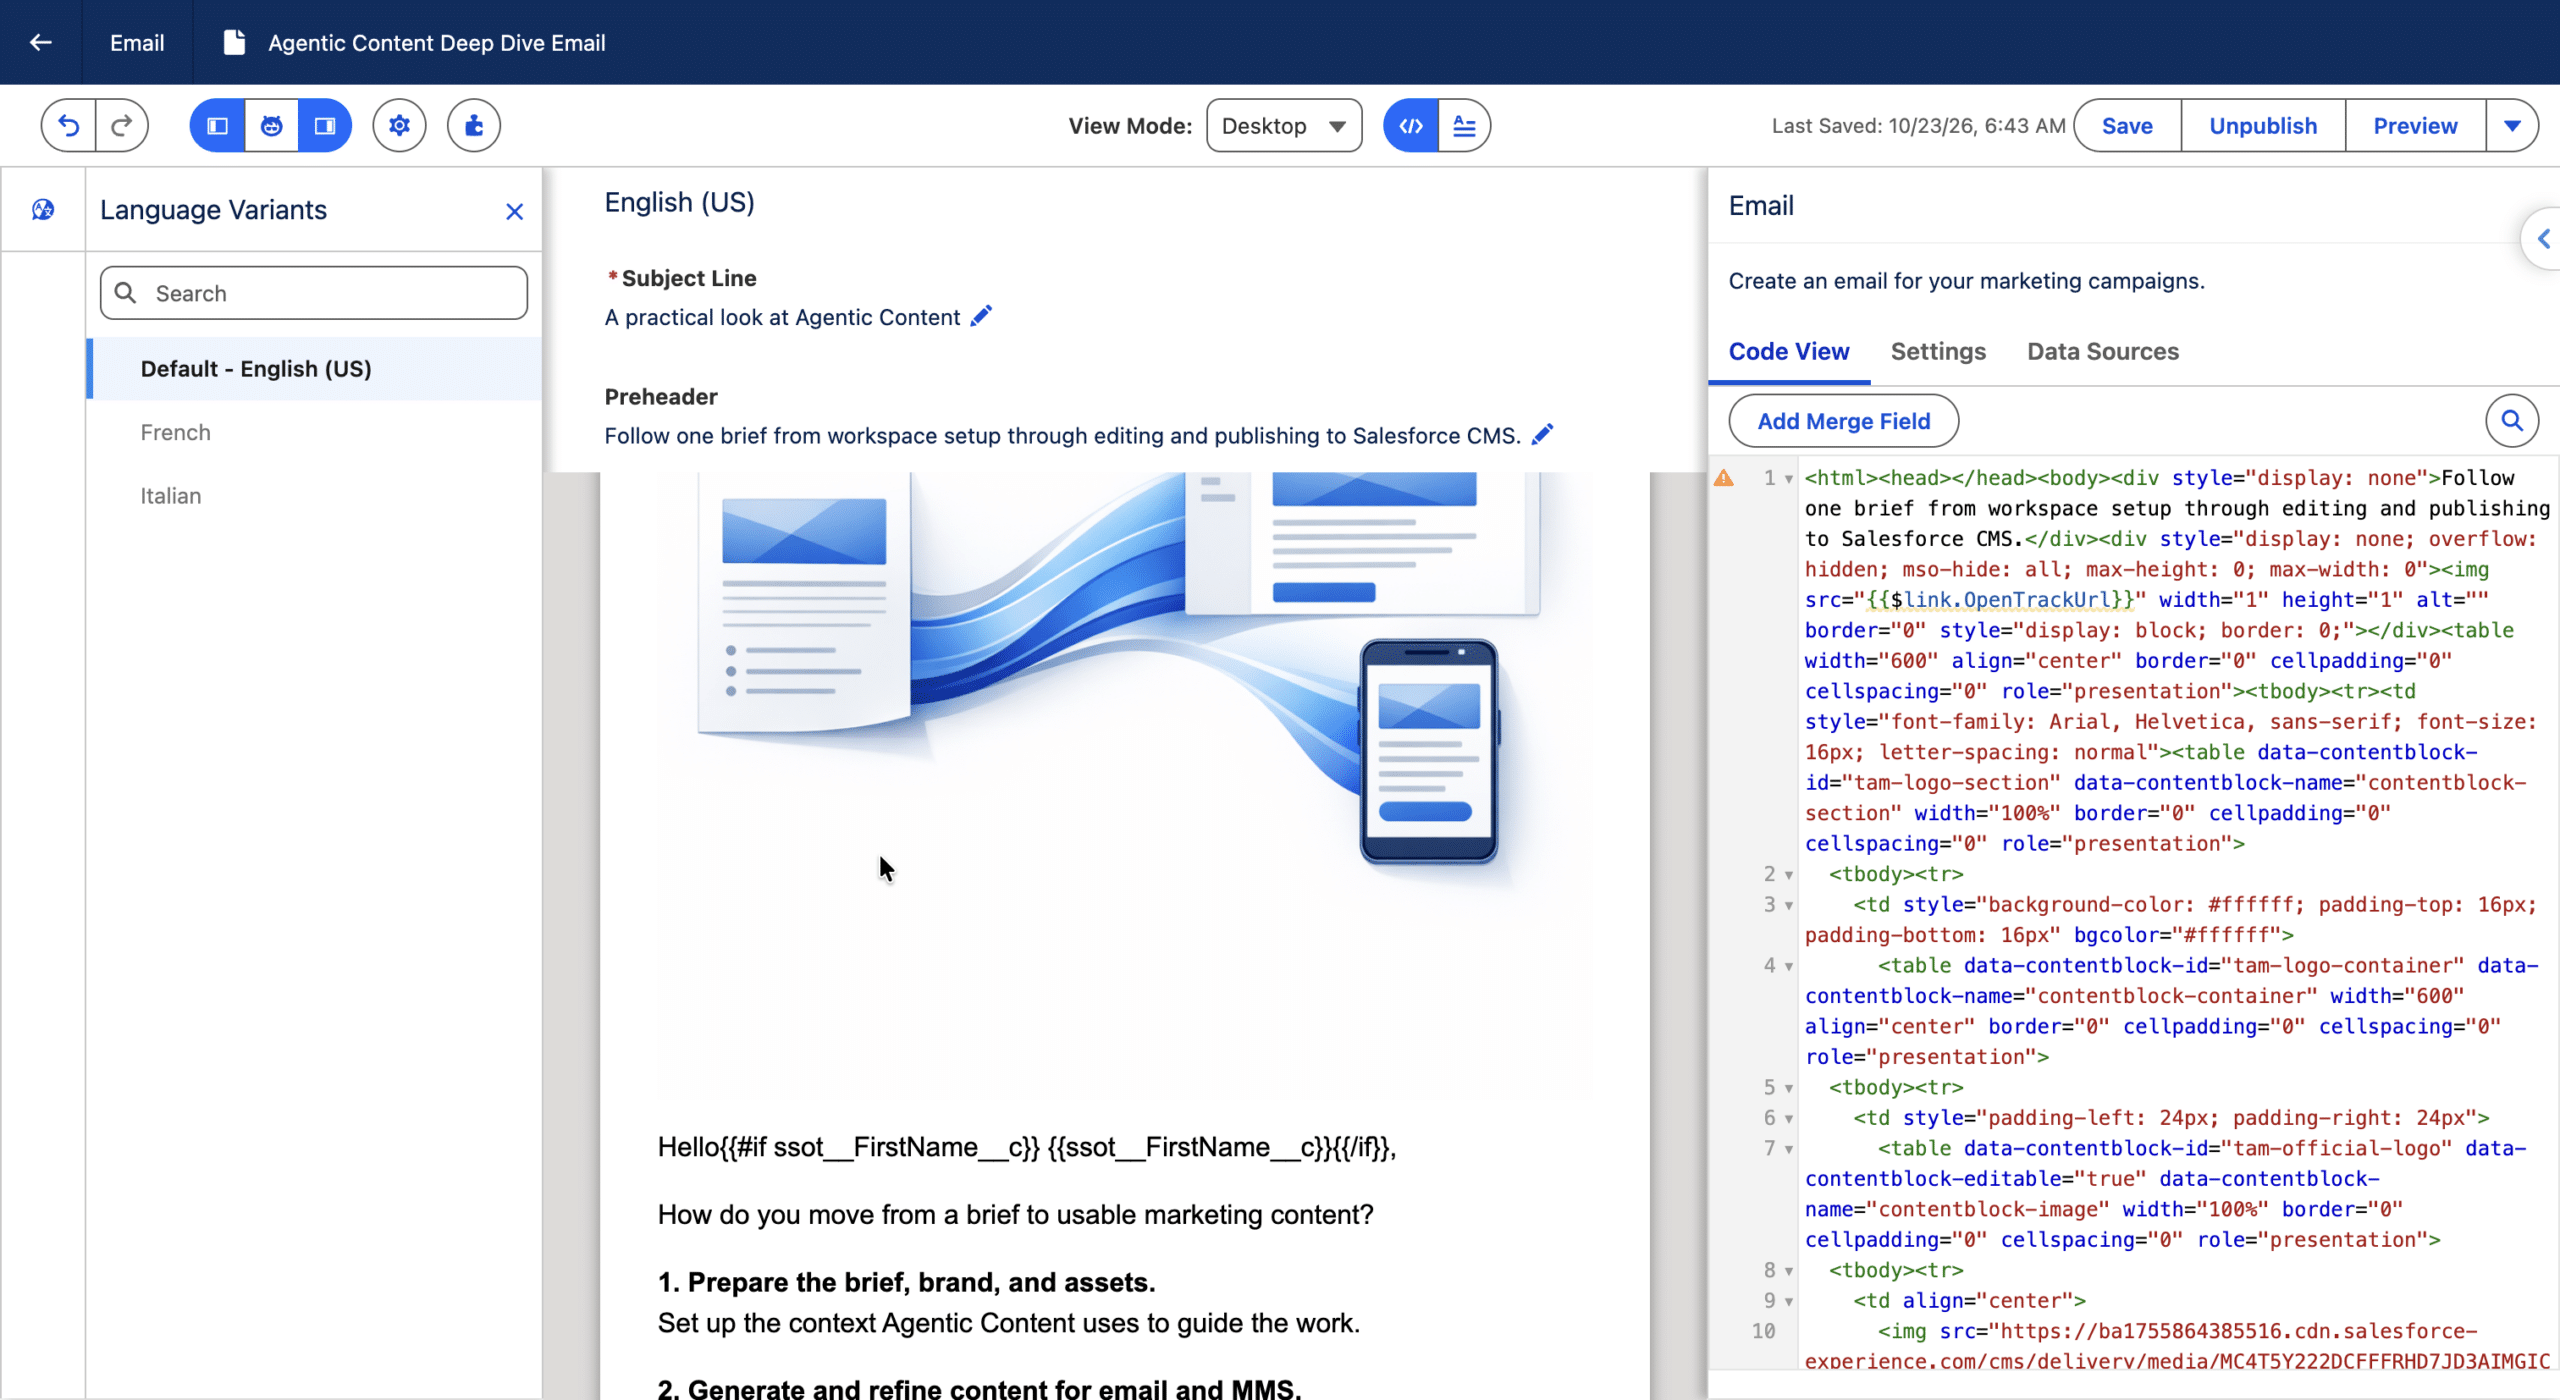
The generated email opens in code mode, where we can inspect its HTML alongside the rendered content. Publication is therefore a useful checkpoint: we verify the content in its destination, including the variants, images, links, and personalization, before using it in a campaign.
We have now followed the content from a prompt through conversational revisions, direct editing, personalization, translation, and publication. The result is content available in Salesforce CMS. From here, we use the published content in our campaigns just as we would content created through the other methods covered at the start of this article.
What Changes with Agentic Content?
Agentic Content adds a conversational way to create and refine marketing content. In our walkthrough, we moved from one brief to an email and an MMS draft, revised the email through follow-up prompts, explored the editor for precise adjustments, and created language variants before publishing to CMS.
The preparation matters as much as the prompt. A clear brief, a connected brand, useful assets, and consistent instructions give the generation process direction. Reviewing the results remains part of the work, from checking an image to testing personalization and confirming that translations reach CMS.
We explored Agentic Content as a standalone workspace, but it also fits into the creation of Agentic Campaigns, currently in beta. As we described in our Dreamforce 2026 article, Campaign Agent can bring us into Agentic Content with the context gathered during campaign creation already passed through. We can then generate, refine, and translate content from that starting point. We’ll explore that connected workflow in a separate deep dive.
The main change is how we get to the content. We can describe what we need, review it on the canvas, and move between conversation and direct editing. Once published, that content joins the same CMS workflow as content created through the other methods covered at the start of this article.